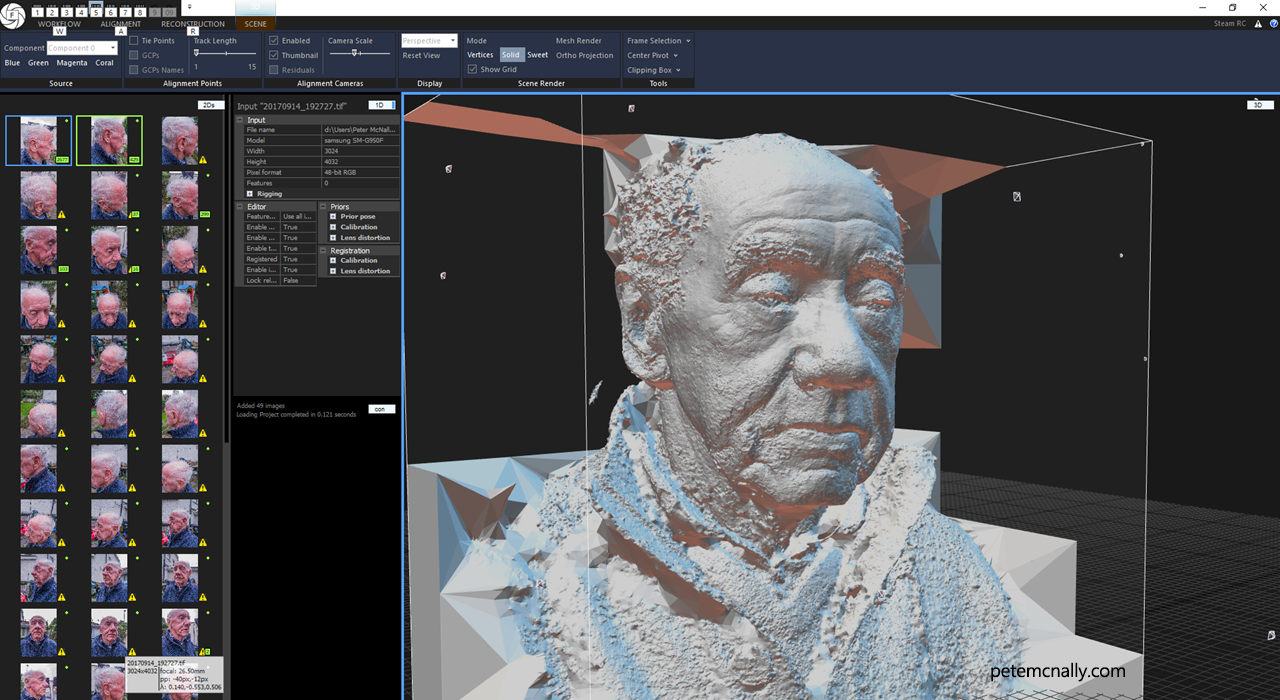
Took me a while to get this update together! This time, I’d like to share an experiment in single camera photogrammetry. I was very inspired by some of James Busby’s recent work on Sketchfab, so much so that I went back to try scanning with another human subject. My Dad dropped by the house one evening and I asked him to sit for me outside, just as the light was fading. I was fairly sure the effort would be wasted due to the failing light, but photogrammetry has surprised me before, so I carried on. I shot about 45 photos in raw, handheld on my phone, a Samsung Galaxy S8. From there, I processed the raw files in a free version of DxO, removing vignetting, chromatic aberration, shadows and highlights where possible, but keeping distortion. Here is the mesh output on normal detail in Reality Capture.

Results out of the box showed some promise. Overall form and volume were there with some detailed areas around the eyes quite well defined. Lots of noise too though, a chunk missing under the chin and nothing at all from the ears back. All in, there was a count of about 45 million triangles. Generating the albedo texture helped the visuals a lot (see below) but I knew there’d still be cleanup in Mudbox, which has good hole patching for geometry. The relax, smooth and scrape brushes also work well for reducing noise in rough areas.

I used
Instant Meshes to retopologise the high poly mesh, it can be a very handy tool to put out an all quad mesh to work with in real-time, here’s how the model looked, I also replaced the eyes with proper spherical eyeballs.
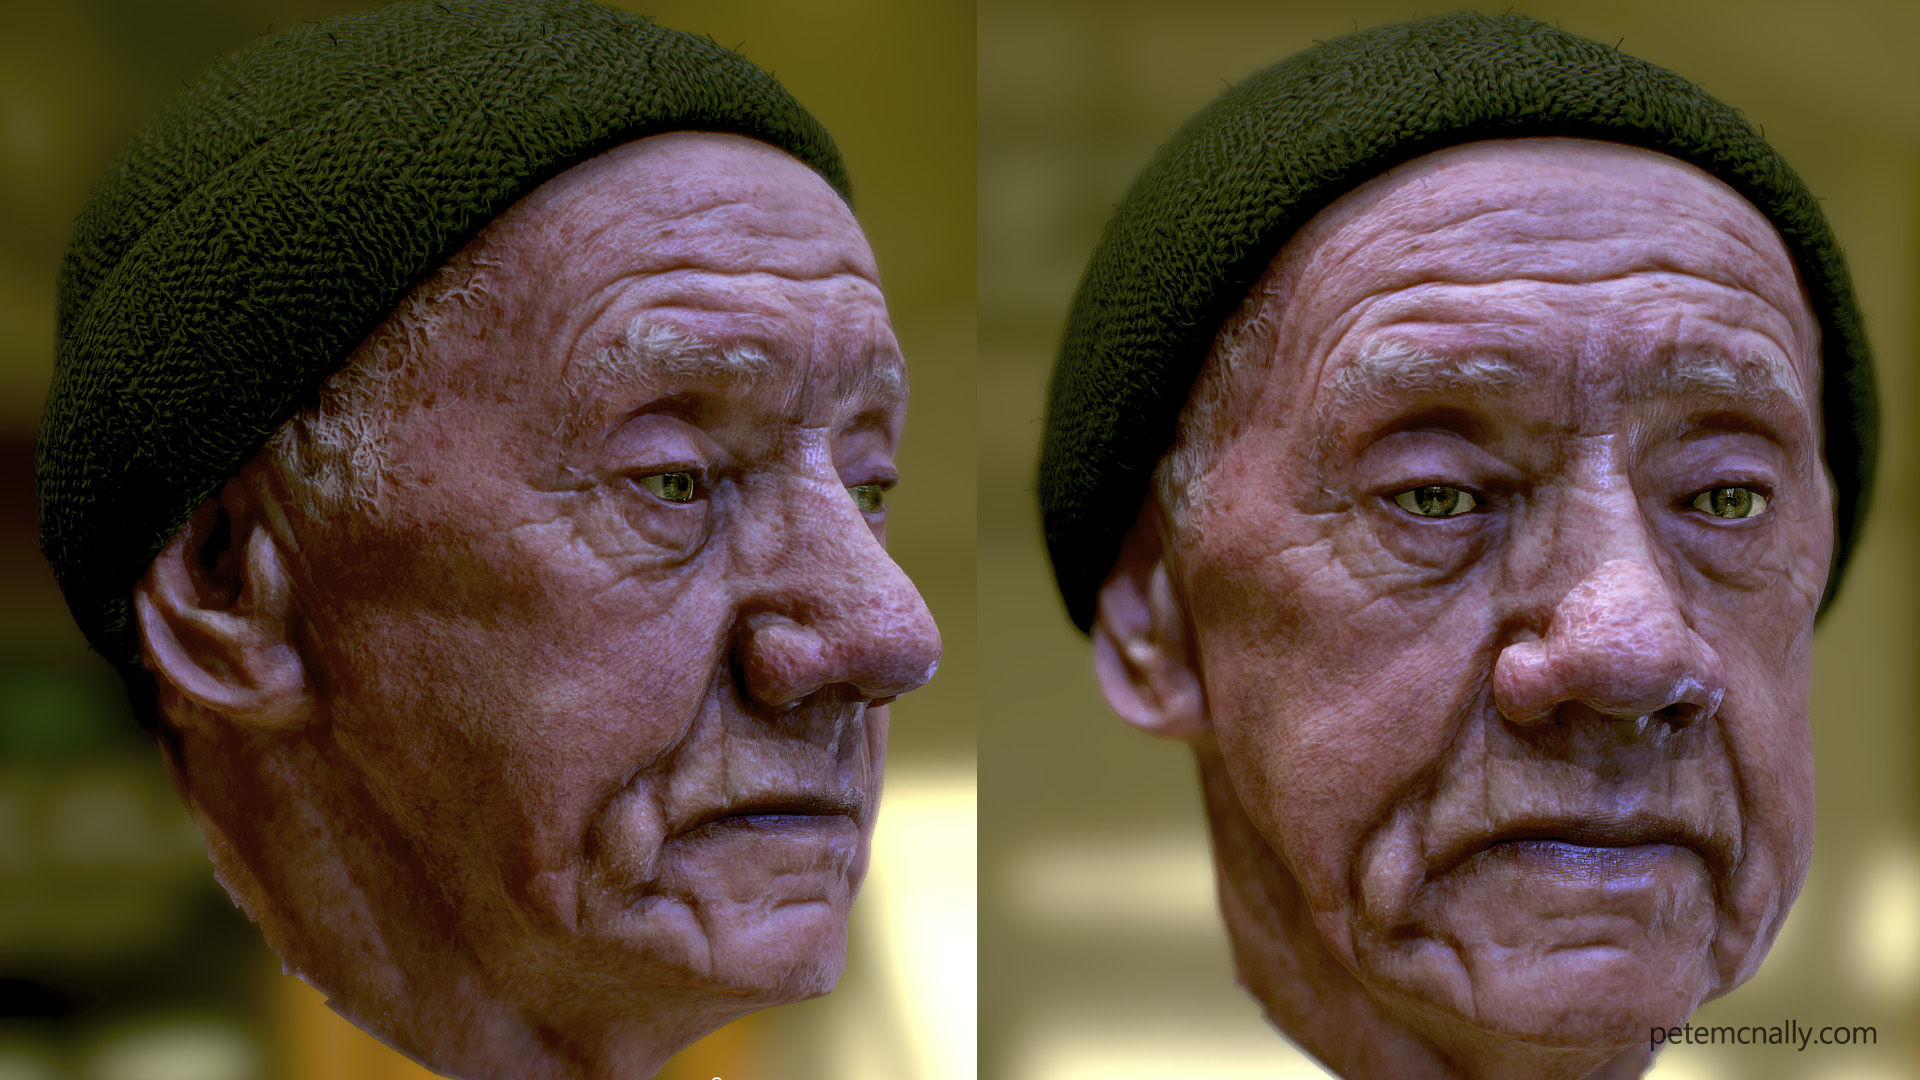
I laid out UVs on the low poly mesh in 3DSmax and baked albedo, thickness and normal maps from there, over then to
Knald to generate high frequency detail normals, AO and cavity maps. Substance Painter and Photoshop were used to paint out shadows and highlights and fill in gaps in the textures, and hand paint specular and glossiness maps, to control which parts of the skin would look oily. I used
Marmoset Toolbag 3 for look development, check out some of the textures below.
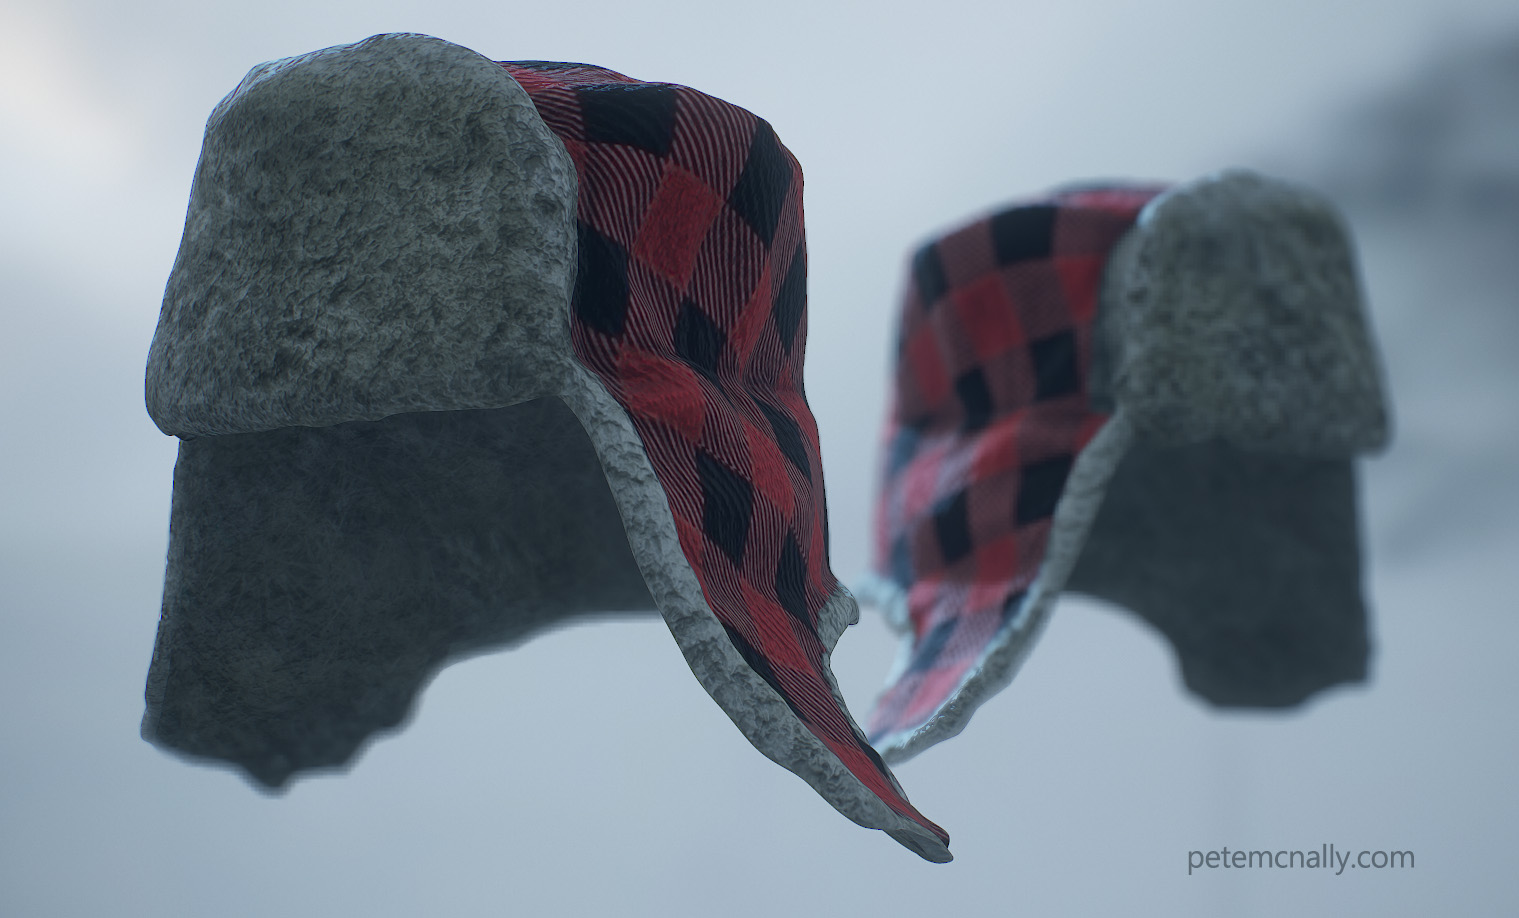
I still needed something to cover the large hole in the back of the mesh, I scanned a fur lined hat and tried to make it fit the head but I wasn’t happy with the results, I had to deform it too much to make it fit (image rendered in Toolbag 3)
I also tried a metal morion helmet I had already made, but it wasn’t great either and hid too much of the model underneath (image rendered in Toolbag 3)
So I ended up modelling a tight fitting wooly hat over the top of the head and textured it traditionally, and I was a lot happier with this. Here is the head model screen grabbed from Sketchfab:
Another (Sketchfab) image including the hat:
And finally the model in real-time, you can orbit by left-clicking and dragging or move the lights by holding alt and left-clicking and dragging. There is a very simple eye movement animation and a roll of the jaw, I’d love to try some more with facial rigging after this but it’s an area I know very little about. Lots learned from this one!
Bonus: Blooper with displacement on the wooly hat 🙂
~ by petemcnally on November 23, 2017.
Posted in Gallery, Personal Work
Tags: 3d, 3dsmax, aged, budget, cgi, clean, dev, development, digital, elderly, face, hat, head, human, knald, look, low, male, man, Marmoset, mesh, model, Mudbox, noise, painter, pbr, photoshop, poly, punk, realistic, scan, sketchfab, skin, SSS, substance, toolbag, vfx, webgl, wooly, Zbrush


Great job Pete.
________________________________
Thanks Joe!
Very nice job.
You might be interested in see these face model:
https://skfb.ly/XHWt
Thanks Helen, that looks great
i come here sometimes to see your beautiful experiments.
Today i decided to have some first experience with photogrammetry and i come here and i discover this beautiful topic!
I will take advantage of it, hoping you will have the time to answer me if you can.
I have a non-DSLR Nikon (coolpix B500, no raw pictures, just JPG) (in any case, should be better than a samsung galaxy, am i wrong?) camera that i used to make almost 80 pictures (16Mpixel) around a friend of mine. (indoor environment, flash turned on ’cause i am afraid the light wasn’t too much).
When i align the pictures in agisoft photoscan, i continue to have troubles with it:
– the most of the times the point clouds are not enough and they creates holes inside the mesh. (every step made in high quality calculations) and i am not satisfied with the level of detail (poor).
Anyway, i would like to reach at least the half of quality you had with you dad. how can i do it?
thanks
Hi Davide and thanks for your comment. There are a few issues you could watch for, if you’re getting holes in the mesh, you either don’t have enough photographs or the area in the photos is too dark. Try to ensure that your subject is well lit. Shooting in jpeg can work well outdoors, but it doesn’t provide the extra exposure wiggle room that raw offers, which can help alleviate the issues you’re having. Also, try to use a tripod as slight motion blur can also cause photos to not align properly. 80 pictures can take a while to shoot, all the while your subject is holding still, even the act of breathing creates micro movement that can throw off a solve. Try taking photos outside instead, without the flash
Amazing tutorial! Thanks! And Instant Meshes is an incredible piece of software, really good to know!!
Thanks so much Remi!
Hello, this is a nice job especially from a smartphone! Could you share how to do the specular map?
Hi Richard, thanks for the comment. The specular map is based on the albedo, hue shifted towards blue and purple. I then multiplied a cavity map over it and hand painted some lighter, less saturated colour around the nose and lips.
Is there a way I can download the 3D model files?
Unfortunately not for this project