
Seamless Materials from 3D Scans in Artomatix…
I’m starting this blog post on Thursday 1st March 2018, the evening when “Storm Emma” and “The Beast from the East” clash over Ireland causing blizzard like conditions and Wintry landscapes not seen in this country since 1982. Public transport is suspended, many people are off or working from home, and the public have been advised to stay indoors until the Red Weather Alert lifts some time Friday evening.
With all this time indoors I’ve had some time to process scans and create materials, and put Artomatix through it’s paces. Based here in Dublin, the Artomatix app is currently in an alpha state, but already functional and promises to automate “the most time consuming, repetitive tasks creating time for artists to focus on what really matters,” – music to my ears. It’s not procedural, like Substance Designer, but uses a different approach, example-based creation. I’ve run a few scans through the software already, mainly for “texture mutation” which creates variations of a texture or multiple textures simultaneously as part of a material, and also for seam removal, making textures tile. These automatic processes can be controlled somewhat by moving jitter sliders and painting ignore masks, handy for removing blurry areas or scan artifacts. This could be really useful for making partial or unsuccessful scans usable as world textures.

The first of this series of materials from scans was some earthen rubble (blogged about previously here ) in a wheelbarrow I shot on my phone one afternoon. The scan itself worked quite well in places but needed a lot of filling in, and of course parts of the wheelbarrow removed. This would usually have to be done manually in Photoshop or Substance Painter. I imported the textures into Artomatix as a material and connected up Texture mutation and Seam Removal nodes and after a few minutes of communicating with the cloud, my textures were ready to preview. Here’s what Artomatix looks like right now, it’s still in alpha so this is likely to change, albedo input on the left, 3D preview on the right and node graph beneath:
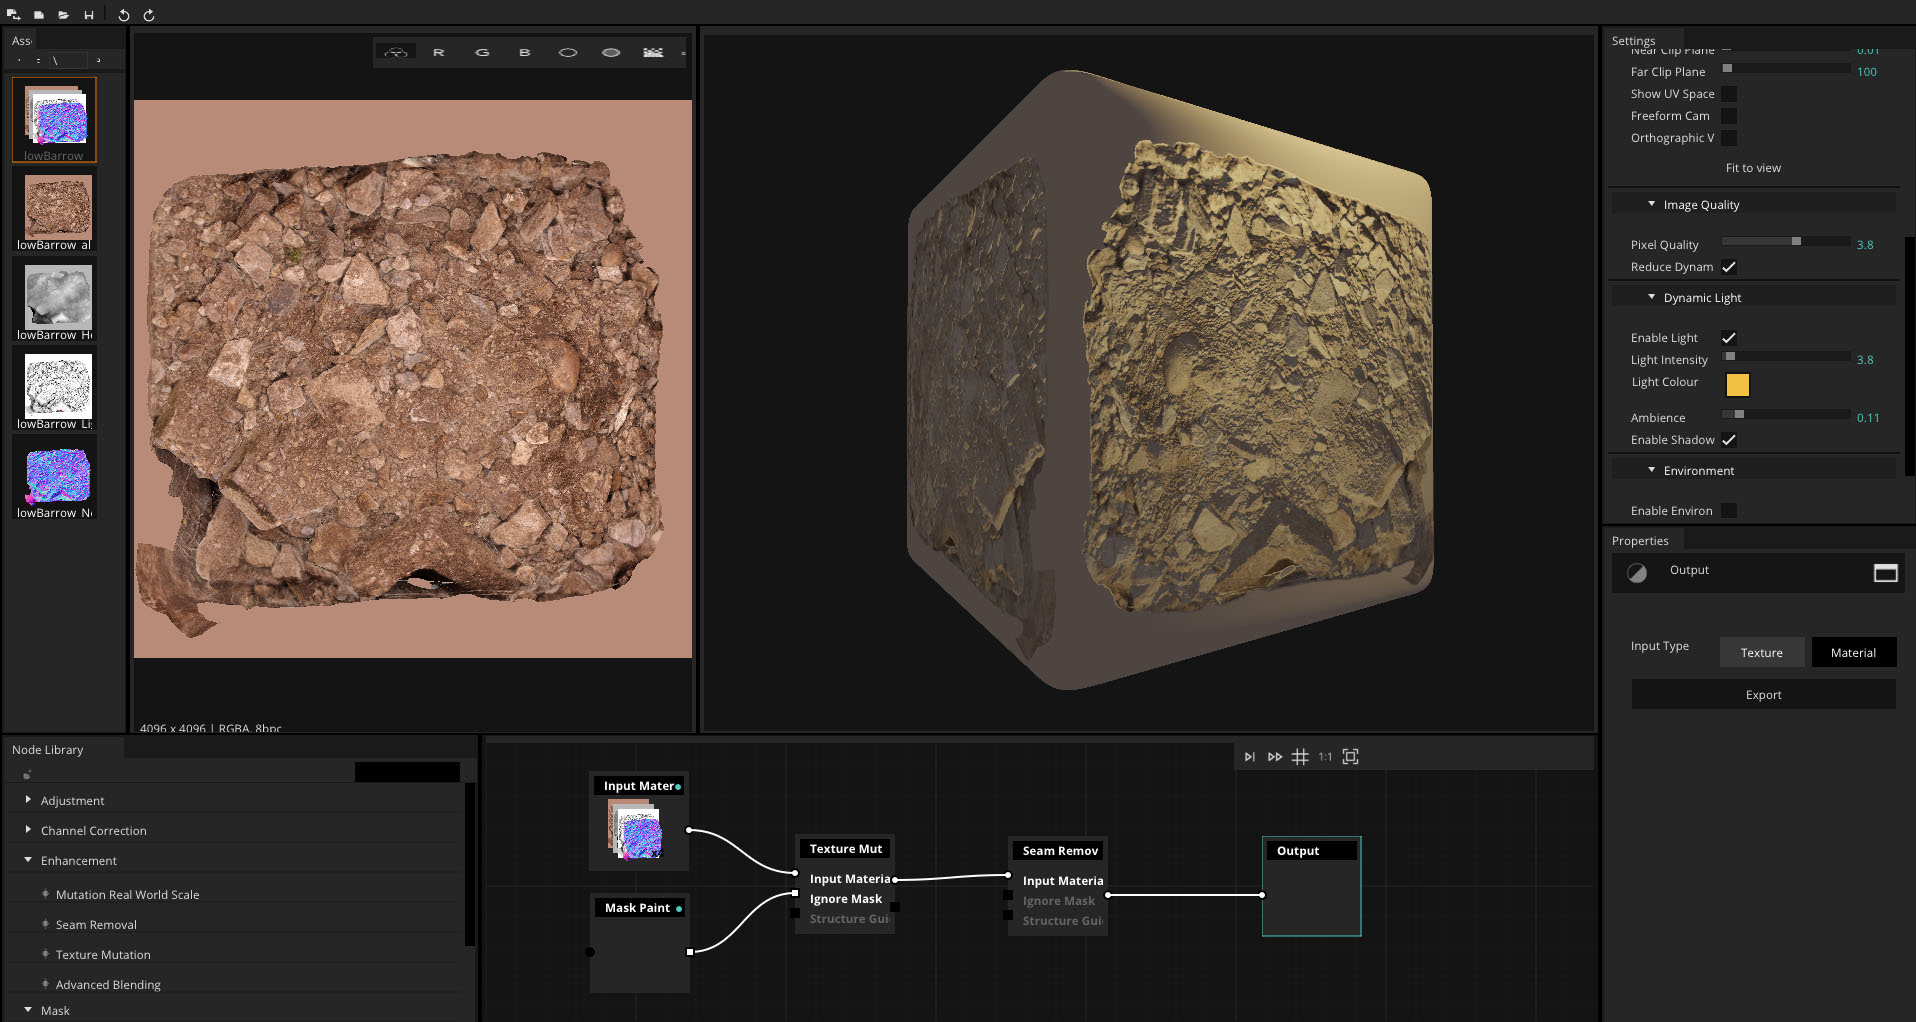
Here are the input textures, and their Artomatix seamless versions:
Albedo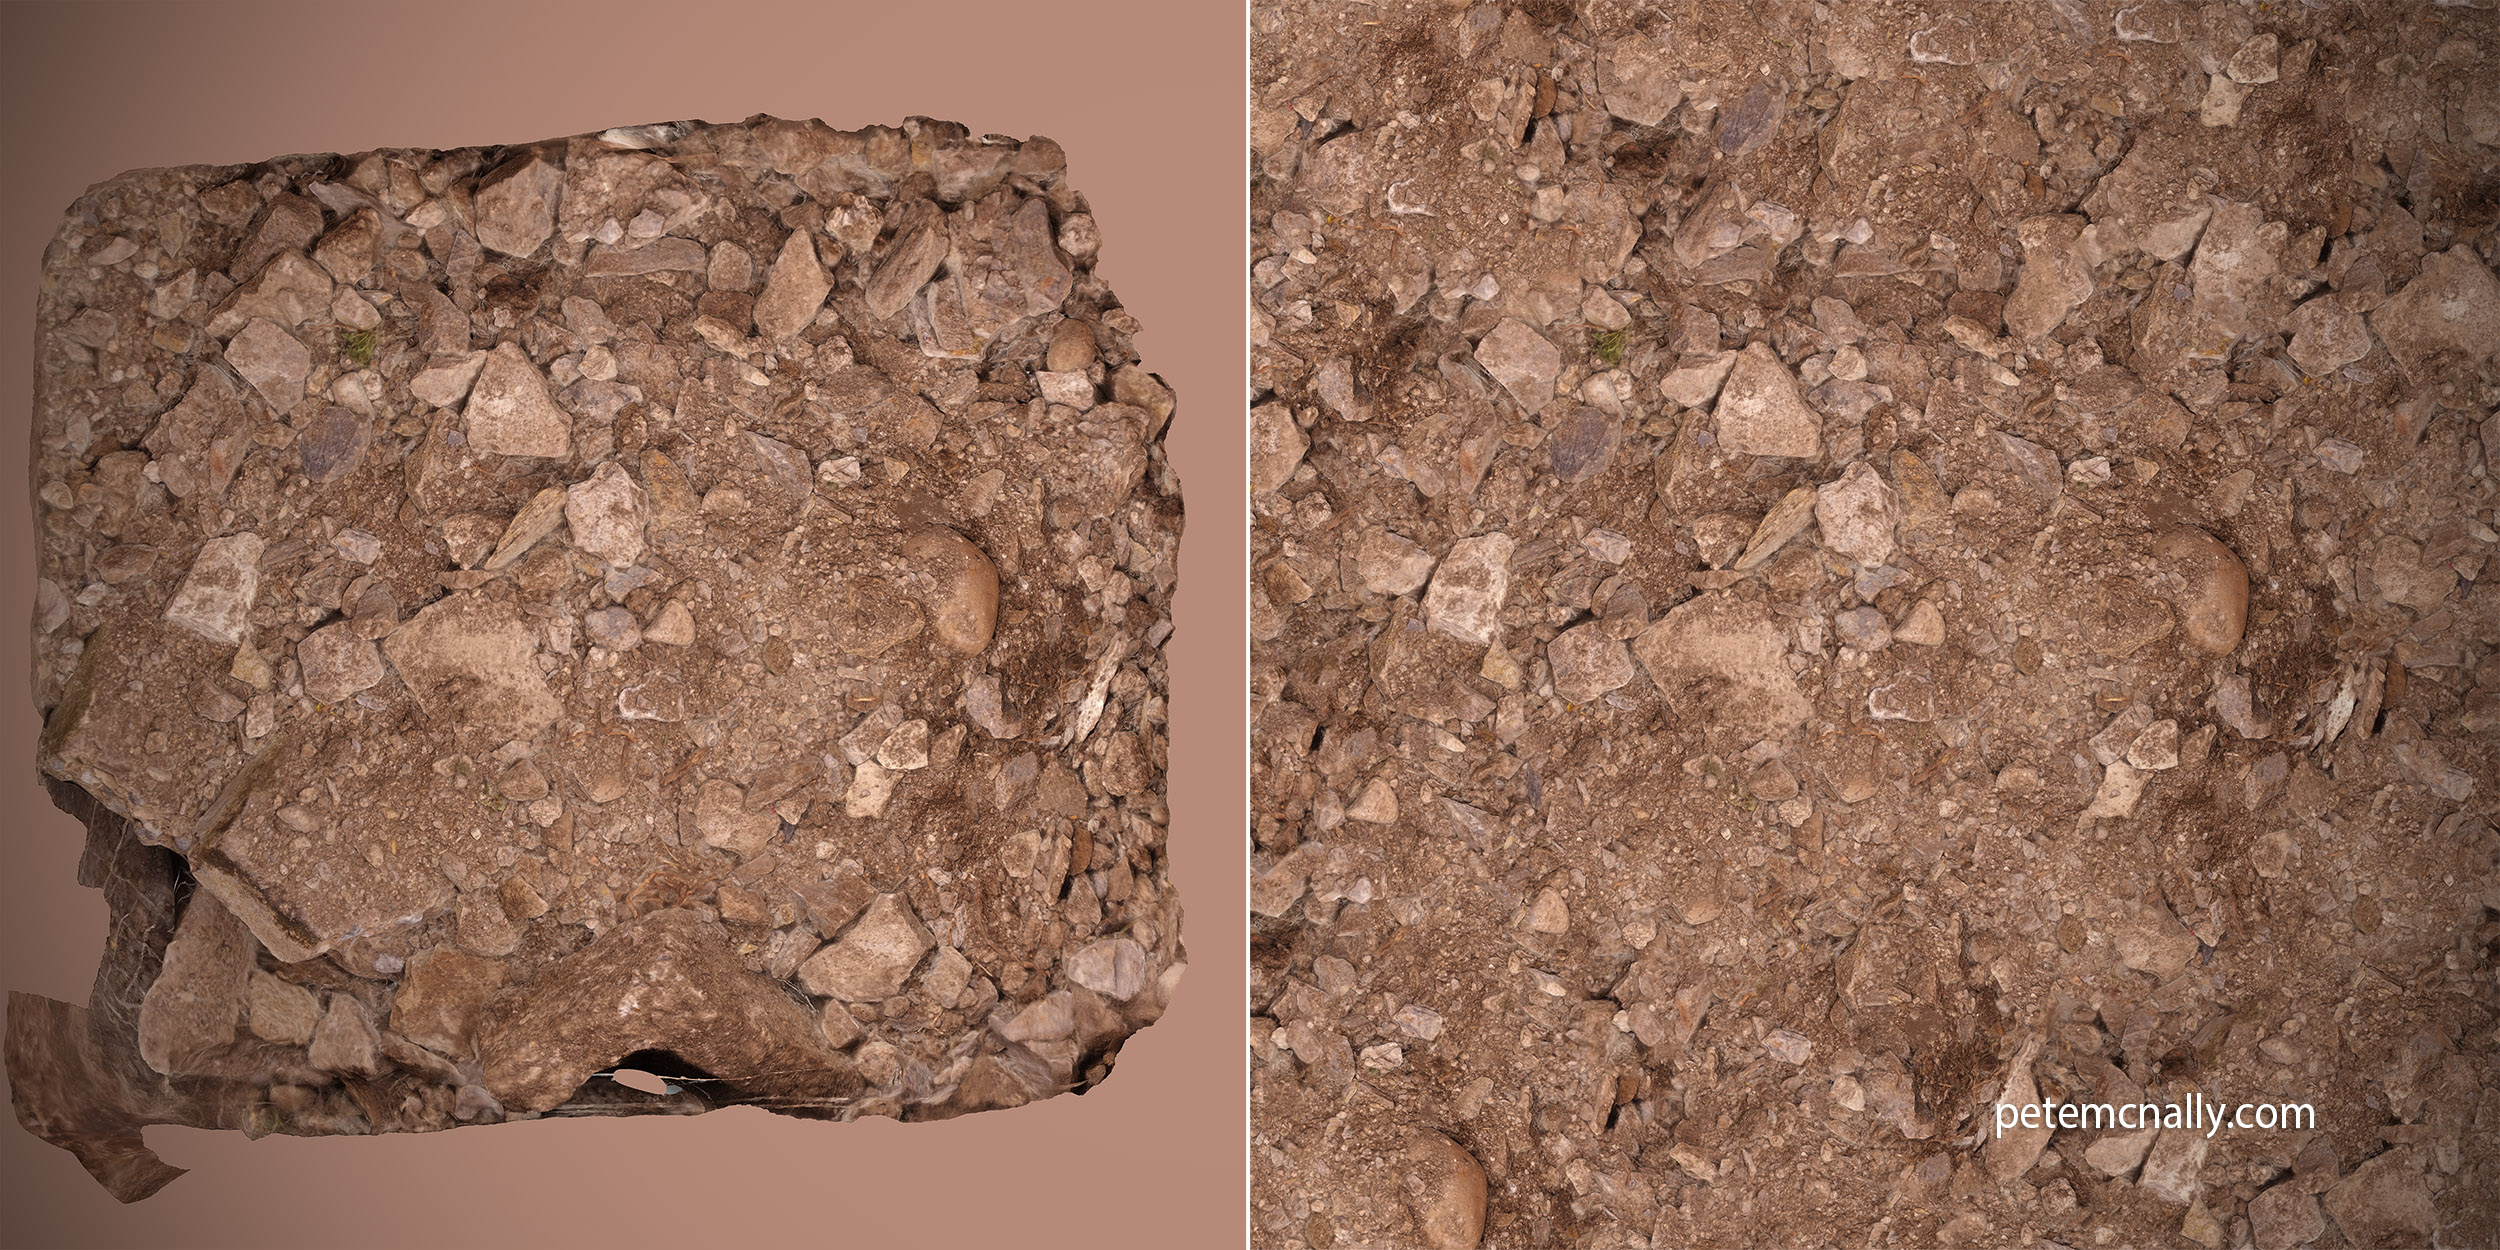
Normals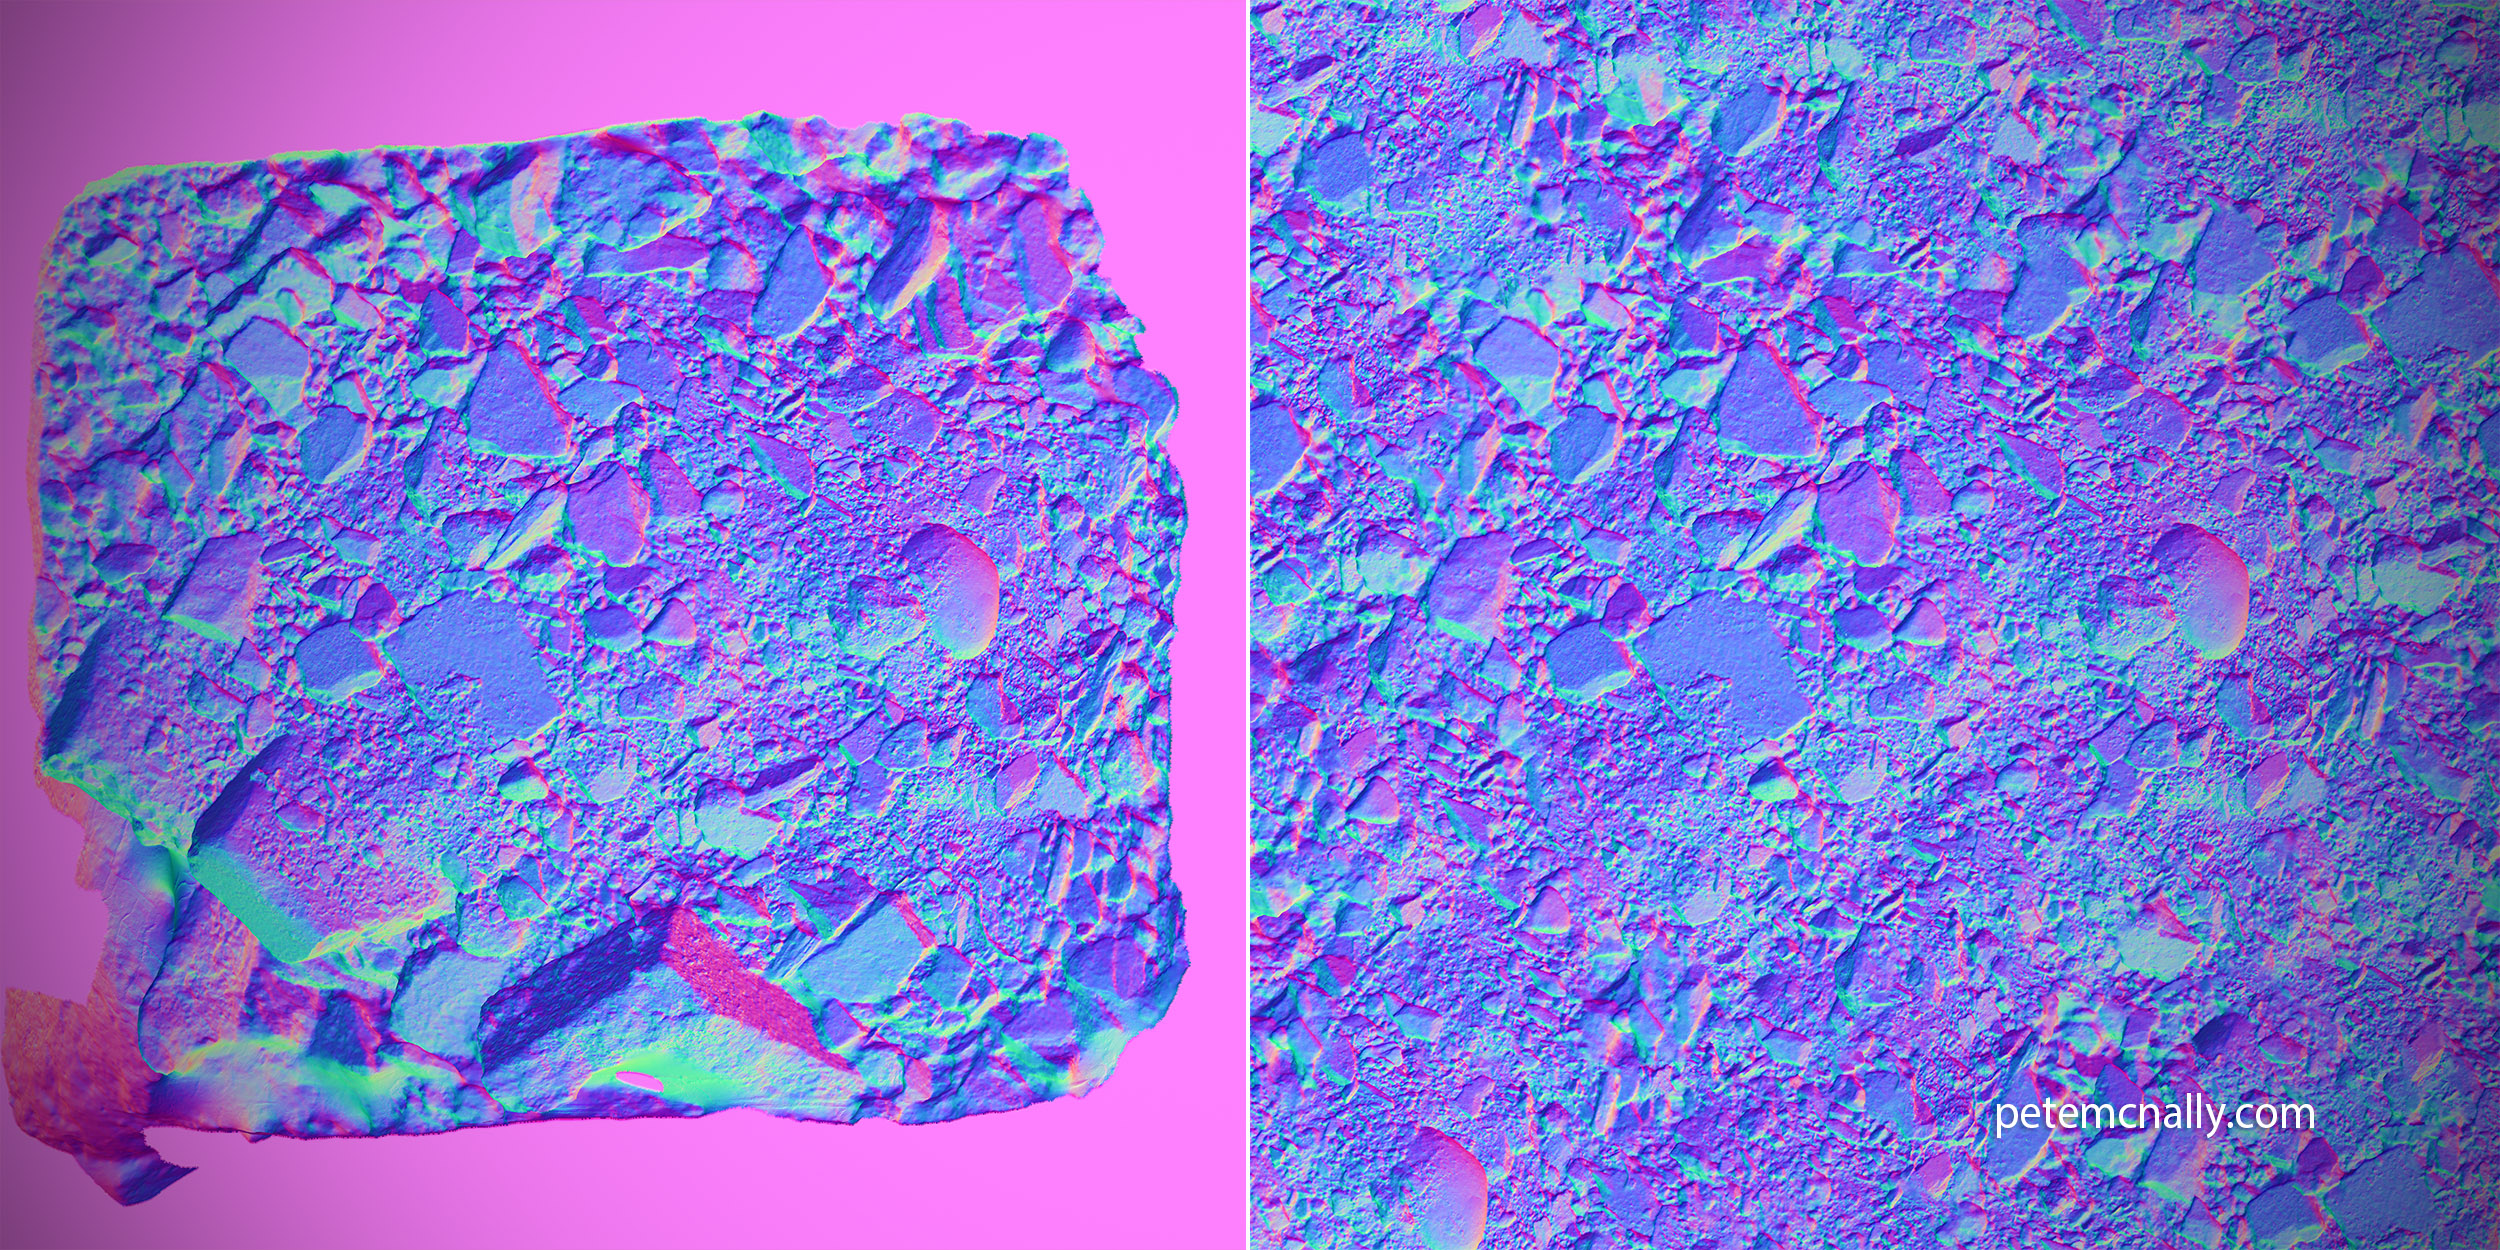
AO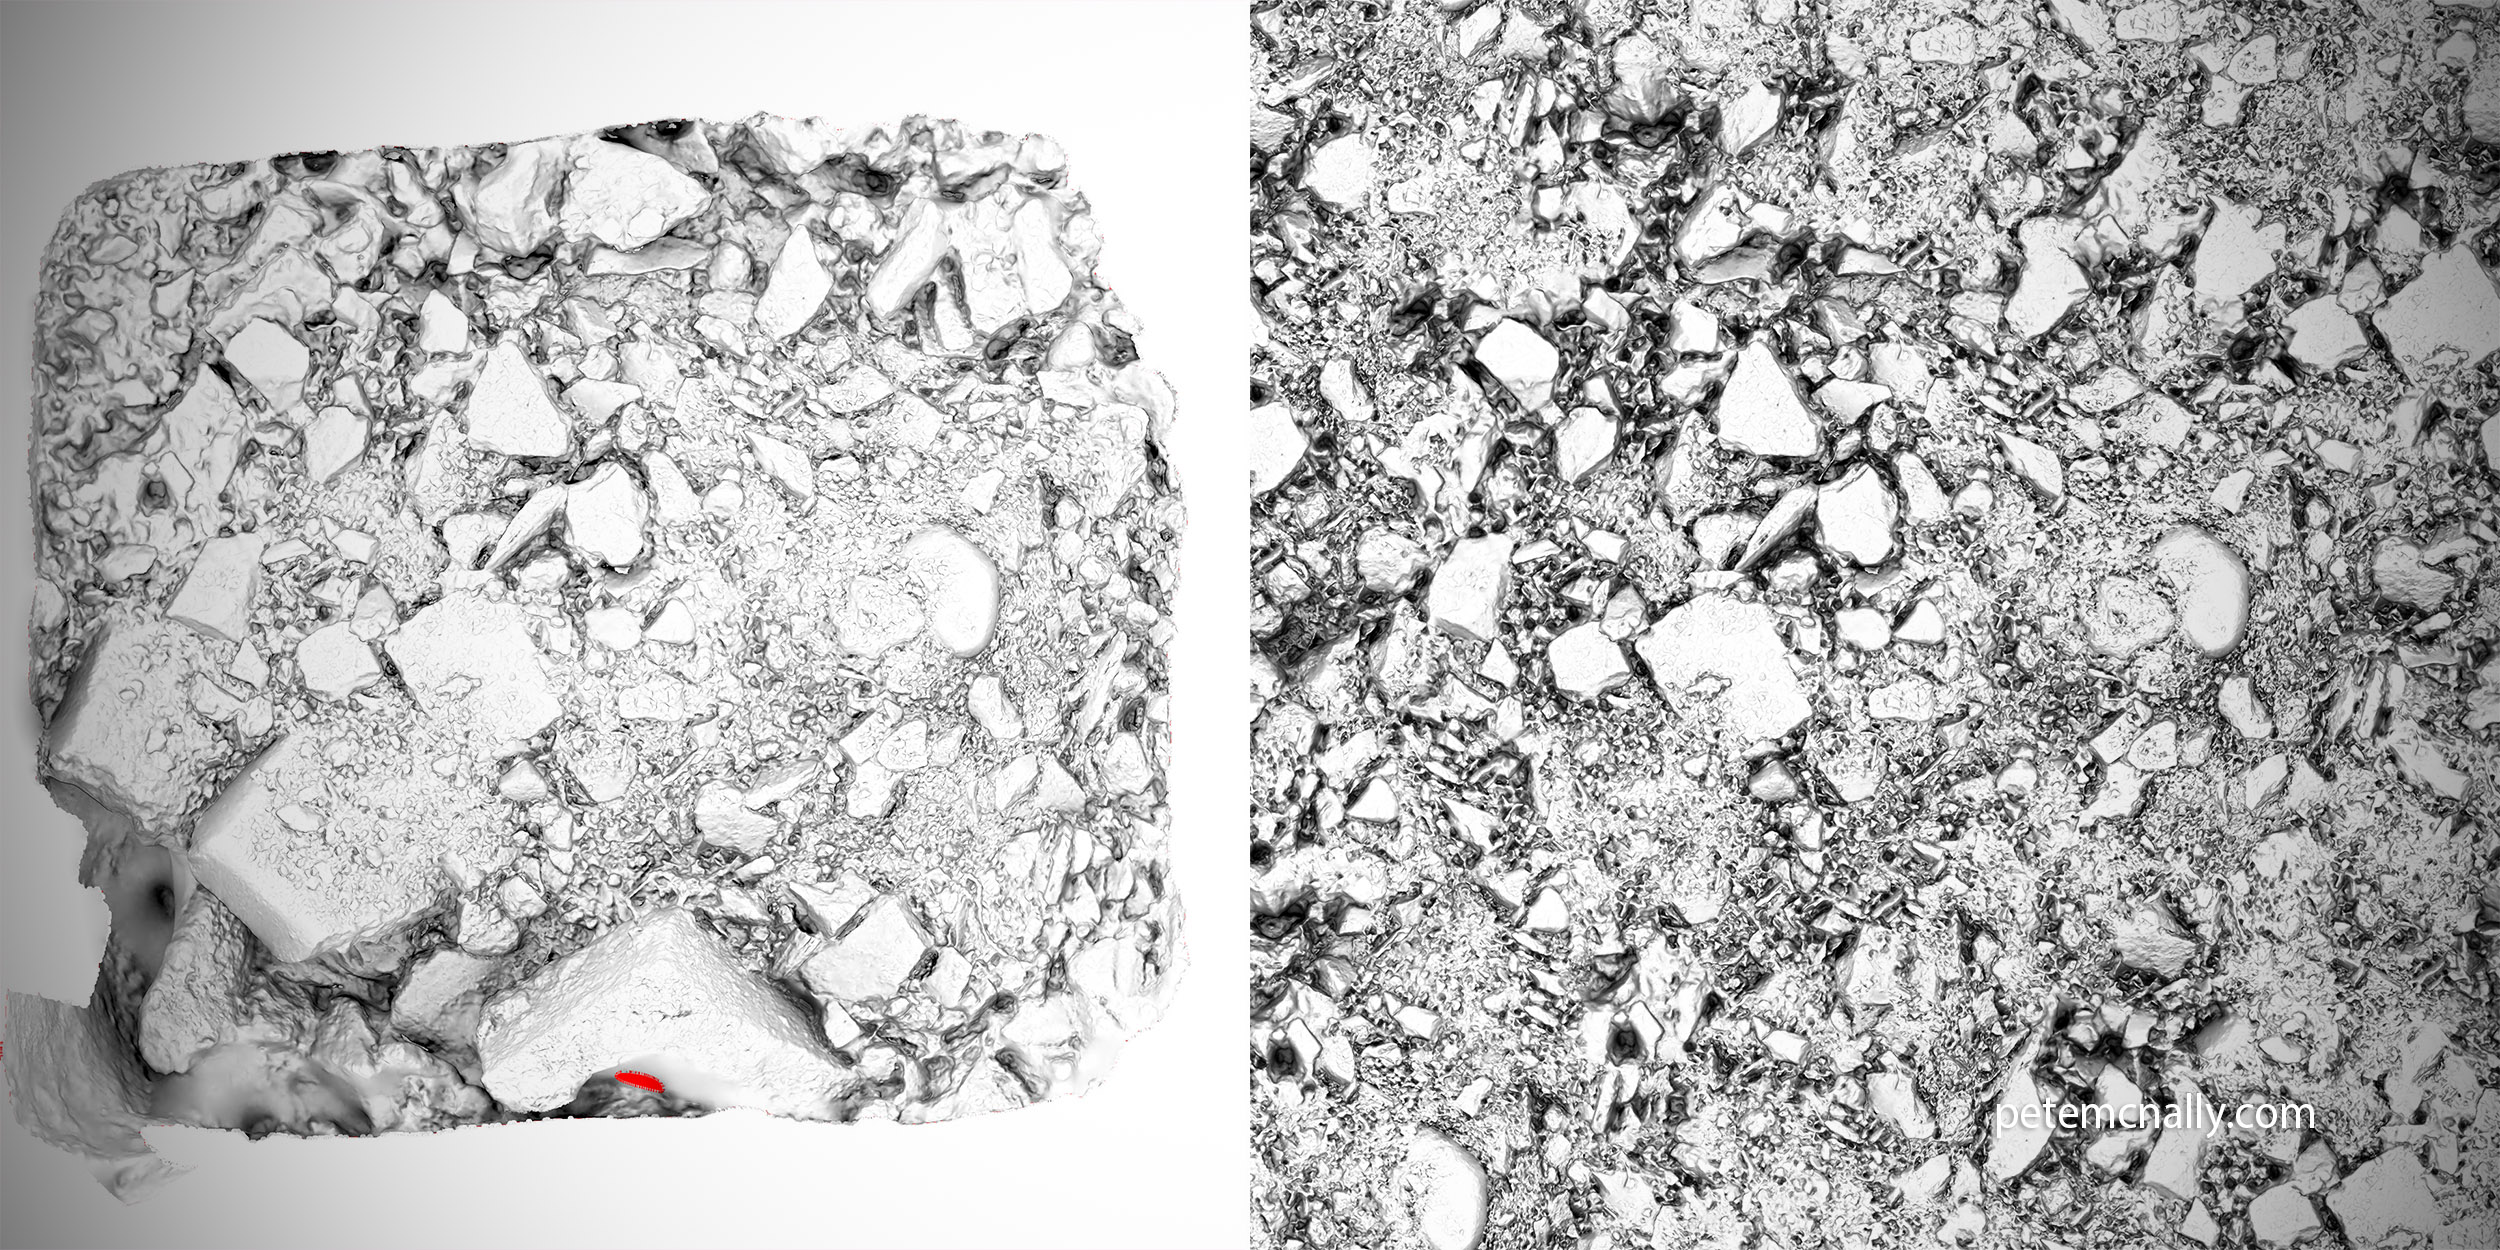
Height (not apples to apples, as I used Knald in the end to generate height from normals)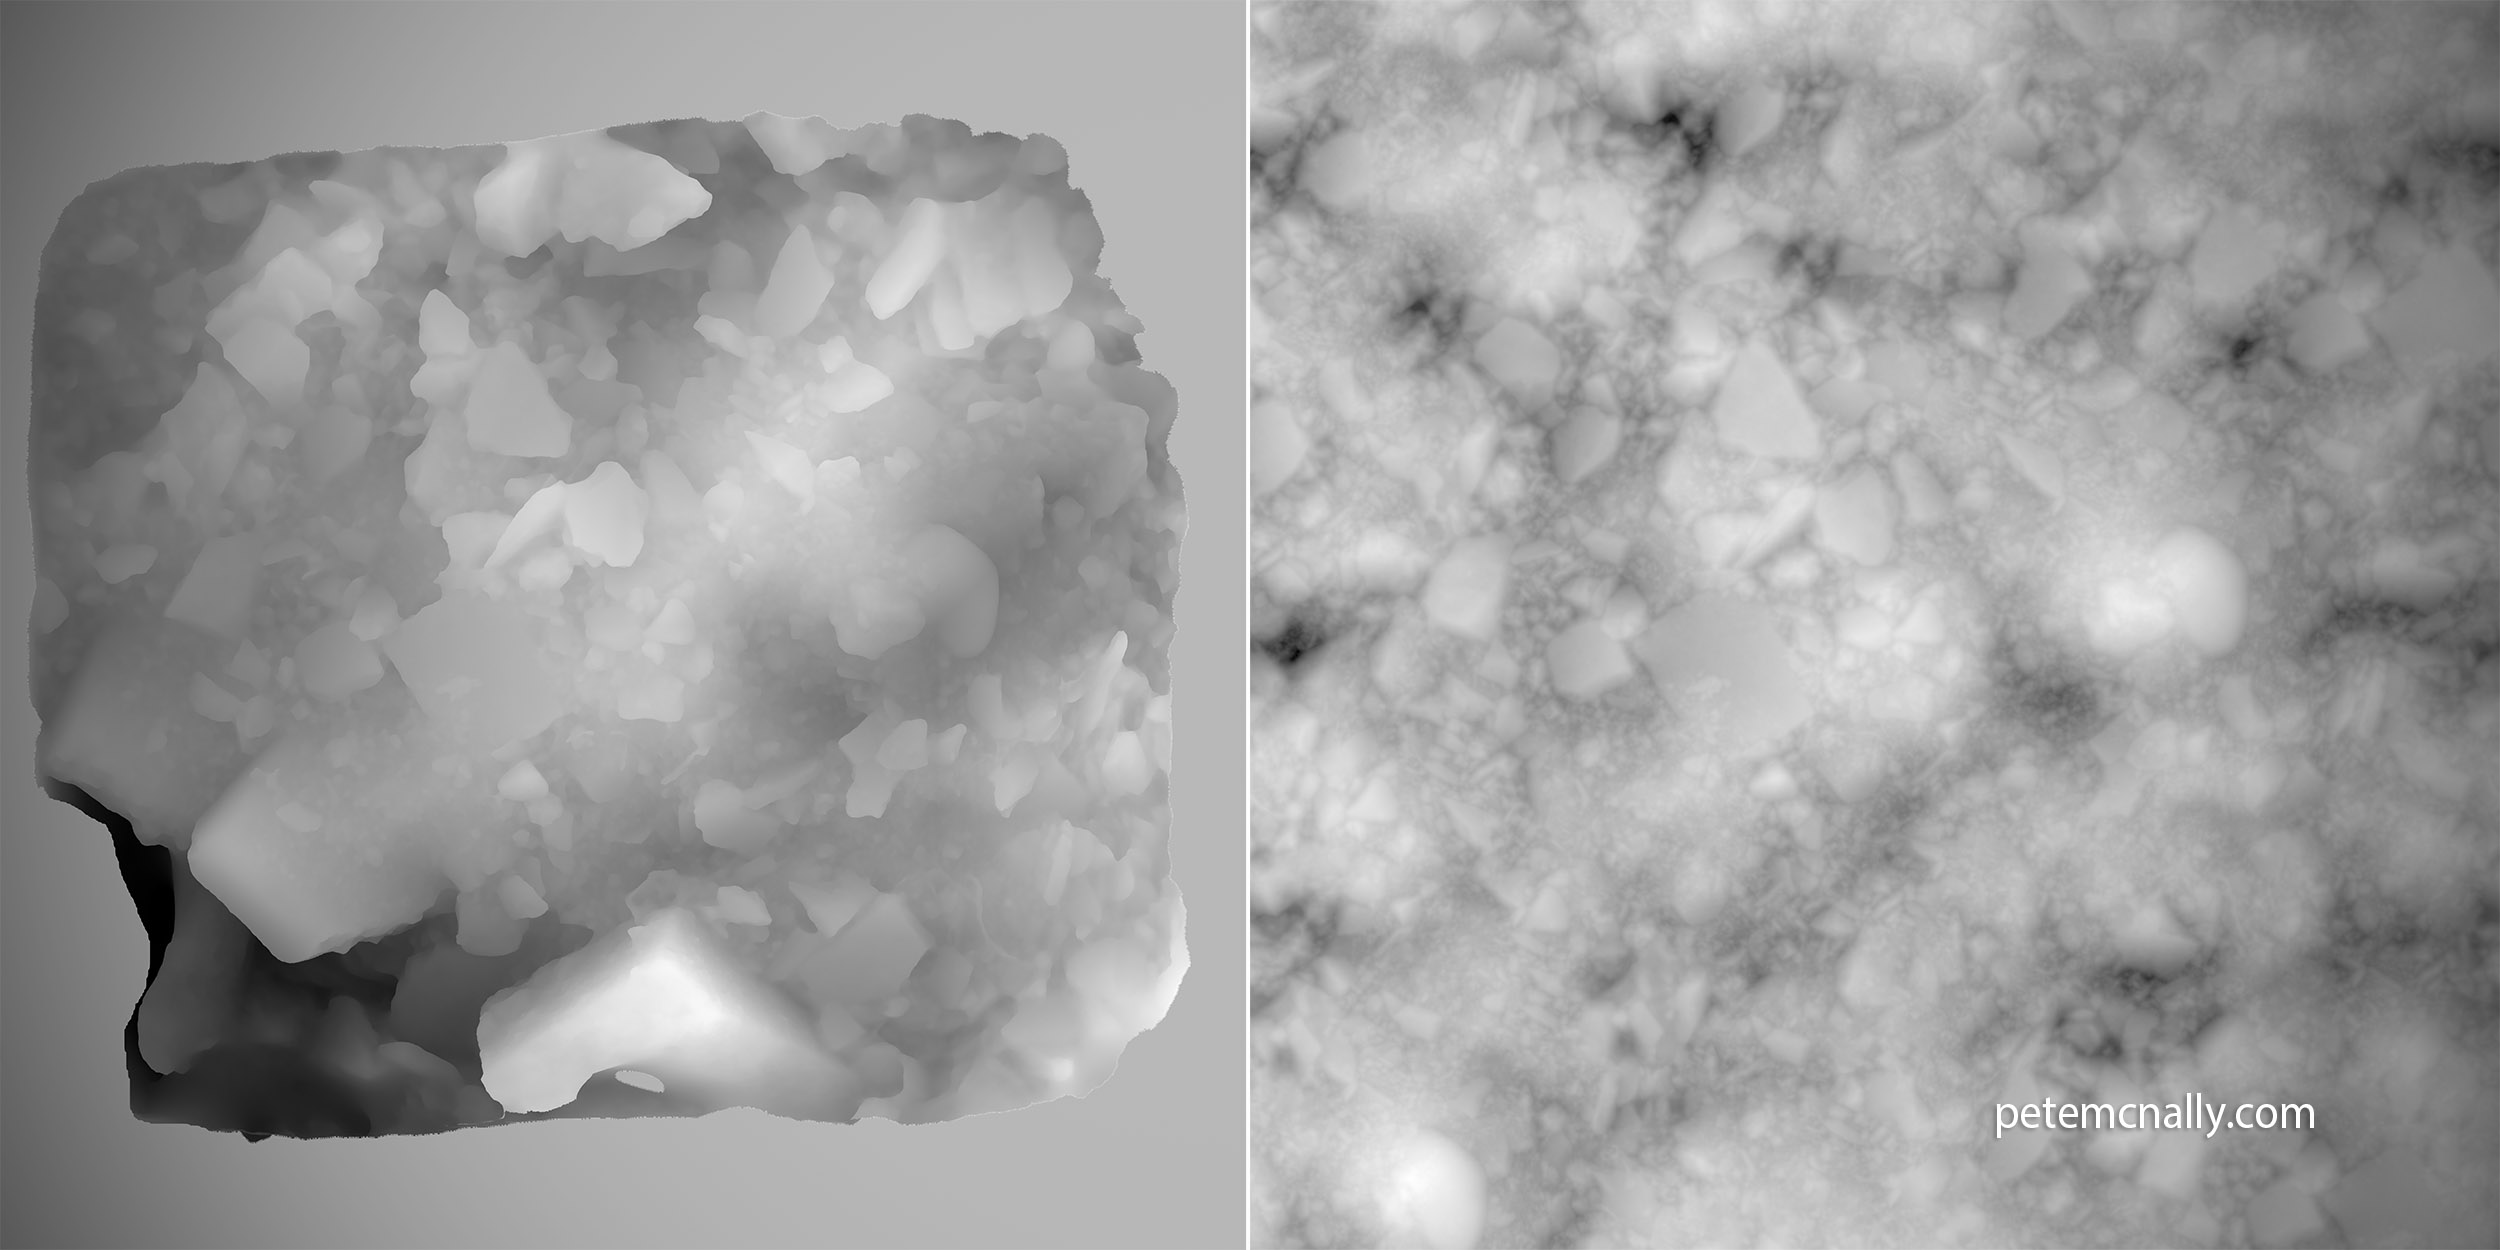
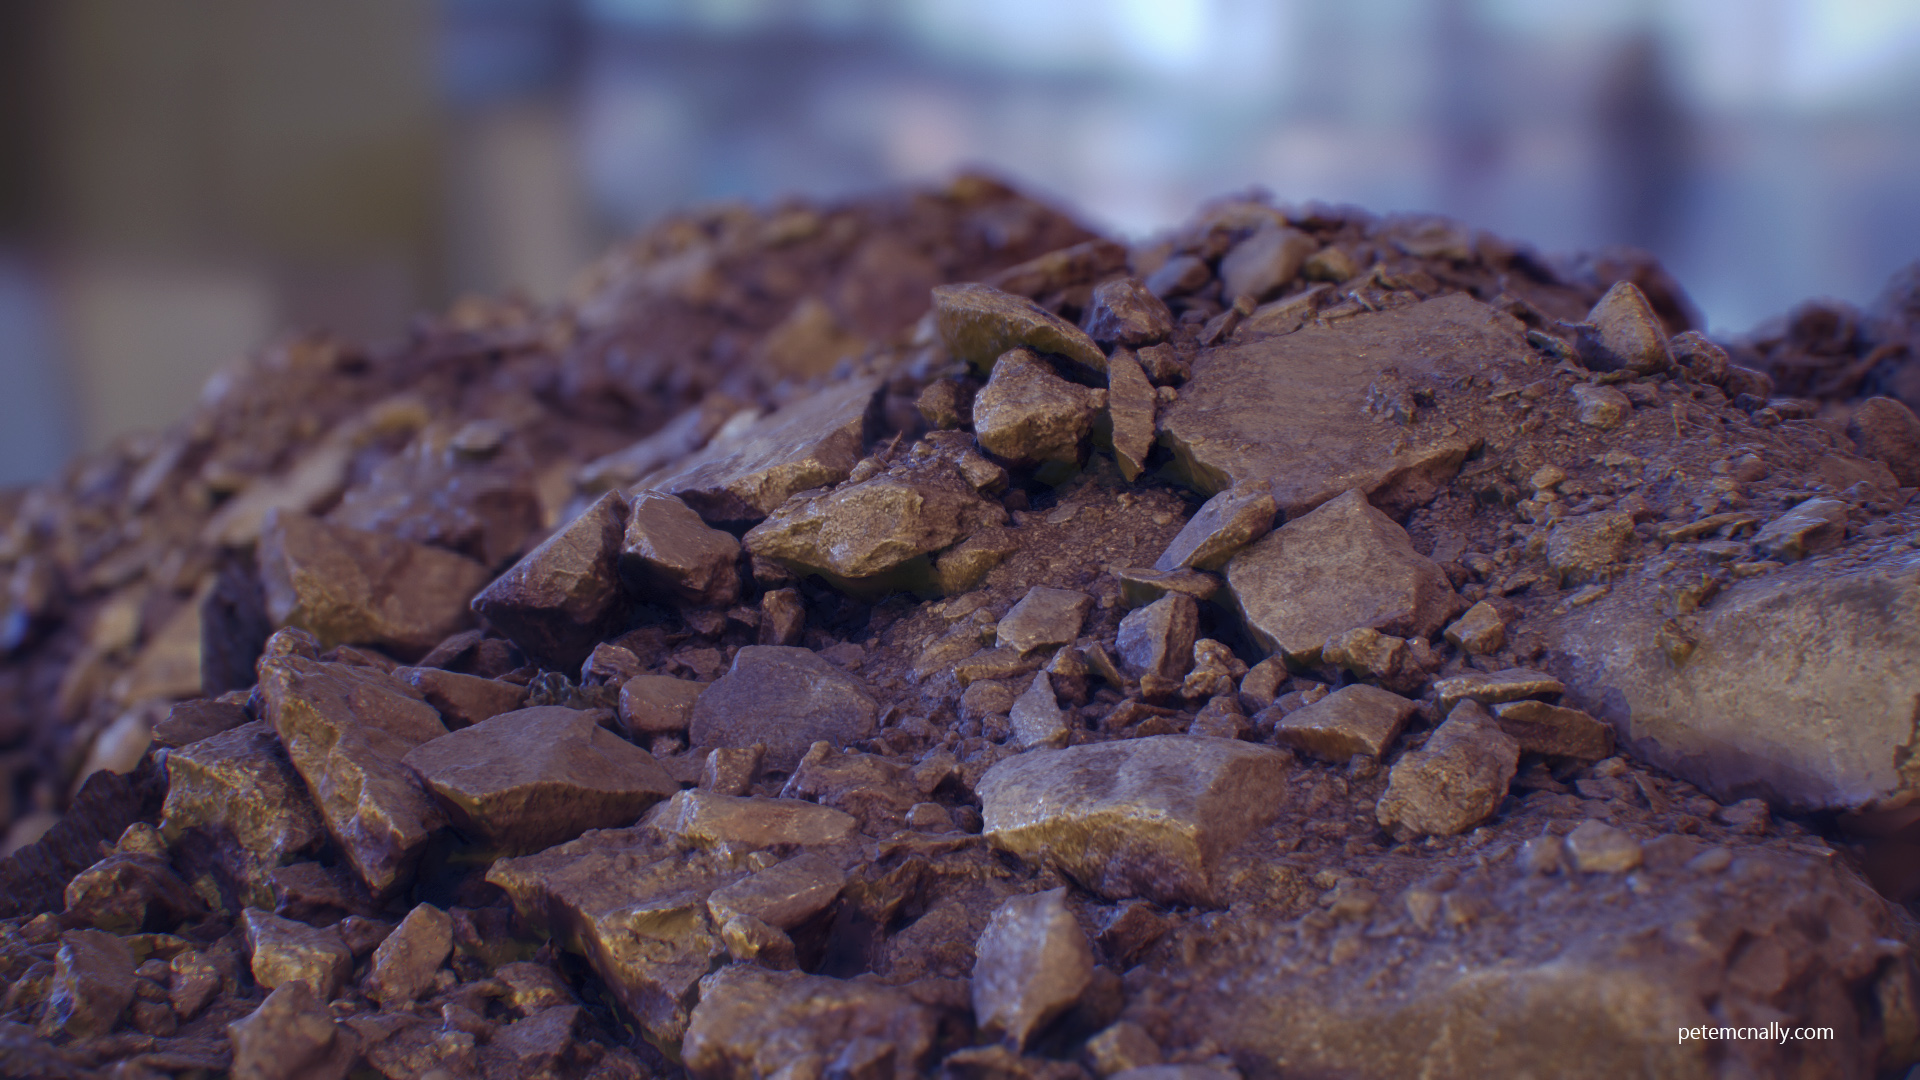
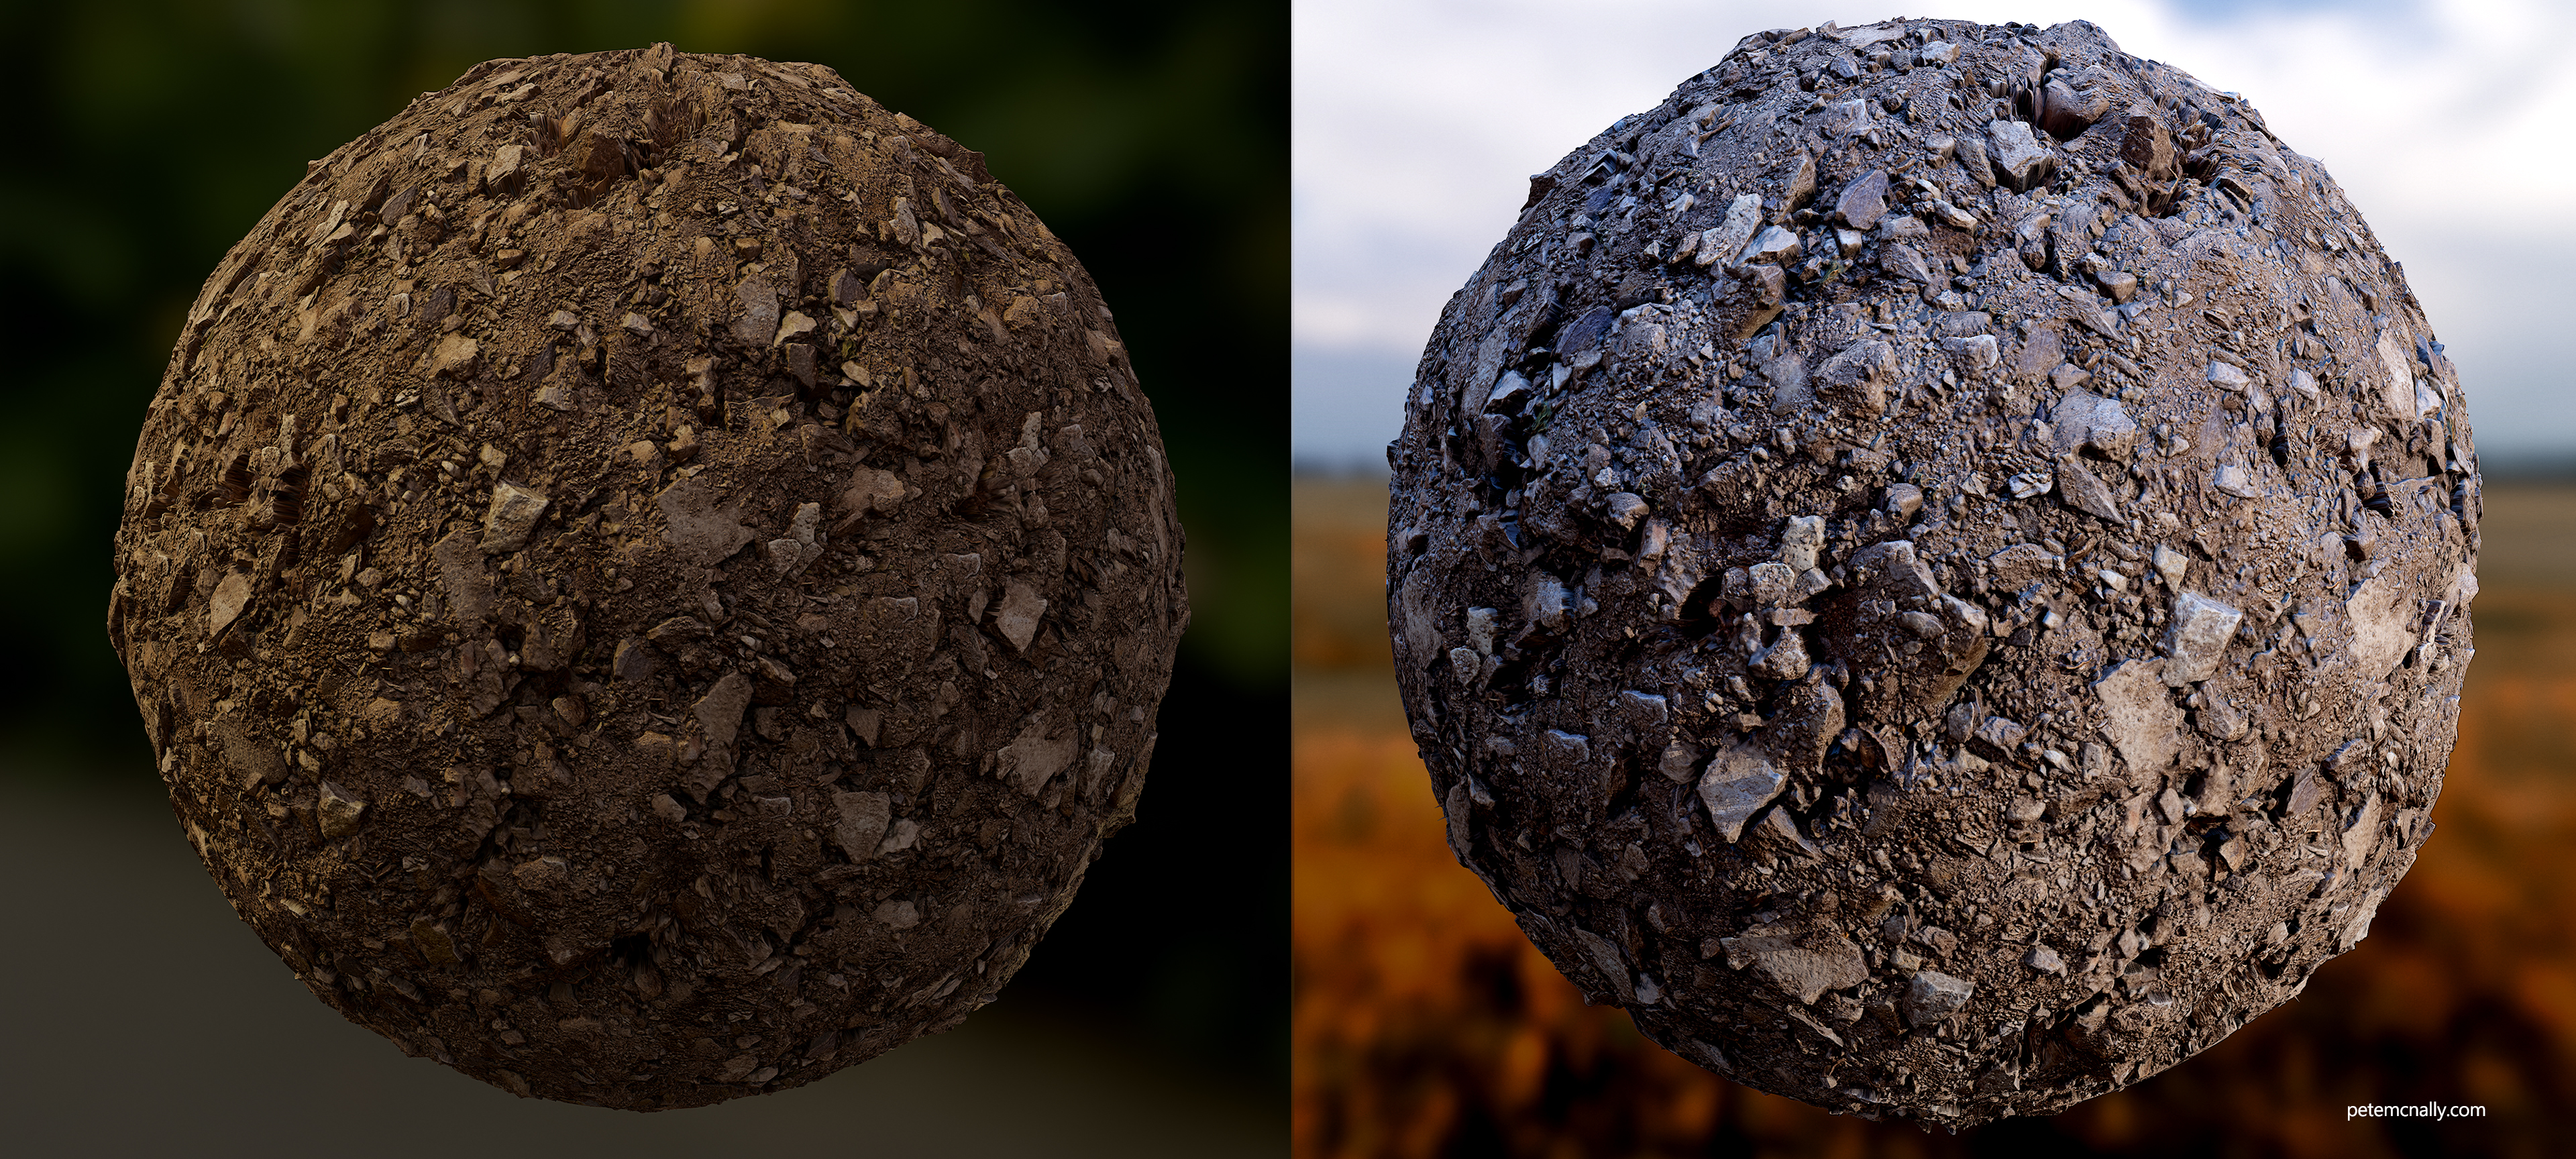
Here is the result, rendered in Toolbag 3
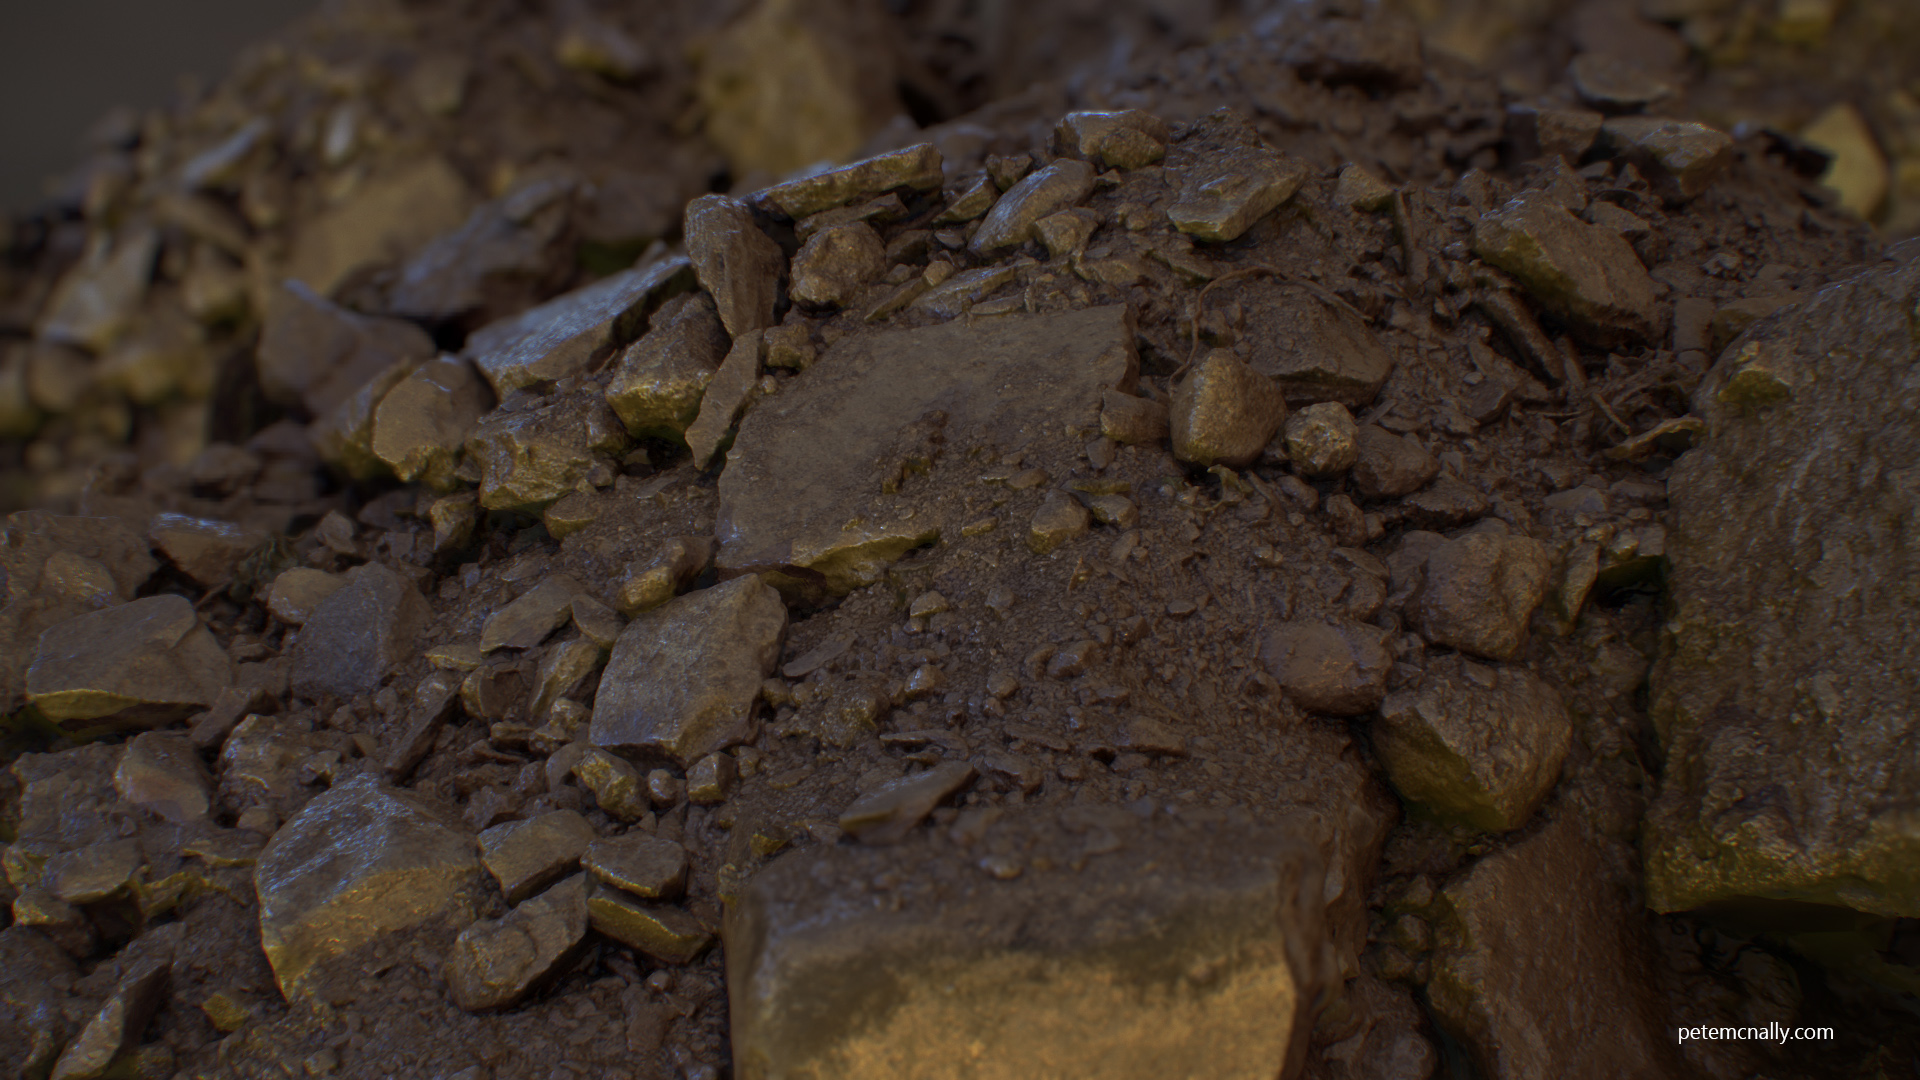
Another variation, same inputs
Finally, in realtime on Sketchfab, this one is tiled less than the Toolbag versions:
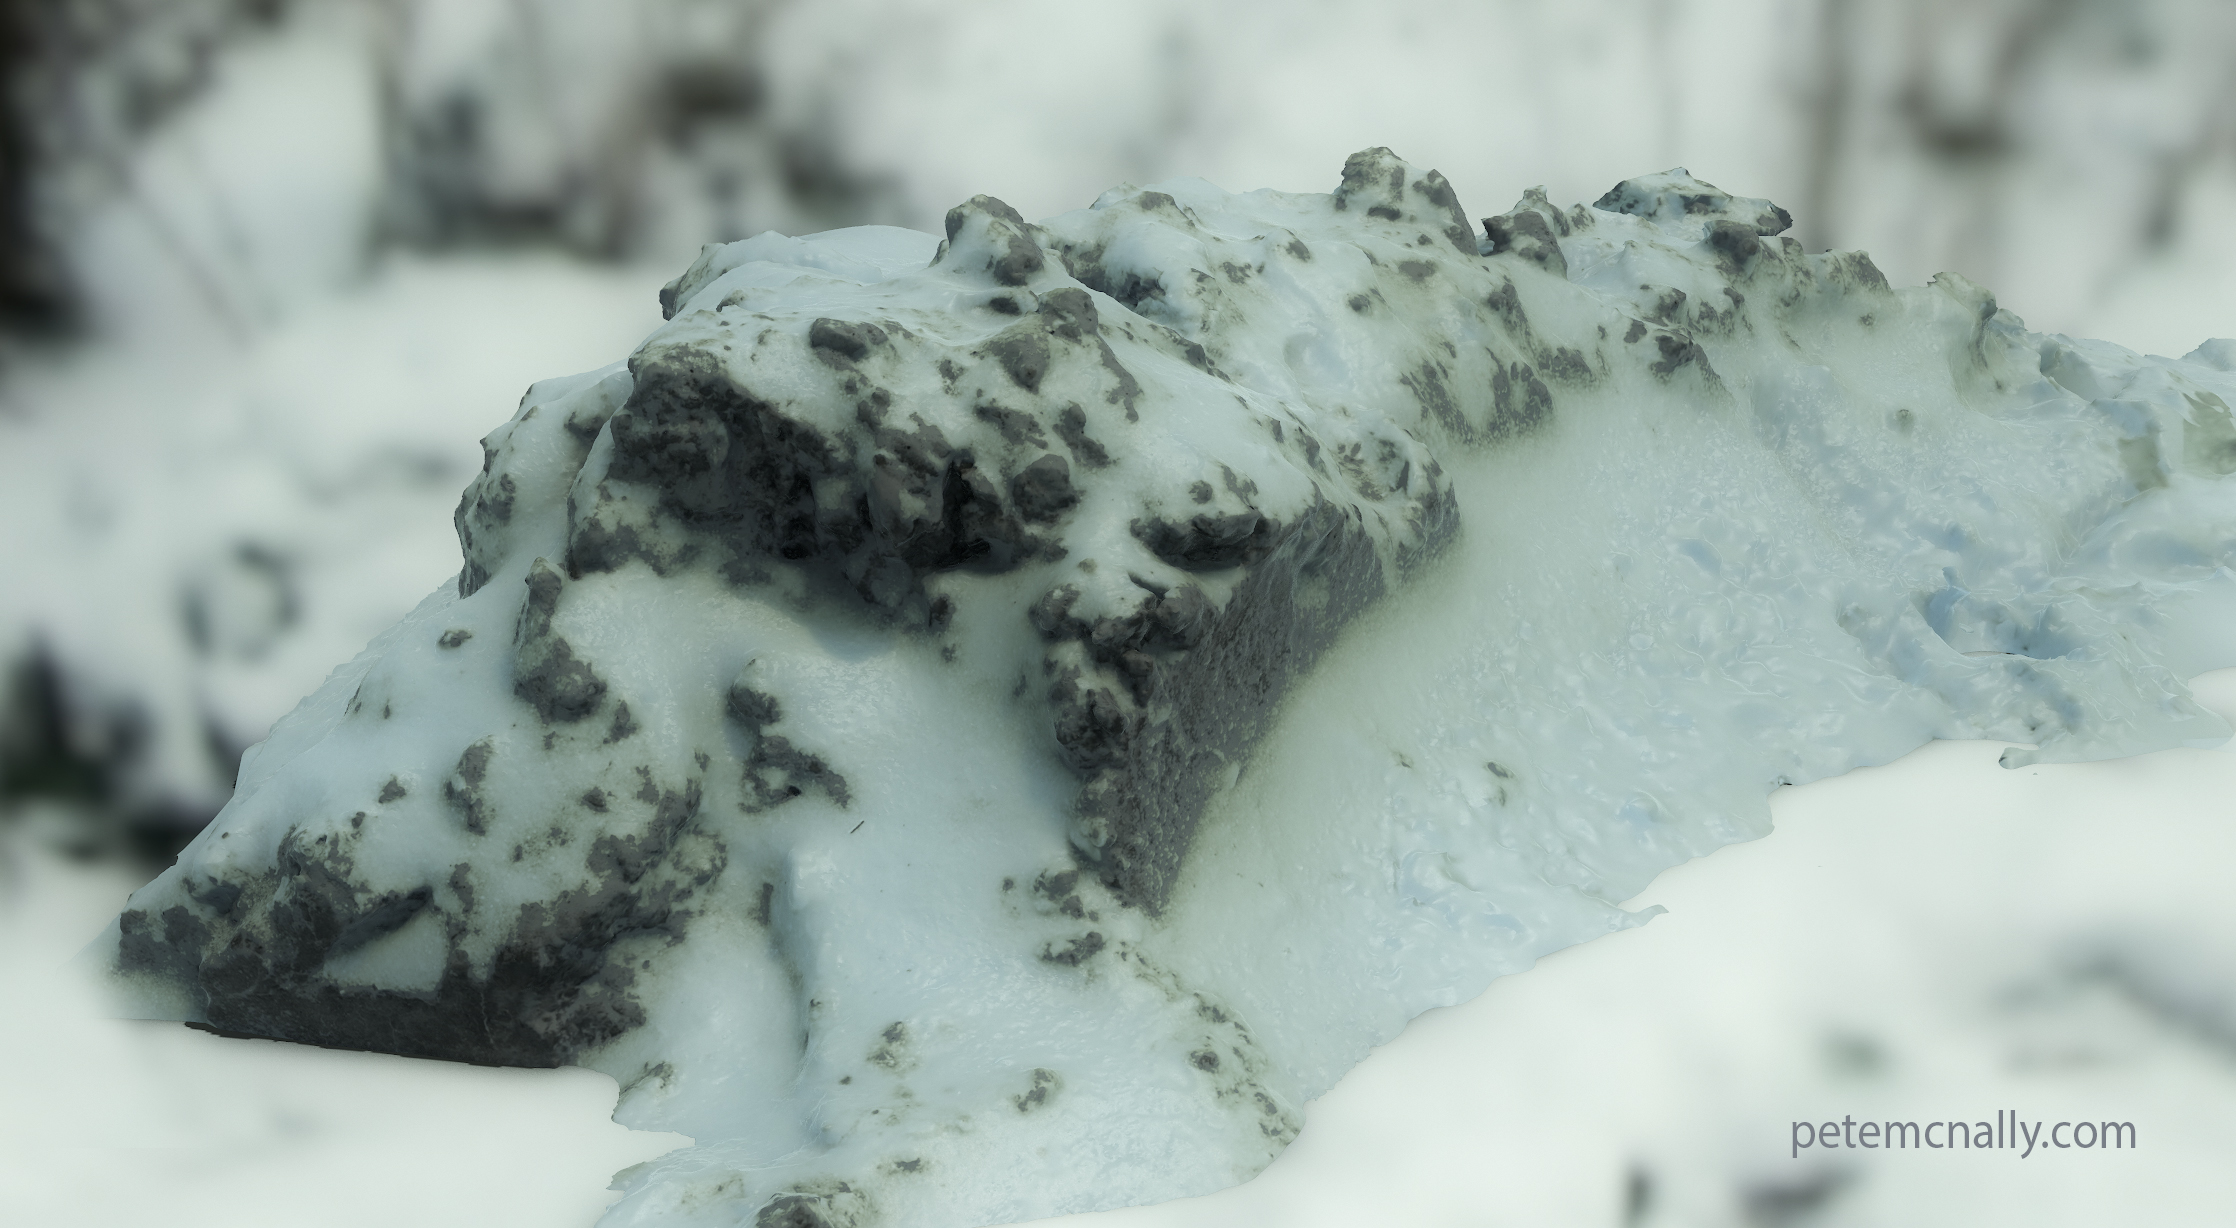
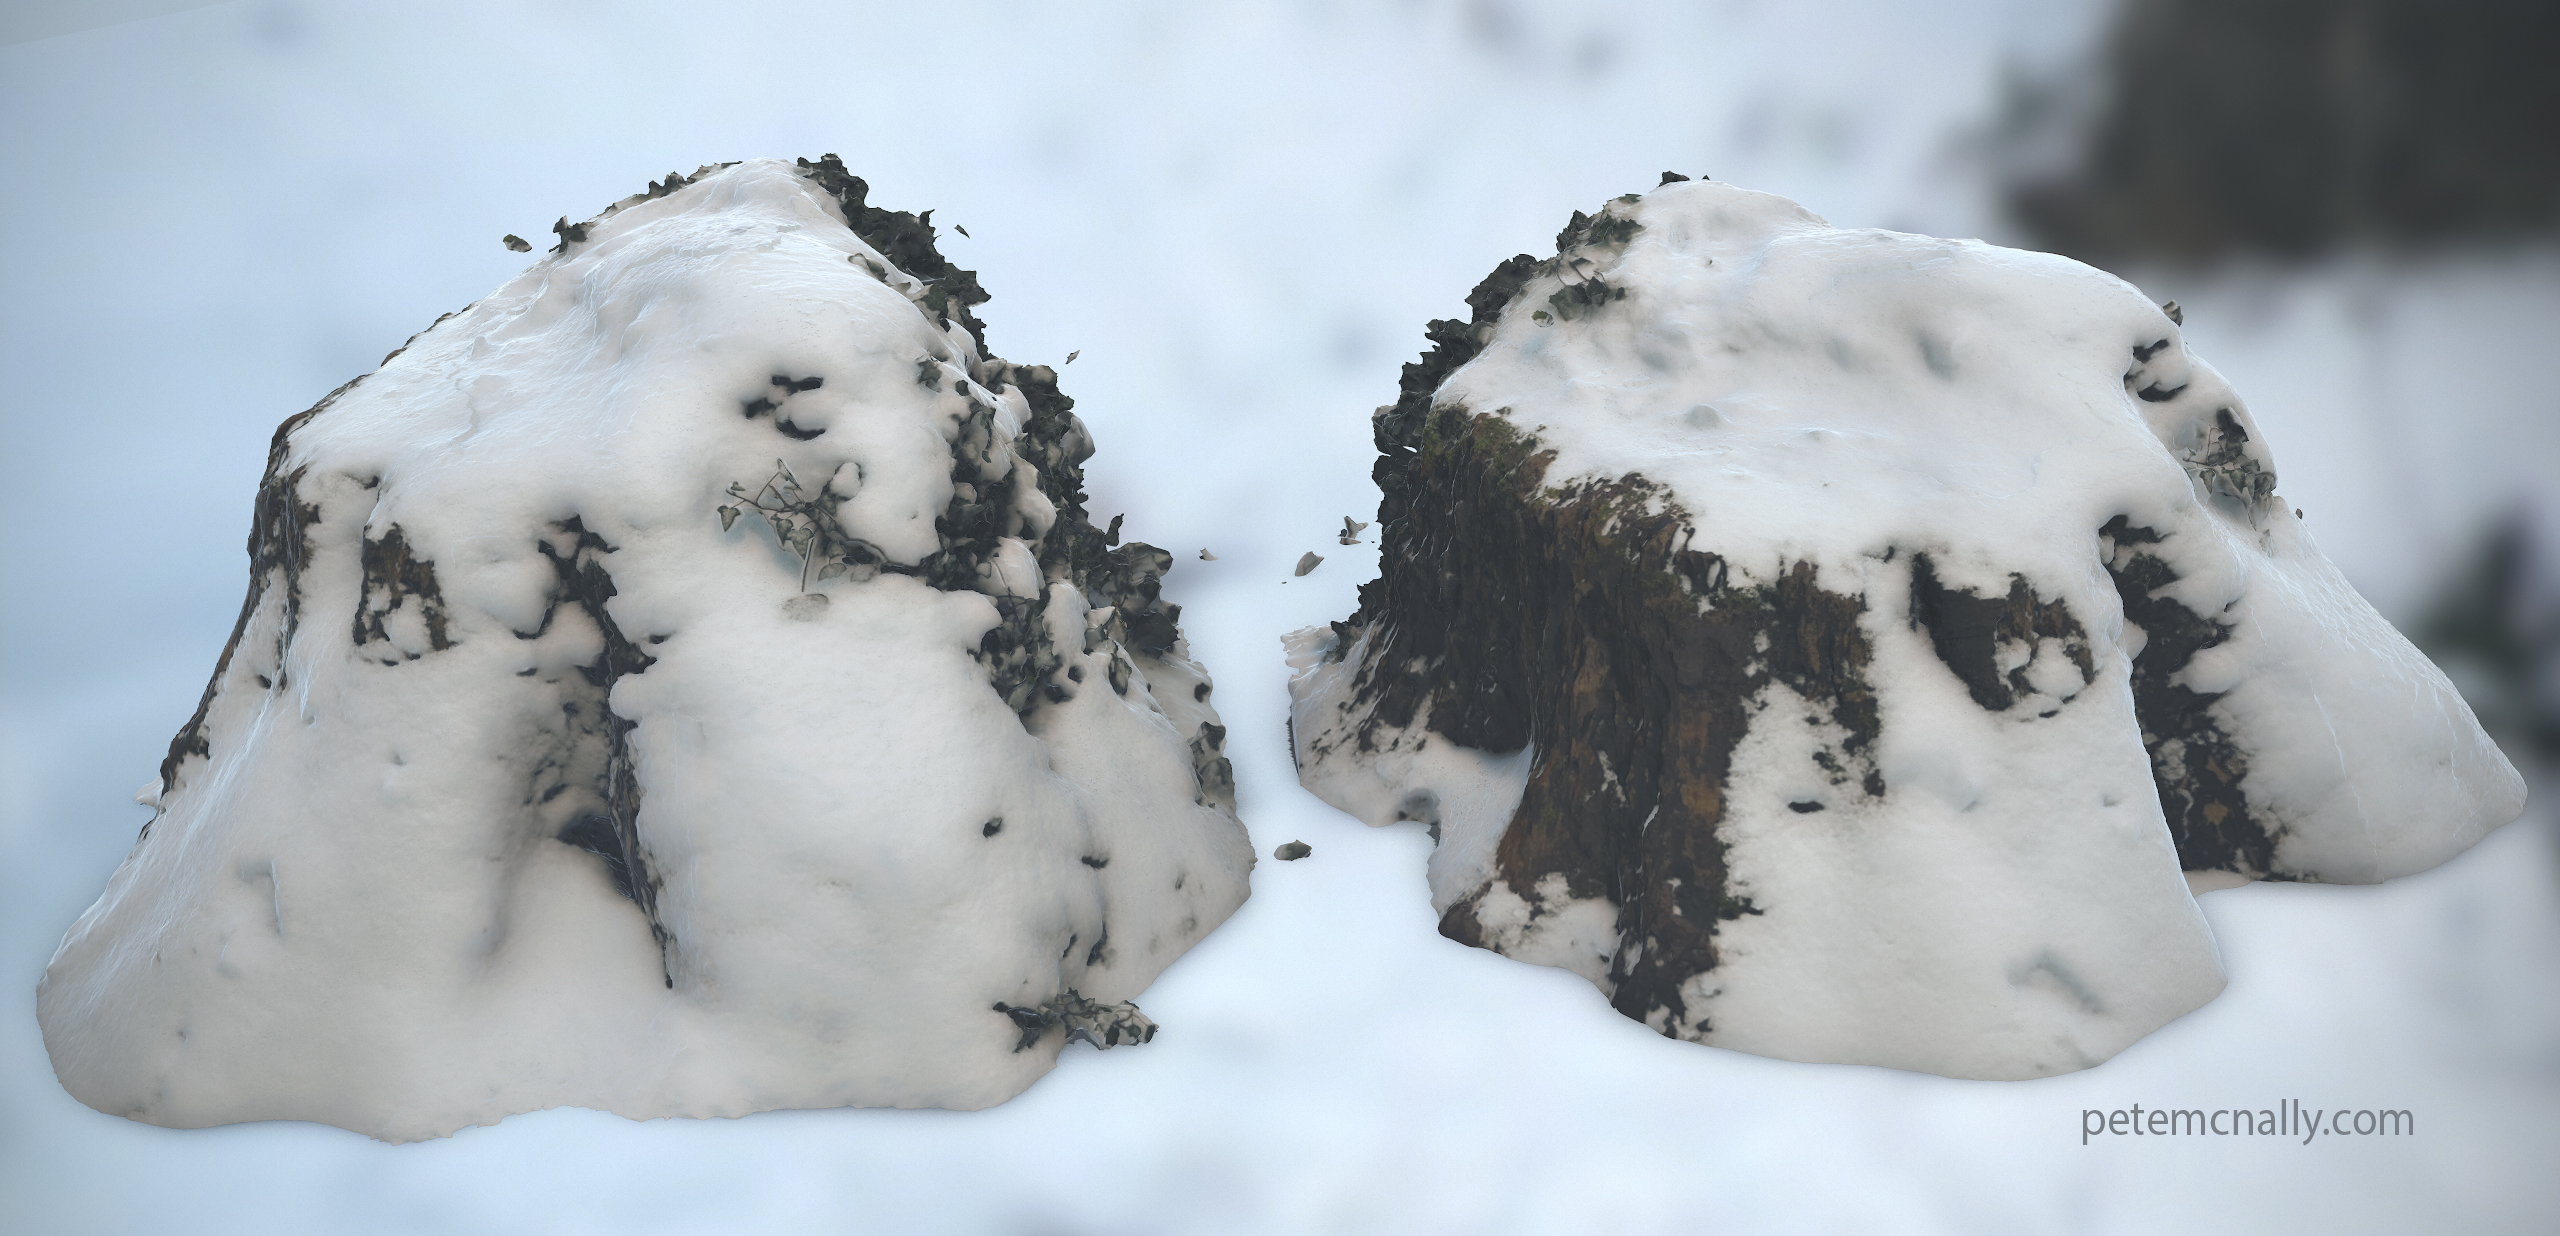
PS: Unrelated, but I couldn’t let this frozen weather pass without trying a bit of photogrammetry 😀 Quickly rendered in Toolbag 3 with some SSS for the snow.

Hey man, thanks for your inspiring blog! It’s been one of the factors driving me to start fiddling with photogrammetry myself. Definitely gonna check Artomatix out. Also I’m curious, what’s the best way in your opinion for creating roughness maps for your scans? Am I doomed without Substance? It’s the primary thing I’m having a bit trouble with only using 3ds max and Photoshop .
PS. Here’s some photogrammetry ice from Finland. https://i.imgur.com/j3GGBlr.jpg
Once you have some base bakes, like a normal map, you can generate pretty good utility maps from there, such as curvature, cavity etc. If you have a base value for the roughness of your object, like something from a PBR chart for rock or whatever, you can use these maps to start a roughness pass. I usually desaturate the albedo, which may need to be inverted, then play with blends and levels until you get a roughness that works well in different PBR lighting setups.
Nice snow by the way!
Hello Pete I don’t have access to the alpha. Is there a technical reason for not using the solution on the height map? I applied to the alpha but still no news.
Hi there, thanks for the comment. I had the map interpretation on the wrong setting for height maps, and the result was garbled unfortunately.
[…] lunch. This evening I did something similar! I’ve been playing with Artomatix, as per my last post and I was pleased with the results of an experiment tonight and thought I’d post the results […]
[…] Here’s the post that Pete published when he gave Artomatix a run through for texture mutation and seam removal. https://petemcnally.com/2018/03/02/seamless-materials-from-3d-scans-in-artomatix/ […]
Into the Cave with Pete McNally | Artomatix | User Demonstration said this on December 31, 2019 at 5:46 am |