
The 60 Minute Cave part II…
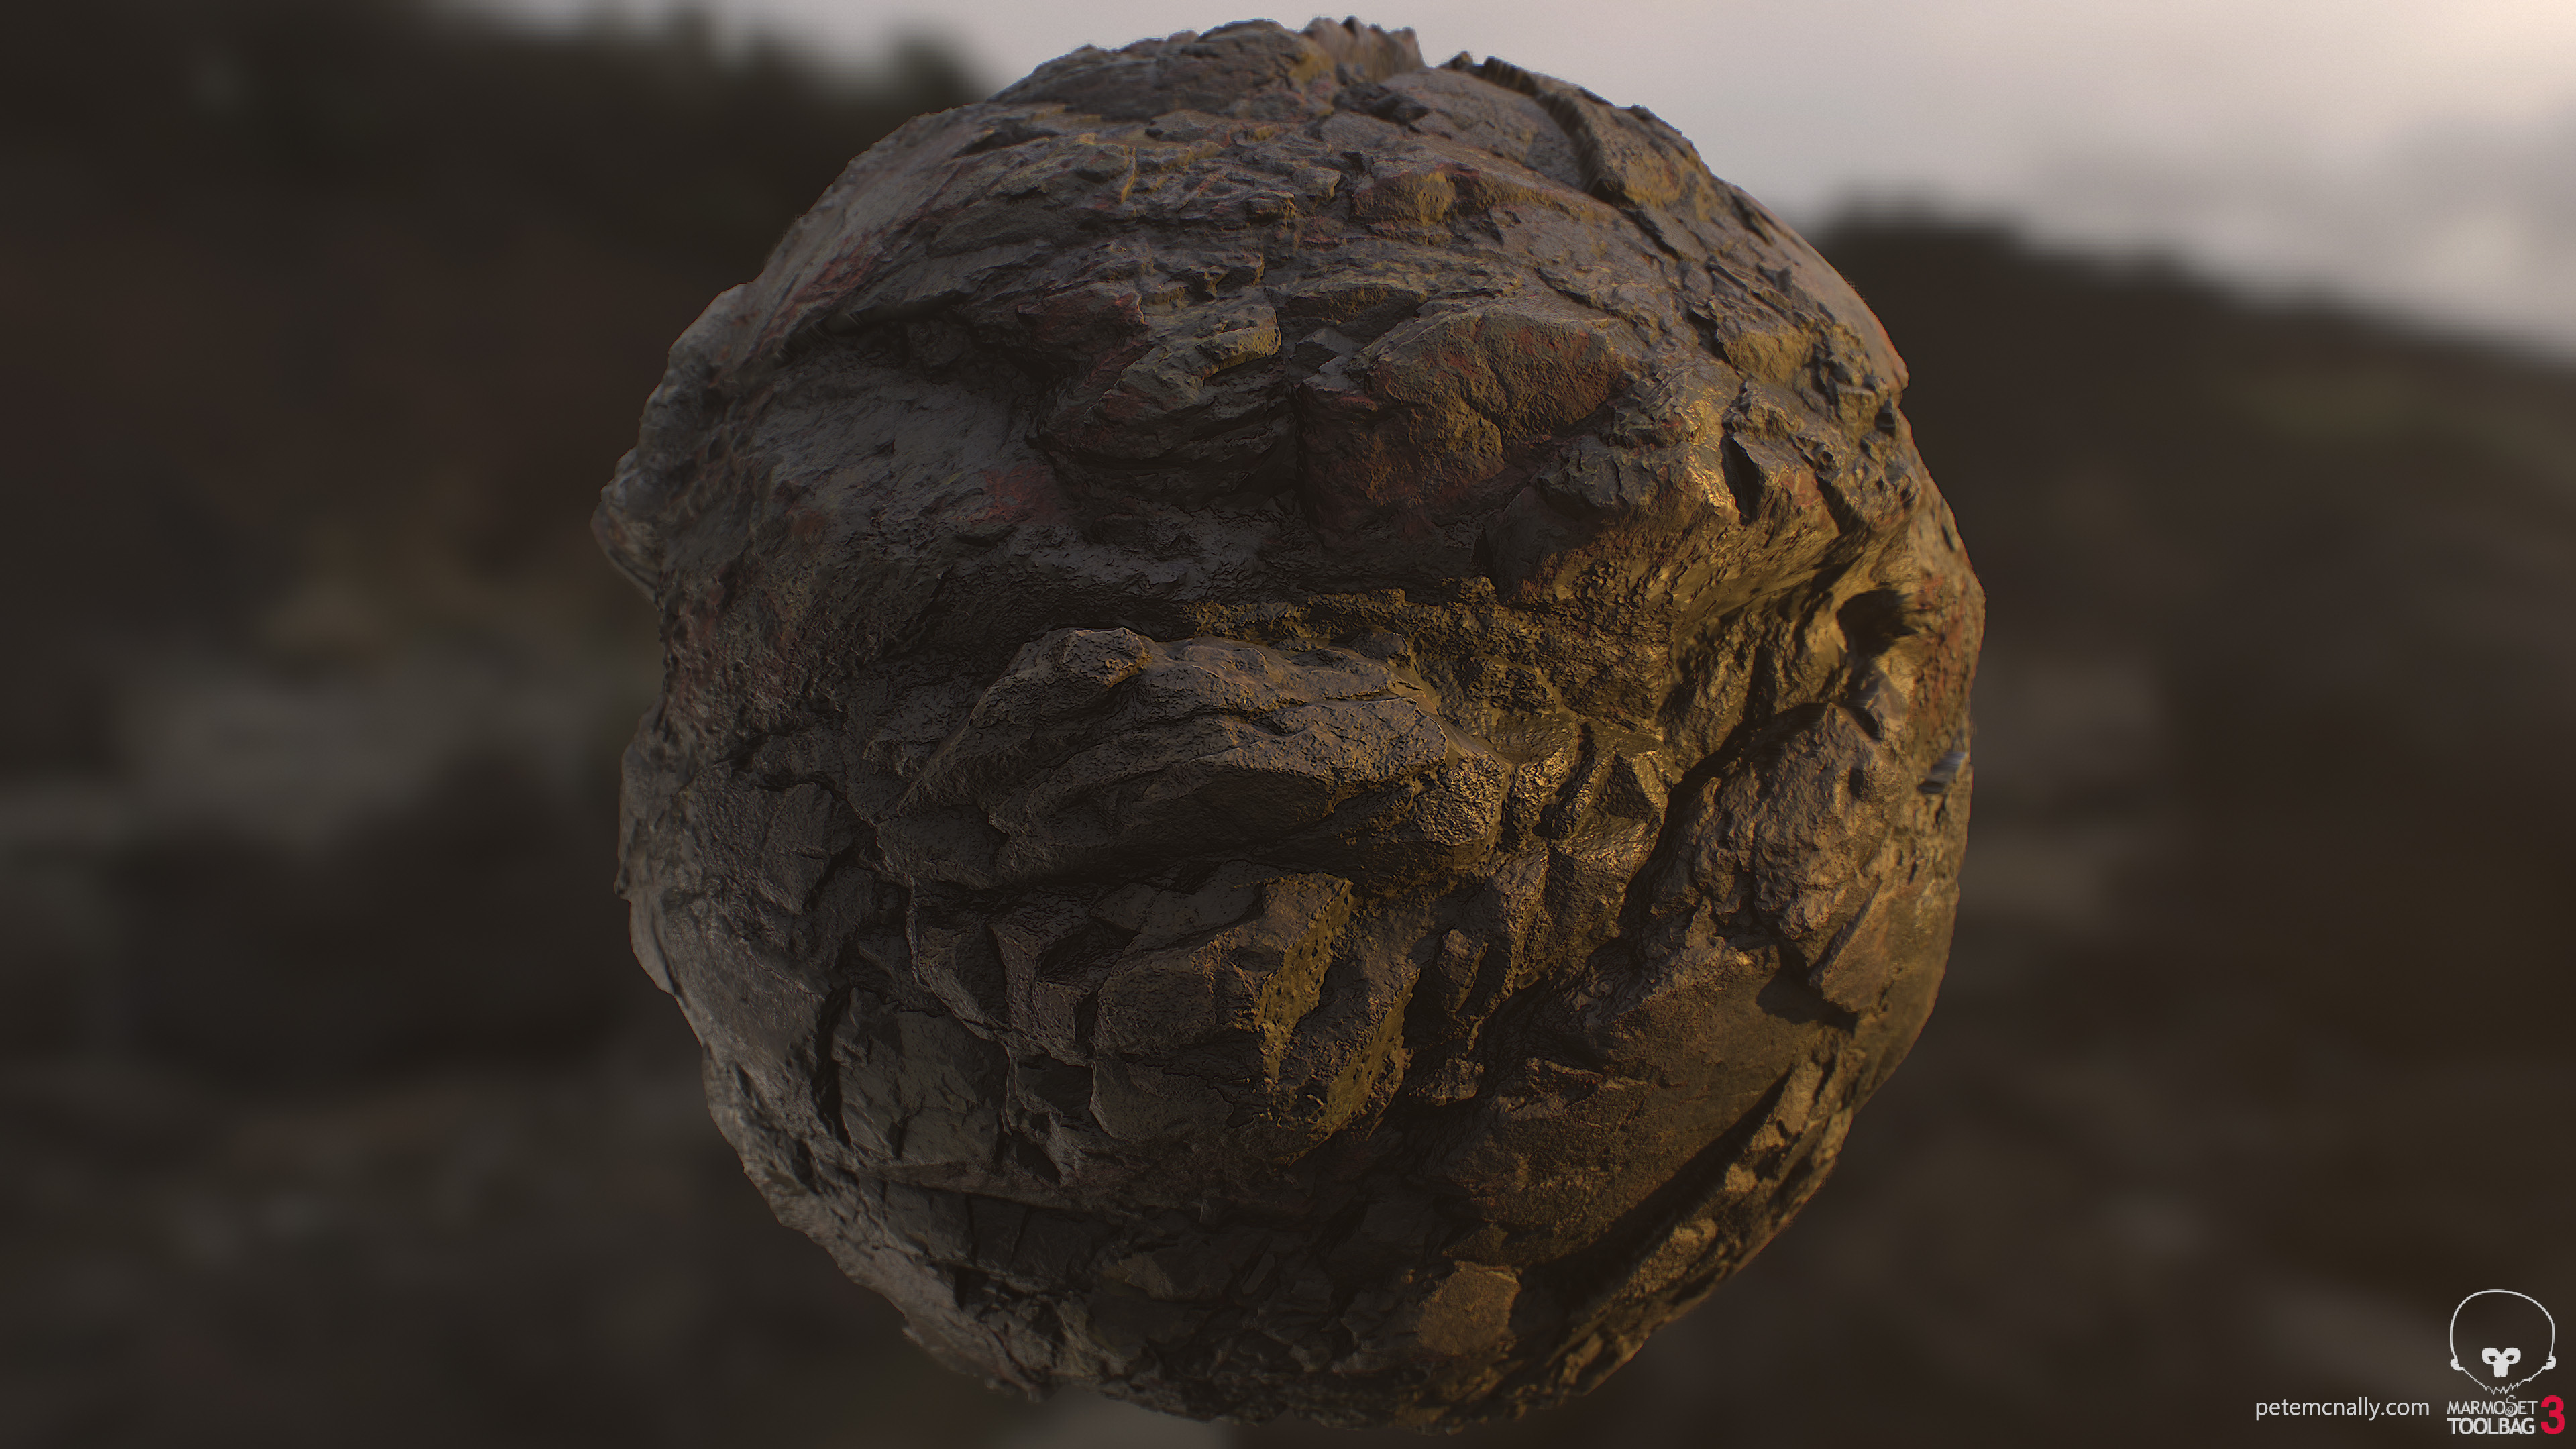
Quick post – some time ago I made a post on here about making a simple cave in 3DSMax in an hour over lunch. This evening I did something similar! I’ve been playing with Artomatix, as per my last post and I was pleased with the results of an experiment tonight and thought I’d post the results here. I had a partial scan that hadn’t resolved well it was wet rock on a very sunny day so large areas of detail were missed or were blurry. I baked out what I had in 3DSMAX, diffuse, normals, AO, height and a shadow map used to help with manual de-lighting in Photoshop. I ran these textures through Artomatix for seam removal and it tiled them quite nicely. After some tweaking, I applied the material to a sphere in Toolbag 3 and tested out some lighting environments, before applying the same material to the inside of a curved cylinder and tiling appropriately, to make the cavernous environment you see below. Not bad for a single material!


Fascinating! What will you be capable of in the coming years?? This software is astounding, though of course your manipulation is the main ingredient 🙂
Thanks Rory!
Is there a way to buy this?
looks amazing is this avalable for download or to buy somewhere
Not currently, but that may change 🙂