One more rock…

•March 30, 2017 • Leave a Comment

In the same lo-fi scanning session as the last one (ie. a 20 minute window between heavy rain showers on the beach, no tripod, colour checker etc.) I shot this on my phone. Processed in Reality Capture, 3DSMax and Photoshop. I’m fairly pleased with how this turned out, again I was lucky with the lighting and all of the jpegs captured on my phone were aligned. There are some small areas at the base of the rock that are missing some detail due to automatic hole filling but nothing that couldn’t be cloned back in Photoshop. I baked out ambient occlusion and cavity maps to use as layer masks in de-lighting a little for PBR and then painted a roughness map based on some known values and colour selections from the albedo map. Once again, all of these shots are rendered in Toolbag 3 at 1440p and you can check out a real-time version in your browser below, be sure to go full screen and if you hold alt and drag the mouse around you can move the lights!

Footprints…

•March 21, 2017 • 5 Comments

footprints

This year for St. Patrick’s Day I spent the weekend in Inishowen, Donegal, where the weather was unpleasant to say the least. For about 2 hours on Saturday, it was dry but seemed to always be a minute away from raining, so I headed for the beach without any of the proper equipment for outdoors photogrammetry. I did have my phone though, which can be hit and miss for 3D scanning as there are few manual controls on the Note 4, so if the sky is present in any part of a photograph, exposure goes crazy, making shots unusable. Also, it only shoots in jpeg so there is very little wiggle room on the texture side.

Three areas in particular caught my eye for some hasty shots as it began to rain- a sandy boardwalk descending from the car park to the beach, a rock about 3 feet in diameter that was exposed due to the tide, and some footprints perfectly preserved in the wet sand, which can be seen below. The beach was just damp enough to hold the shape of the impressions and the roughness of the displaced sand around each of them. All of the subjects were ground based too, which was a blessing while shooting with the phone as it kept exposure consistent between photos. I took about 45 photos in an orbit around the footprints, being careful not to compress the sand and disturb the scene. In the short space of time it took to take these shots it began to rain heavily, so I headed back to the house to process the images. I used the unprocessed jpegs straight off the camera, they seemed pretty clean and the cloudy conditions meant that there was no strong light or shadows to deal with. This time around I used Reality Capture for the photogrammetry, and it performed well, aligning every photo that I had taken which provided me with an 8 million poly high res model! Some decimation, texture cleanup and an export into Toolbag 3 yielded the results below. I picked an evening sky pano and stuck in a very low direct light to add rake shadows across the sandy surface, and a little fog. Inverting the albedo map gave just enough roughness to sell some dampness on the surface.

petemcnally_3d_scan_sand03

petemcnally_3d_scan_sand02

petemcnally_3d_scan_sand04

petemcnally_3d_scan_sand01

Under various PBR lighting conditions

If you’d like to check it out in real-time in your browser, check out the Marmoset Viewer scene here:

https://www.artstation.com/artwork/EX0xq


Muck!

•March 1, 2017 • 4 Comments

I was trying out a bit of Substance Painter this week, in combination with 3DSMax and Marmoset Toolbag 3. A few months back I had shot a muddy embankment near a construction area with my phone, about 16 photos, but really didn’t think anything decent could be recovered through photogrammetry. The results show however that it’s always worth a go even if you don’t have the proper equipment with you. Some cloning work in painter and then an export into Toolbag 3 for rendering yielded a decent mud texture, next step is to make it tileable.

mud

petemcnally_pete_mcnally_mud_02

petemcnally_pete_mcnally_mud_01

A Stylised Tree…

•January 18, 2017 • 1 Comment

Hello 2017! Here are some WIP renders of a little look development scene I’ve been working on, again playing with the idea of stylised photogrammetry. I wanted a general use shader that could be applied to arbitrary objects and shade nicely, with soft internal tones and hard external outlines. The tree model itself was generated from photos taken with my phone, decimated and then brought into 3DSMax. I wanted to play an effect to mimic 2D illustration, and was inspired by backgrounds from Disney’s Winnie The Pooh (2011). I’ve long been a fan of V-Ray’s SSS material system, it softens shading beautifully when used right but it can be a complex beast to tame. To mitigate this, I scaled the scene geometry to be very small, this helped with some extreme softness from the SSS shader right out of the box when lit by the VRay Sun and Sky. I used the VrayToon environment effect to create rough outlines on the geometry and a hand drawn line/crosshatch texture map which was wrapped around the tree trunk cylindrically in a new UV channel. It’s not where I want it to be yet, but I’ll keep at it, below are some work in progress images.

petemcnally_vray_stylisedtree screenshot_02 screenshot_01petemcnally_vraytree_wirepete-mc-nally-giphy

Stylised photogrammetry…

•November 5, 2016 • Leave a Comment

I recently attended a workshop where the subject of stylised photogrammetry arose, in other words, 3D scanning stuff for purposes other than photo realism. Would it even be practical to scan objects for a stylised project when realism wasn’t the end goal? I’ve done some experiments on this before (I blogged about it here). I’ve recently blogged about scanning a human head and I thought I’d try a non-photorealistic application for it, by voxelising the scan and rendering it with SSS materials in V-Ray. I then took it into Prisma on my phone and ran some filters on it, see below!

Original scan work, the head scarf was scanned and provided by 3DScanLA

headscarfalt

And the sylised version!

headvoxels

After Prisma:

prisma

A header III…

•October 30, 2016 • Leave a Comment

Well here’s a frightening visage for Hallowe’en straight from the depths of the lab! Further research on my head scan below, started to patch up missing areas of the mesh and did some work on the albedo, roughness and SSS maps. It’s coming together slowly, more to do on finalising low poly topology and the other textures, cleaning up the hairlines etc. Rendered here in real-time with GI in Marmoset Toolbag 3, which is being released in November. Textures are currently at 2k and are holding up OK when close up.

Temporary low poly geometry wireframe

petemcnally_head_3dscan02_wireNormal map details

petemcnally_head_3dscan02_normals

Albedo, SSS, roughness added

petemcnally_head_3dscan02

Portrait view

petemcnally_head_3dscan03 petemcnally_head_3dscan04

A header II…

•October 18, 2016 • Leave a Comment

Some additional cleanup work in Zbrush here, where I smoothed out some of noise, added some more definition to the skin creases and created a displacement map from the original scanned diffuse texture for micro detail such as pores and stubble. It’s getting closer to something usable but still more work to do on the model and on the diffuse and displacement maps.

petemcnally_punkscan_head_cleanup

c

A header…

•October 4, 2016 • Leave a Comment

I scan rocks. Lots of rocks. Rocks are good. Rocks don’t move, aren’t squishy, aren’t affected by wind and stay rooted in place if you have to leave the scene and return- rocks just make great scan subjects. Humans are different for obvious reasons, a stifled smile, a muscle twitch, a weight shift or a rumple in clothing caused by a draft are all enough to throw off a 3D scan when using photogrammetry. It’d be great if the same cheap 3D scanning technique that works so well for large static objects worked for humans but unfortunately it doesn’t, the best human scans come from expensive multi-camera rigs that folks like James Busby use to get scans like these. Maybe a detailed mannequin or waxwork would do the job but those are hard to access, people are everywhere but it really takes a patient subject to be a good model for single camera photogrammetry. They’re gonna have to sit or stand still while you orbit around them clicking away with the camera, fix their gaze at a point in space, control their breathing and be prepared to start the shoot from scratch if they have to move for whatever reason. Then they have to be OK with you using their likeness, it’s all a big ask if you’re not paying someone, that’s where family and friends come in!

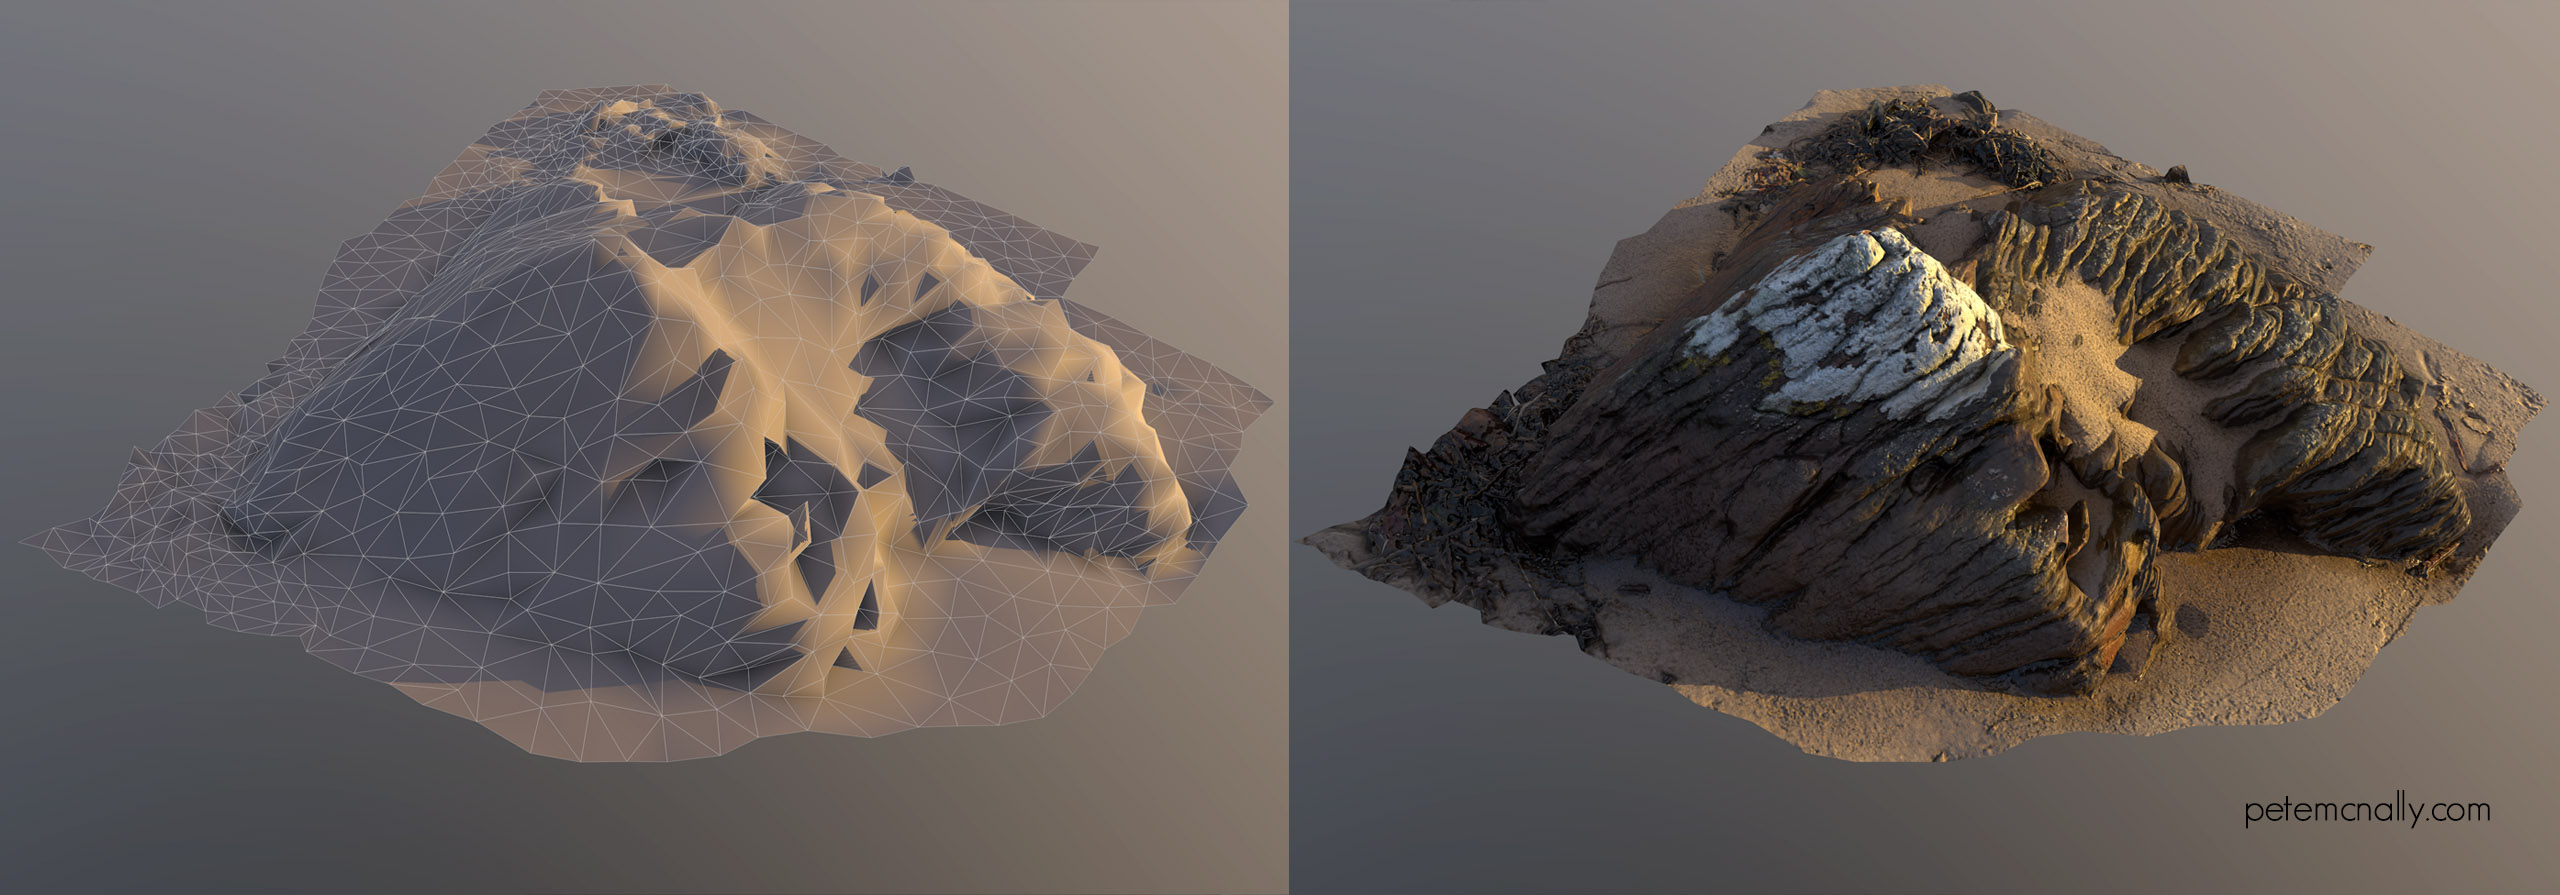
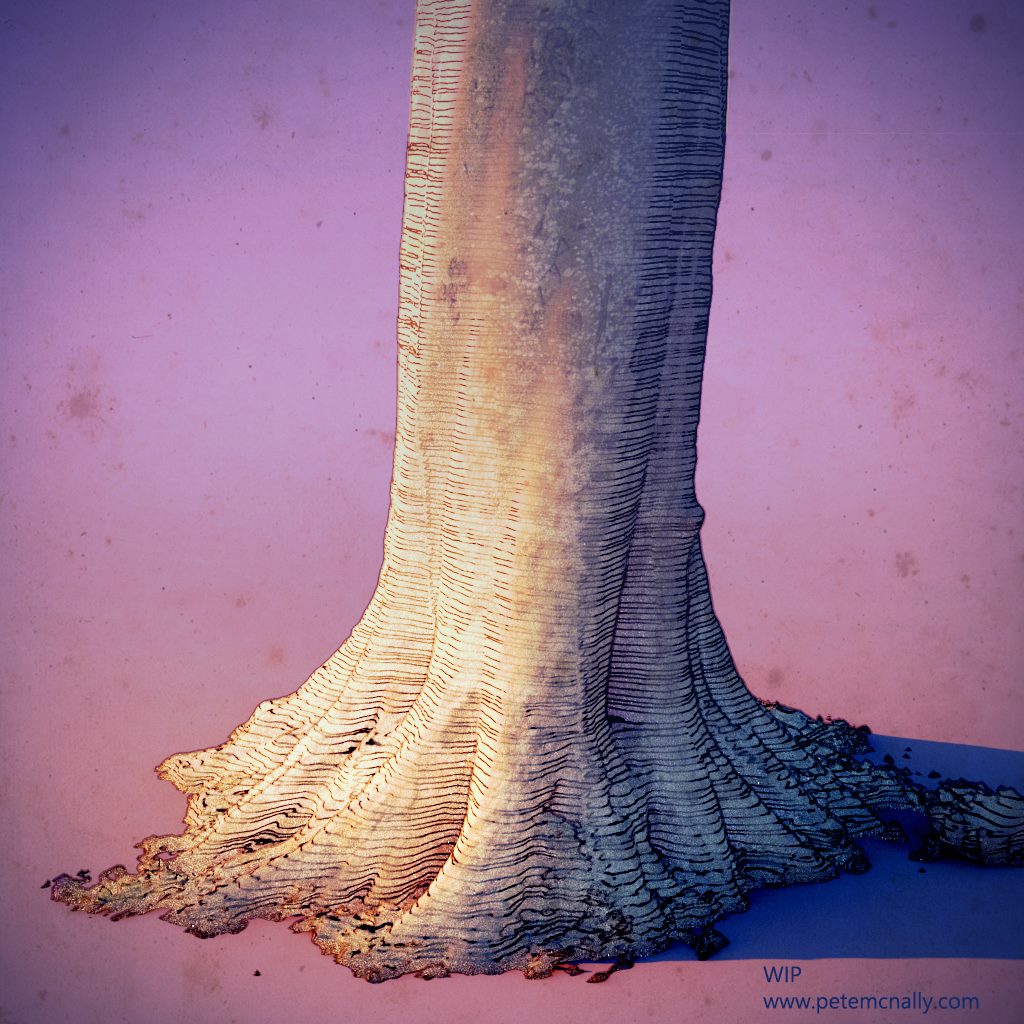
For the past few weekends myself and my kids have been taking a swing at handheld human scanning. First we tried my eldest son as the model with me taking the photographs, but after a few tries he decided he just couldn’t keep in the laughing and quit on me! So we swapped roles, I set the camera up on a tripod and gave him a remote shutter release and showed him how to frame and focus, and I took a seat in the garden. I closed my eyes to make it easier to hold still, scans like this often have trouble with resolving reflections in the eyes and can leave the area very messy. My son took about 22 photographs in a 180 degree orbit, in a single row from right to left then back again. When I took them back to the PC for raw processing I saw that less than 14 images were in proper focus, the daylight had faded by then and it was too late to reshoot. We had tried hard and rather than see the session wasted I quickly masked the images and threw them into Photoscan anyway. Now, “garbage in, garbage out”, as the saying goes in VFX, and here the results were predictably less than stellar but actually not a bad starting point, definitely salvageable with a bit of patch up work and some sculpting in Mudbox/Zbrush – it’s all practice for me right now anyway. This is what the raw mesh looked like out of the box, rendered here in V-Ray using the Fast SSS shader:

petemcnally_punk3dscsan_head

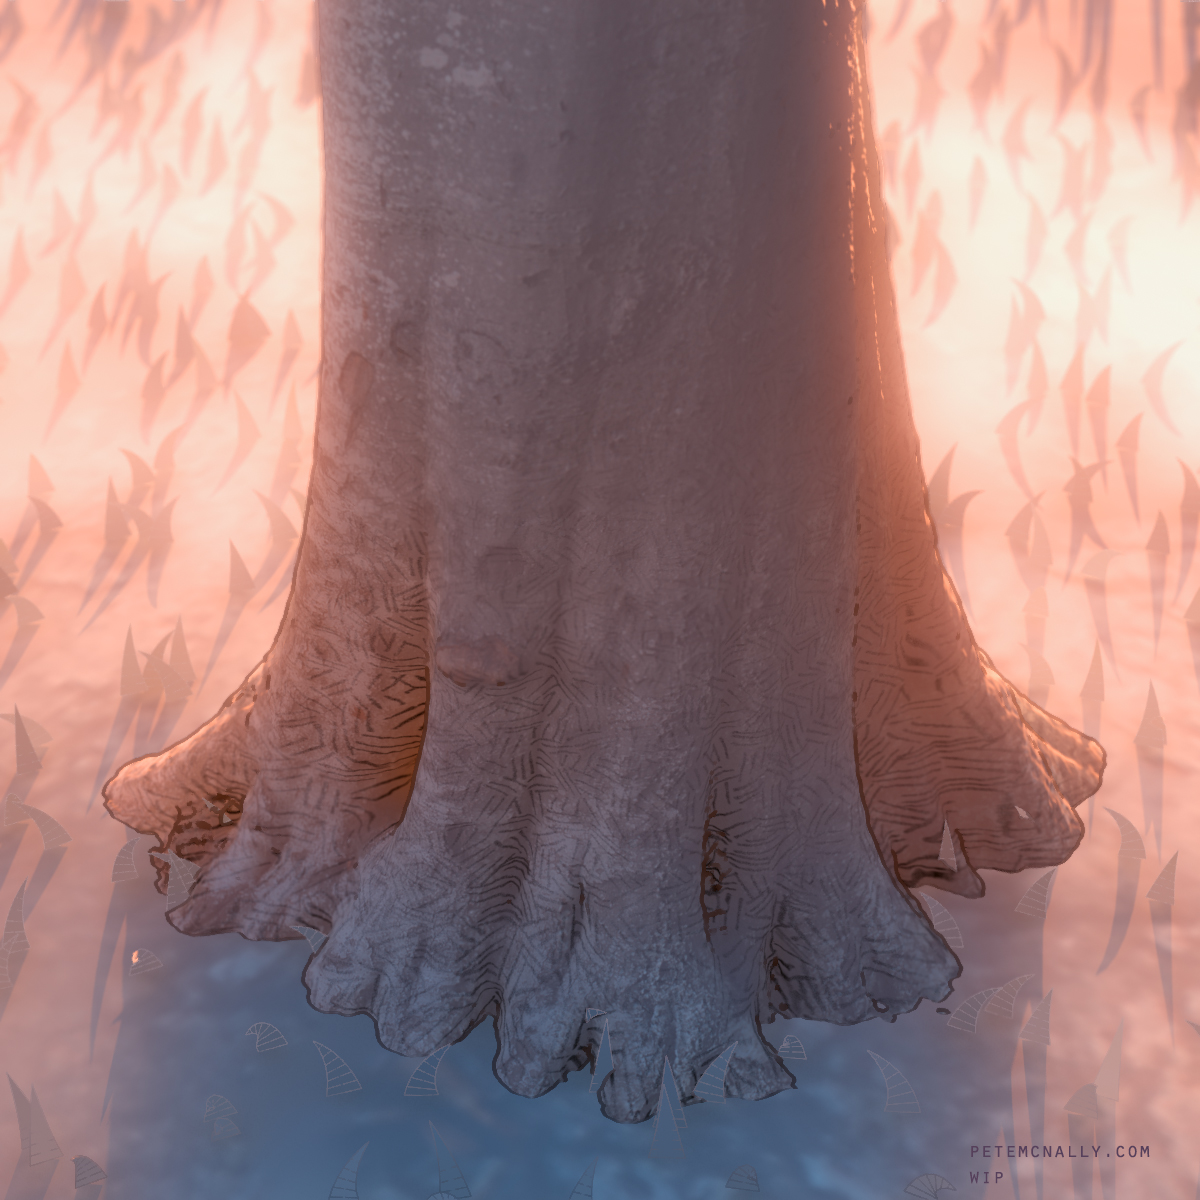
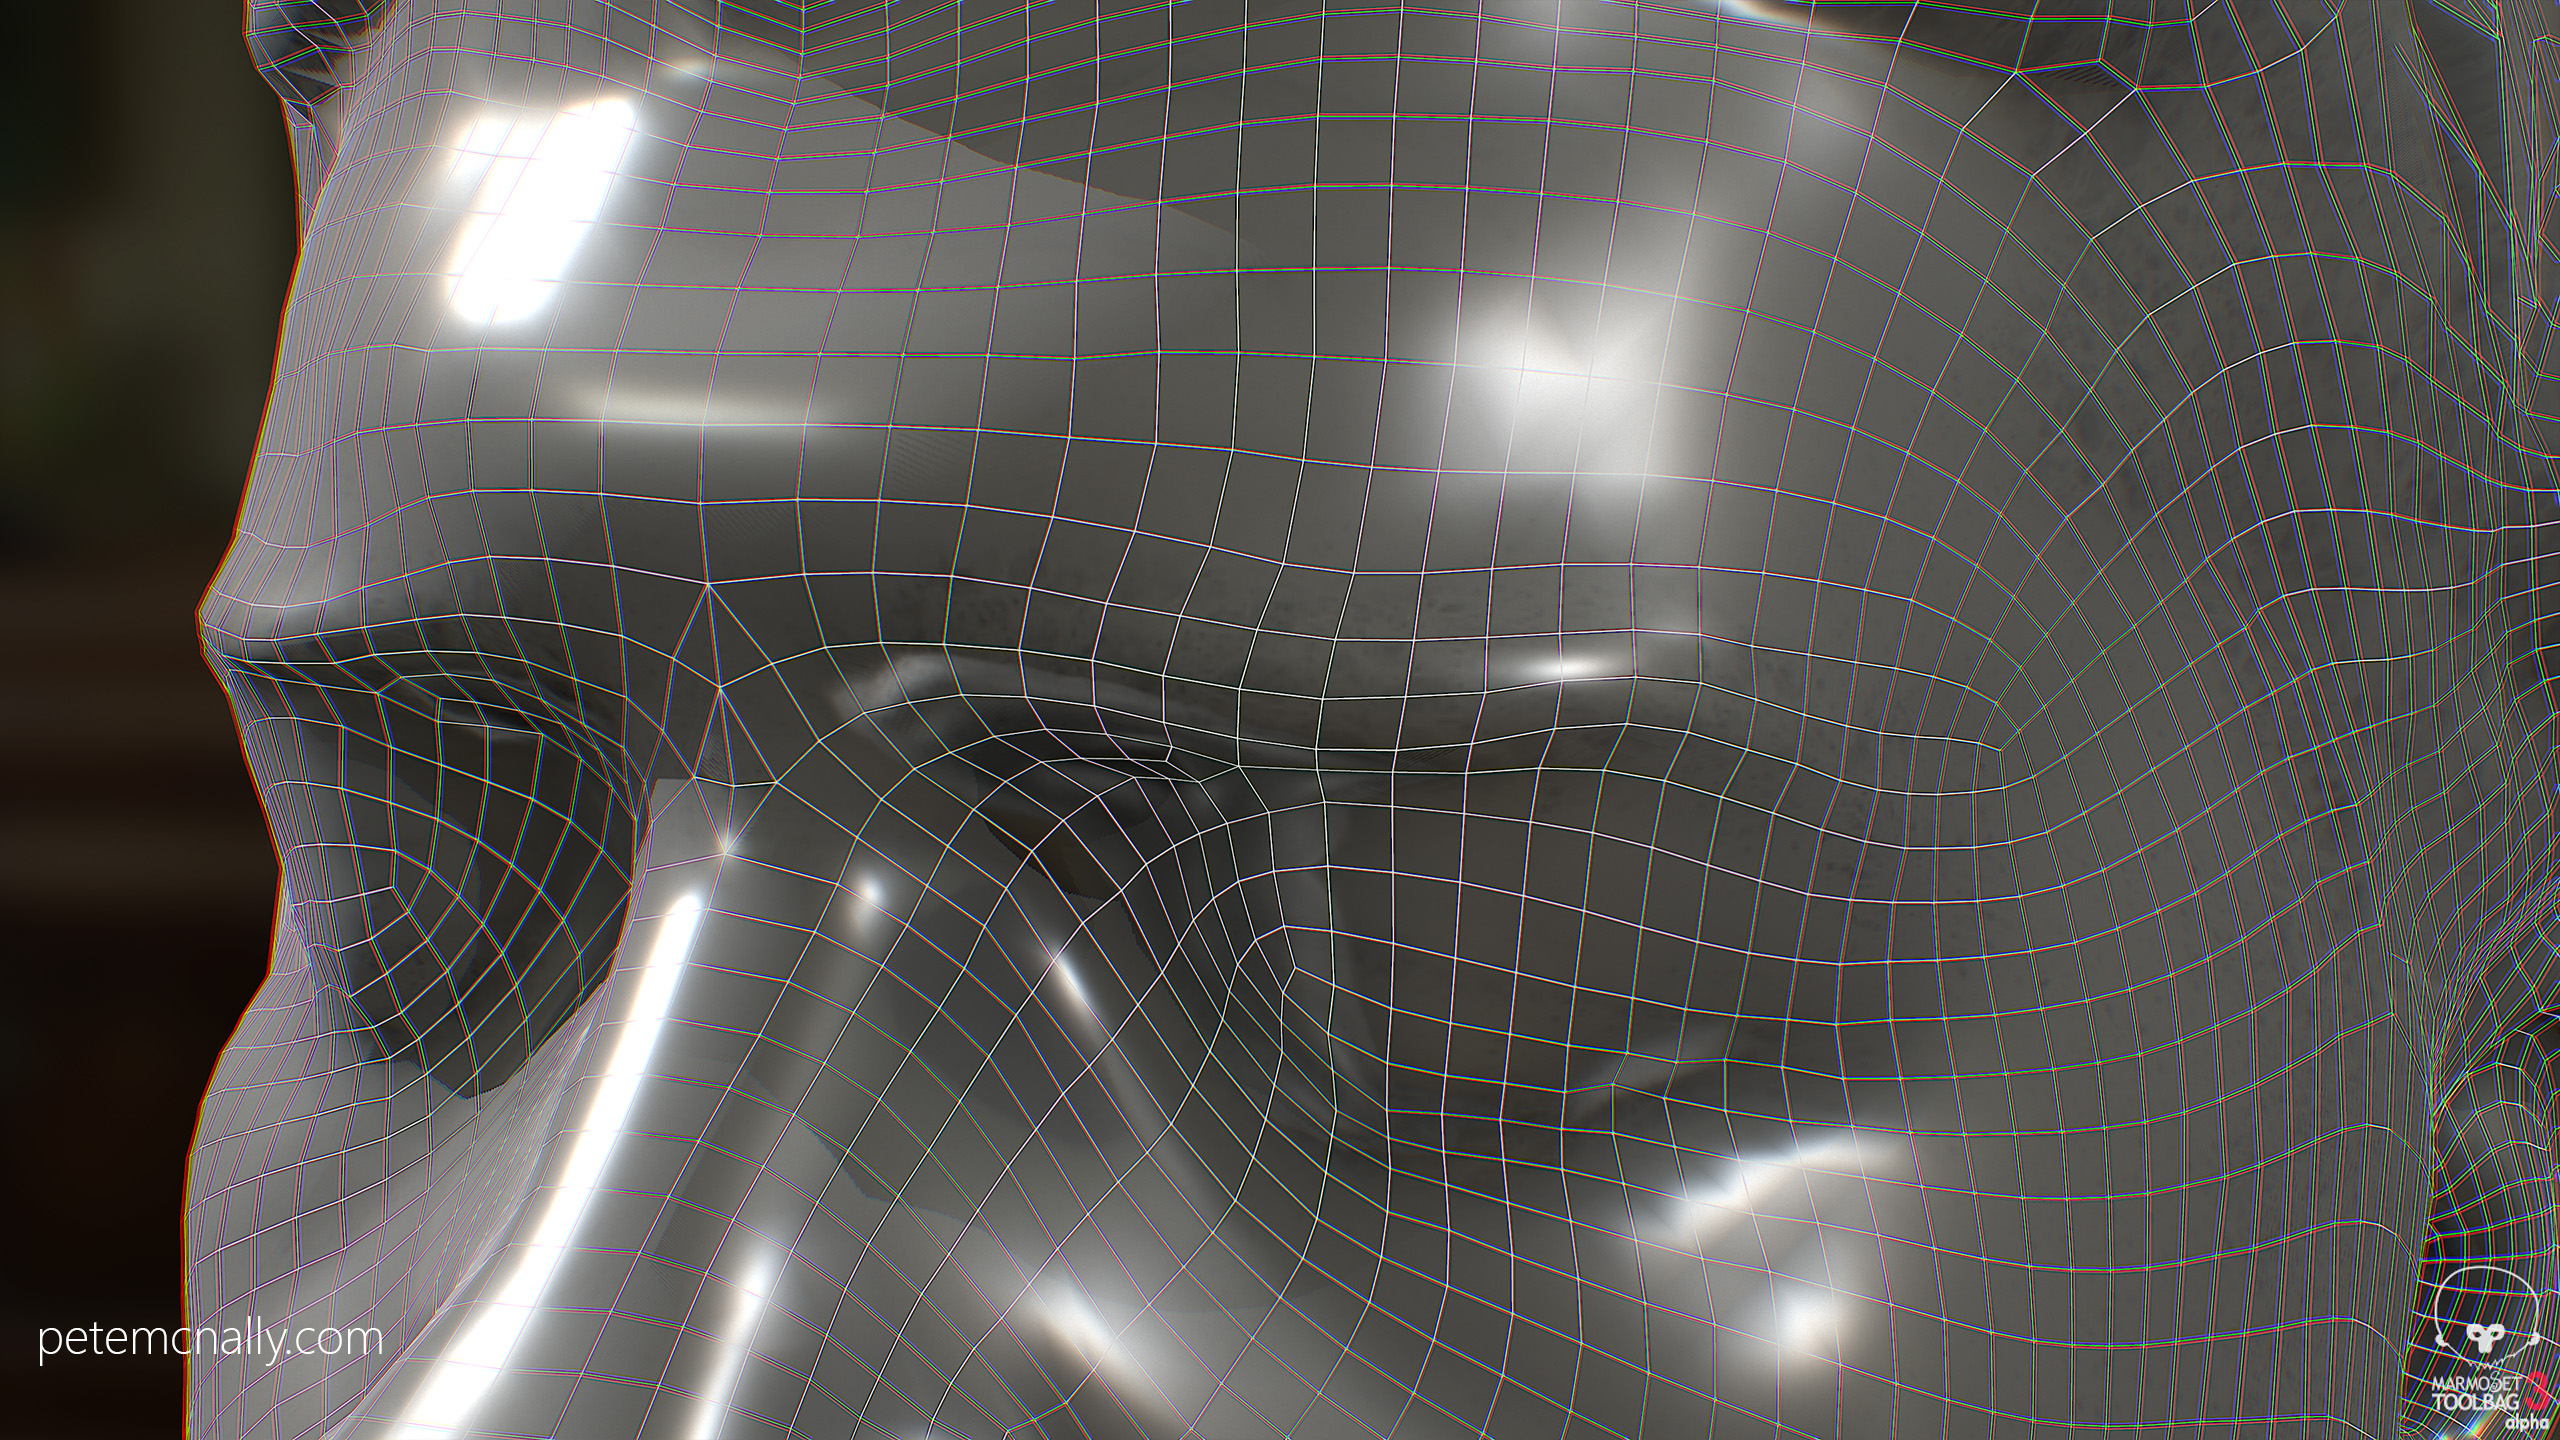
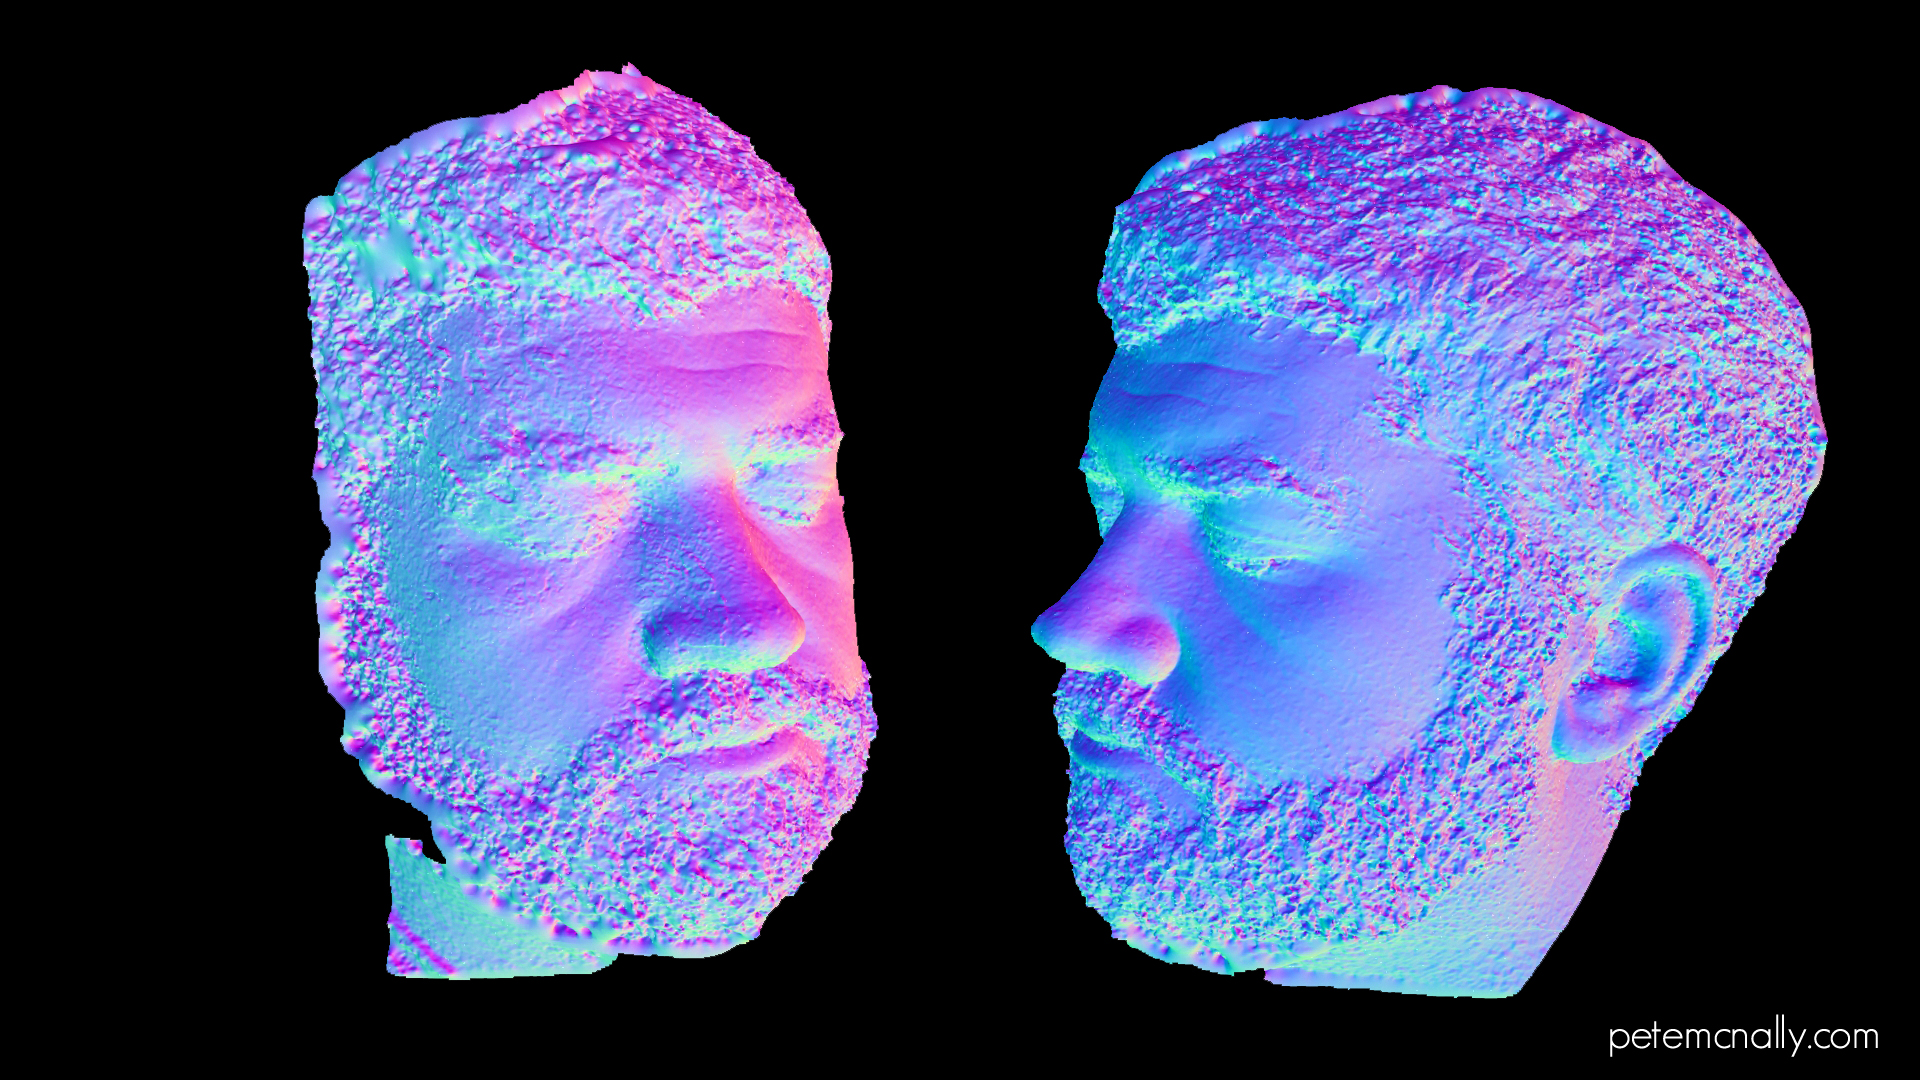
There was more daylight on one side of the head so detail on the right was more accurately resolved, on the side with less light you’ll notice the ear wasn’t captured and there is more noise present around the beard and nose, this is also due to involuntary movement. The noise is more visible from the surface normals (click the image for higher res version):

petemcnally_punk3dscan_head_normals

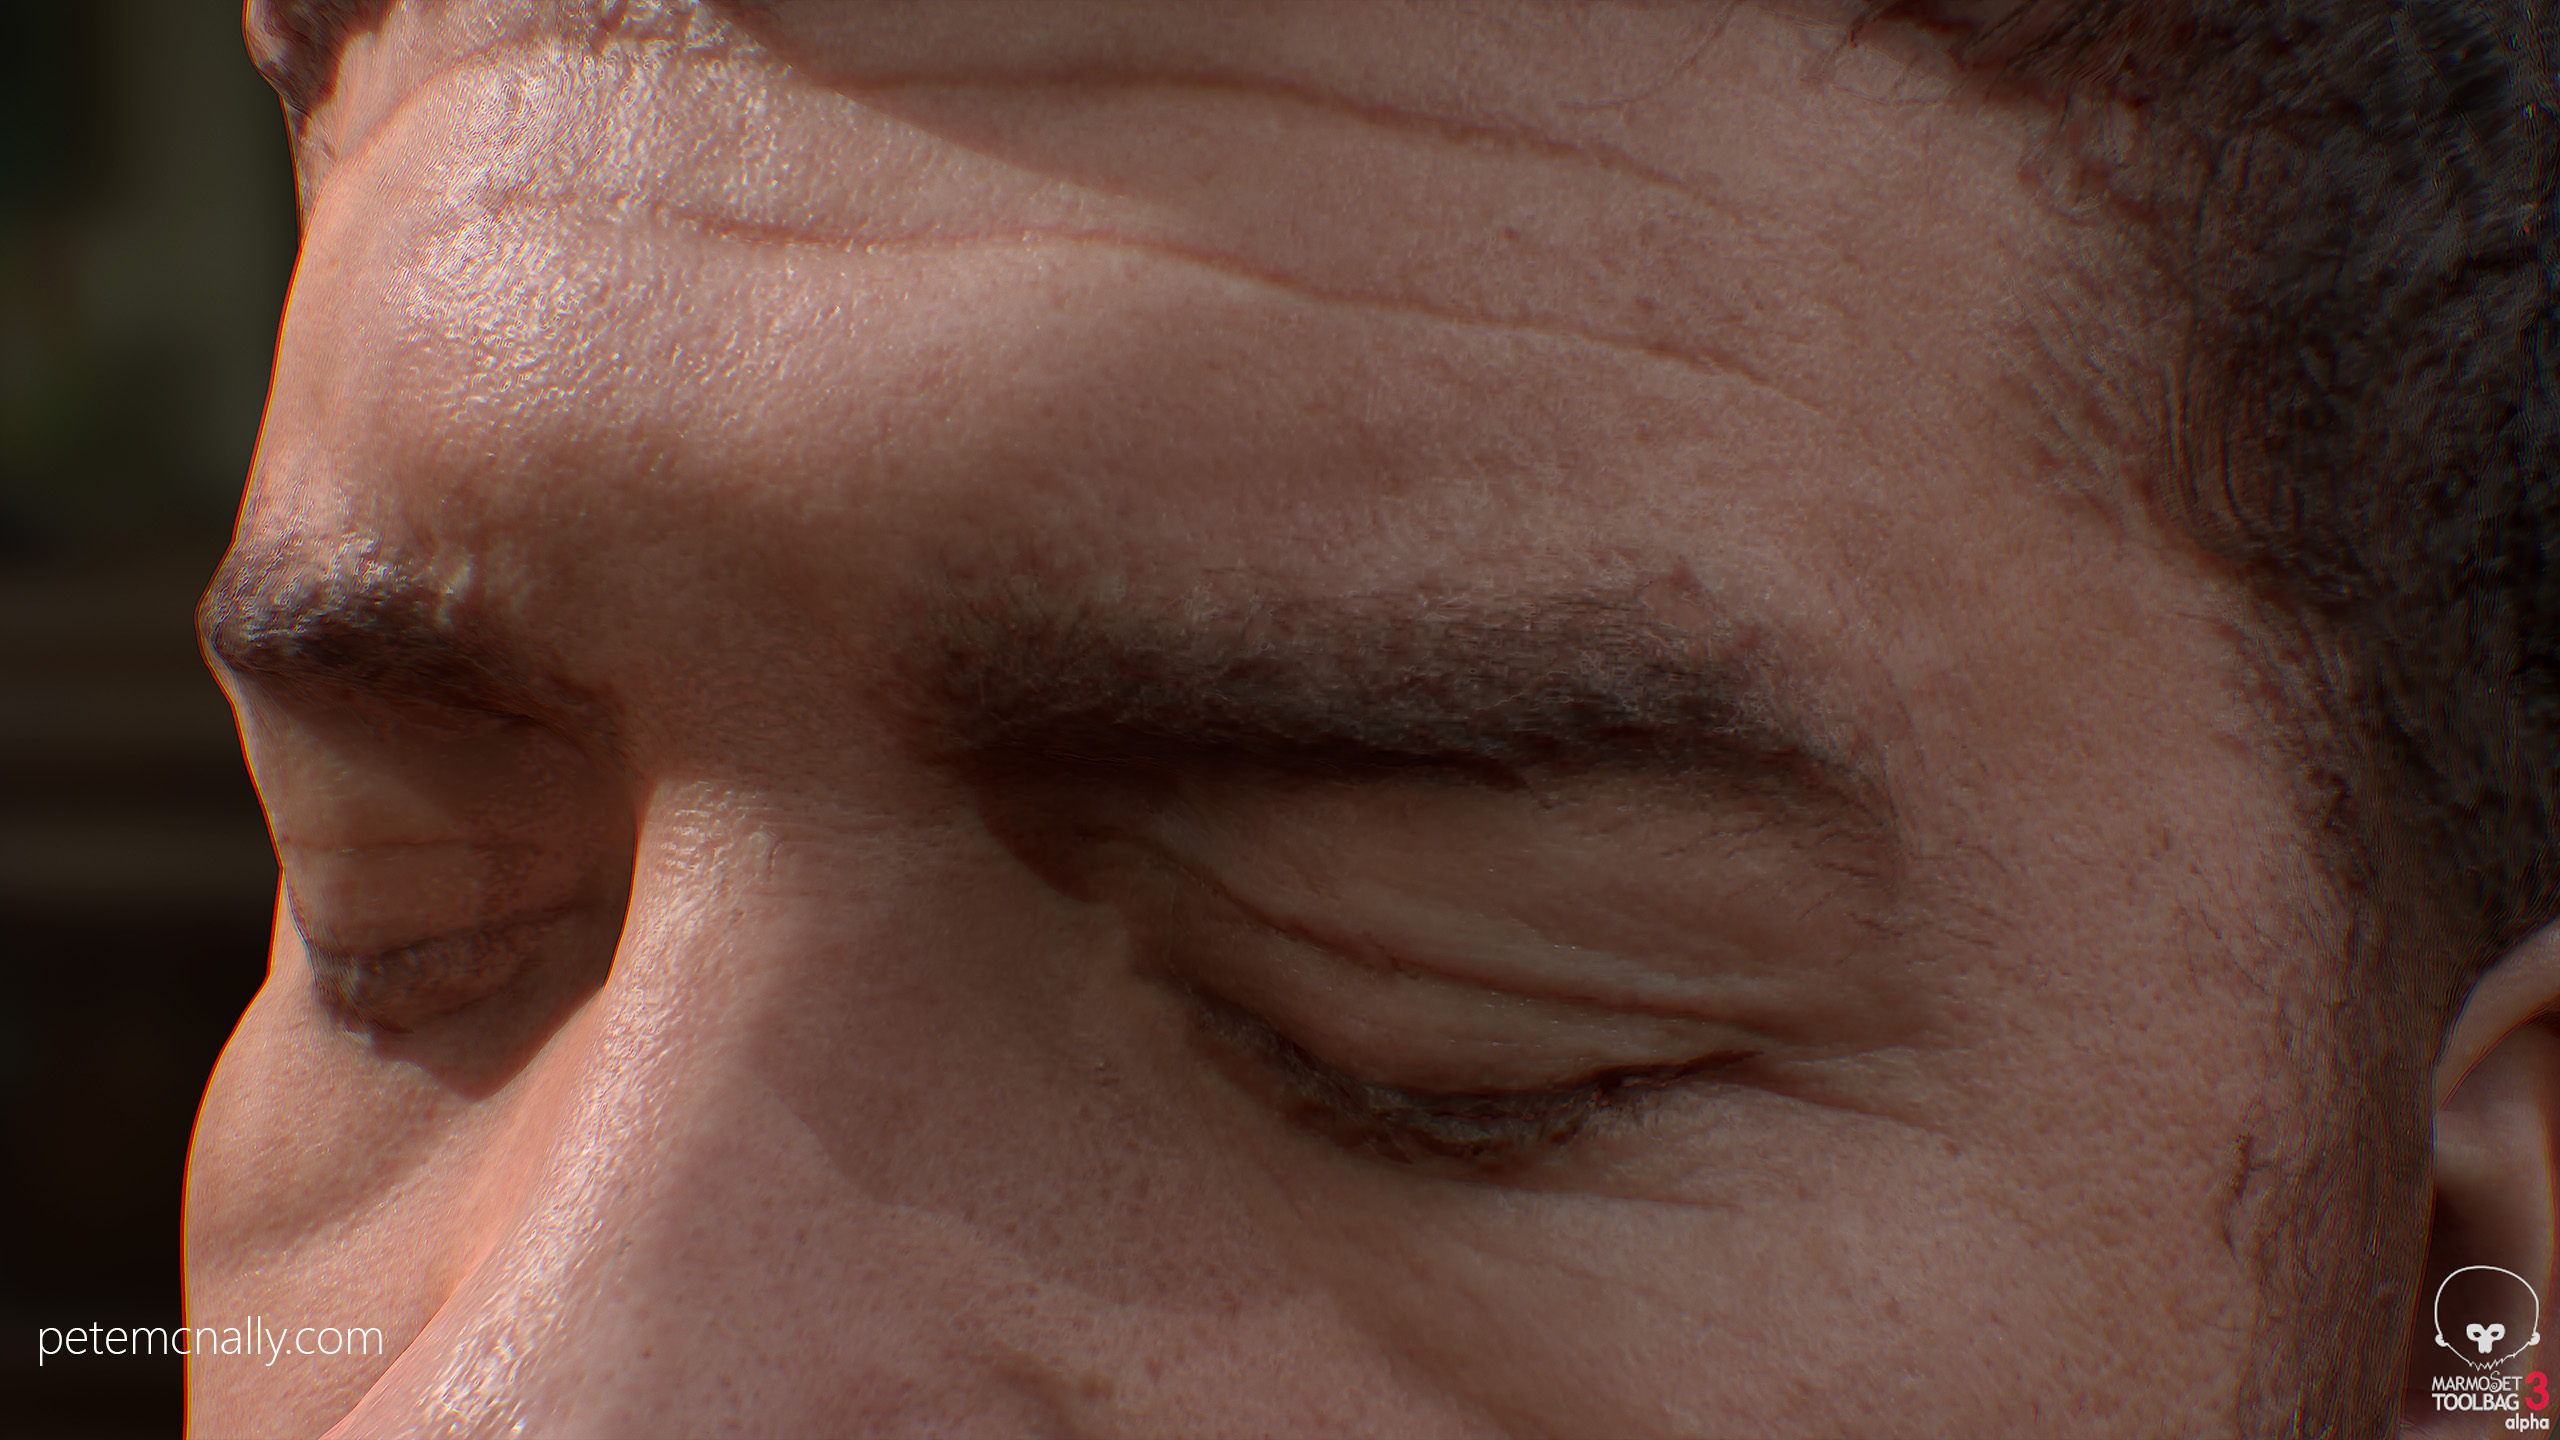
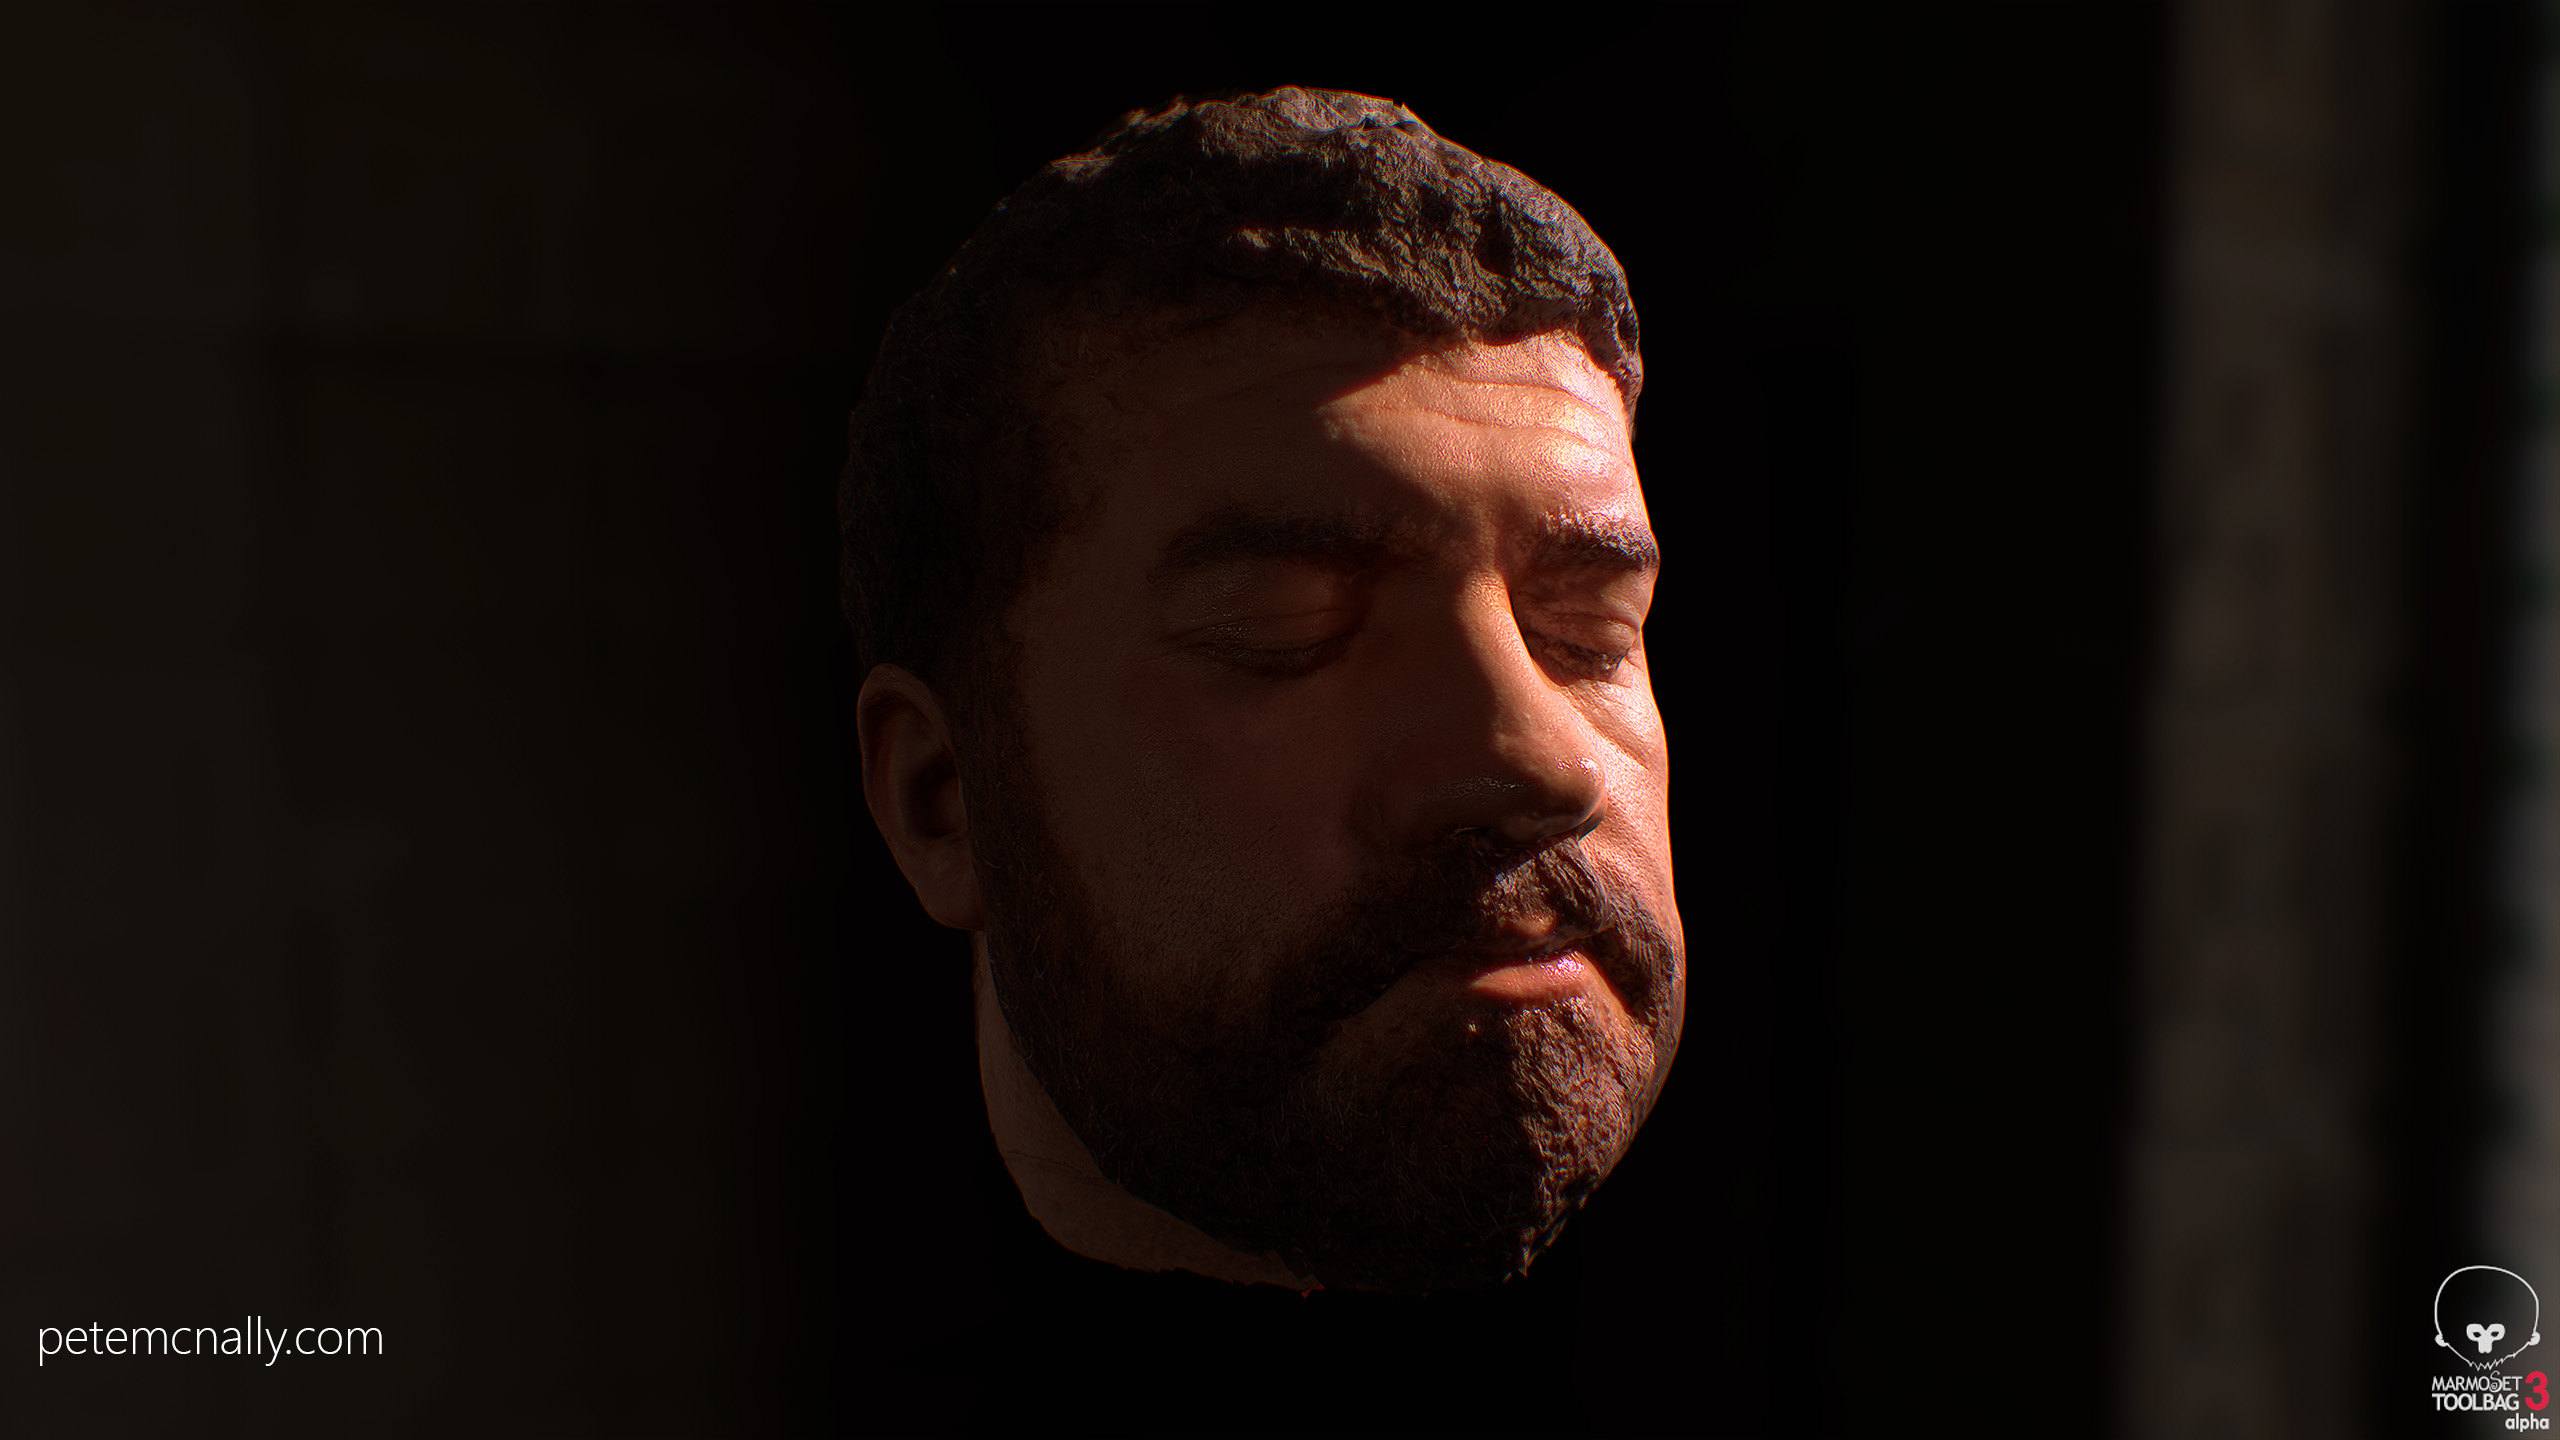
So, although some micro detail was captured, like the forehead wrinkles and some skin blemishes, the beard and hair are a mess of wobbly noise. This should be fixable in Zbrush (or with, you know, a comb in real life) and I’ll also mirror the ear to the other side and try and patch that up. I managed to get on the beta of Marmoset Toolbag 3 a while ago, here’s a very quick low poly normal mapped version using the skin shader and some secret sauce:

petemcnally_screenshot014

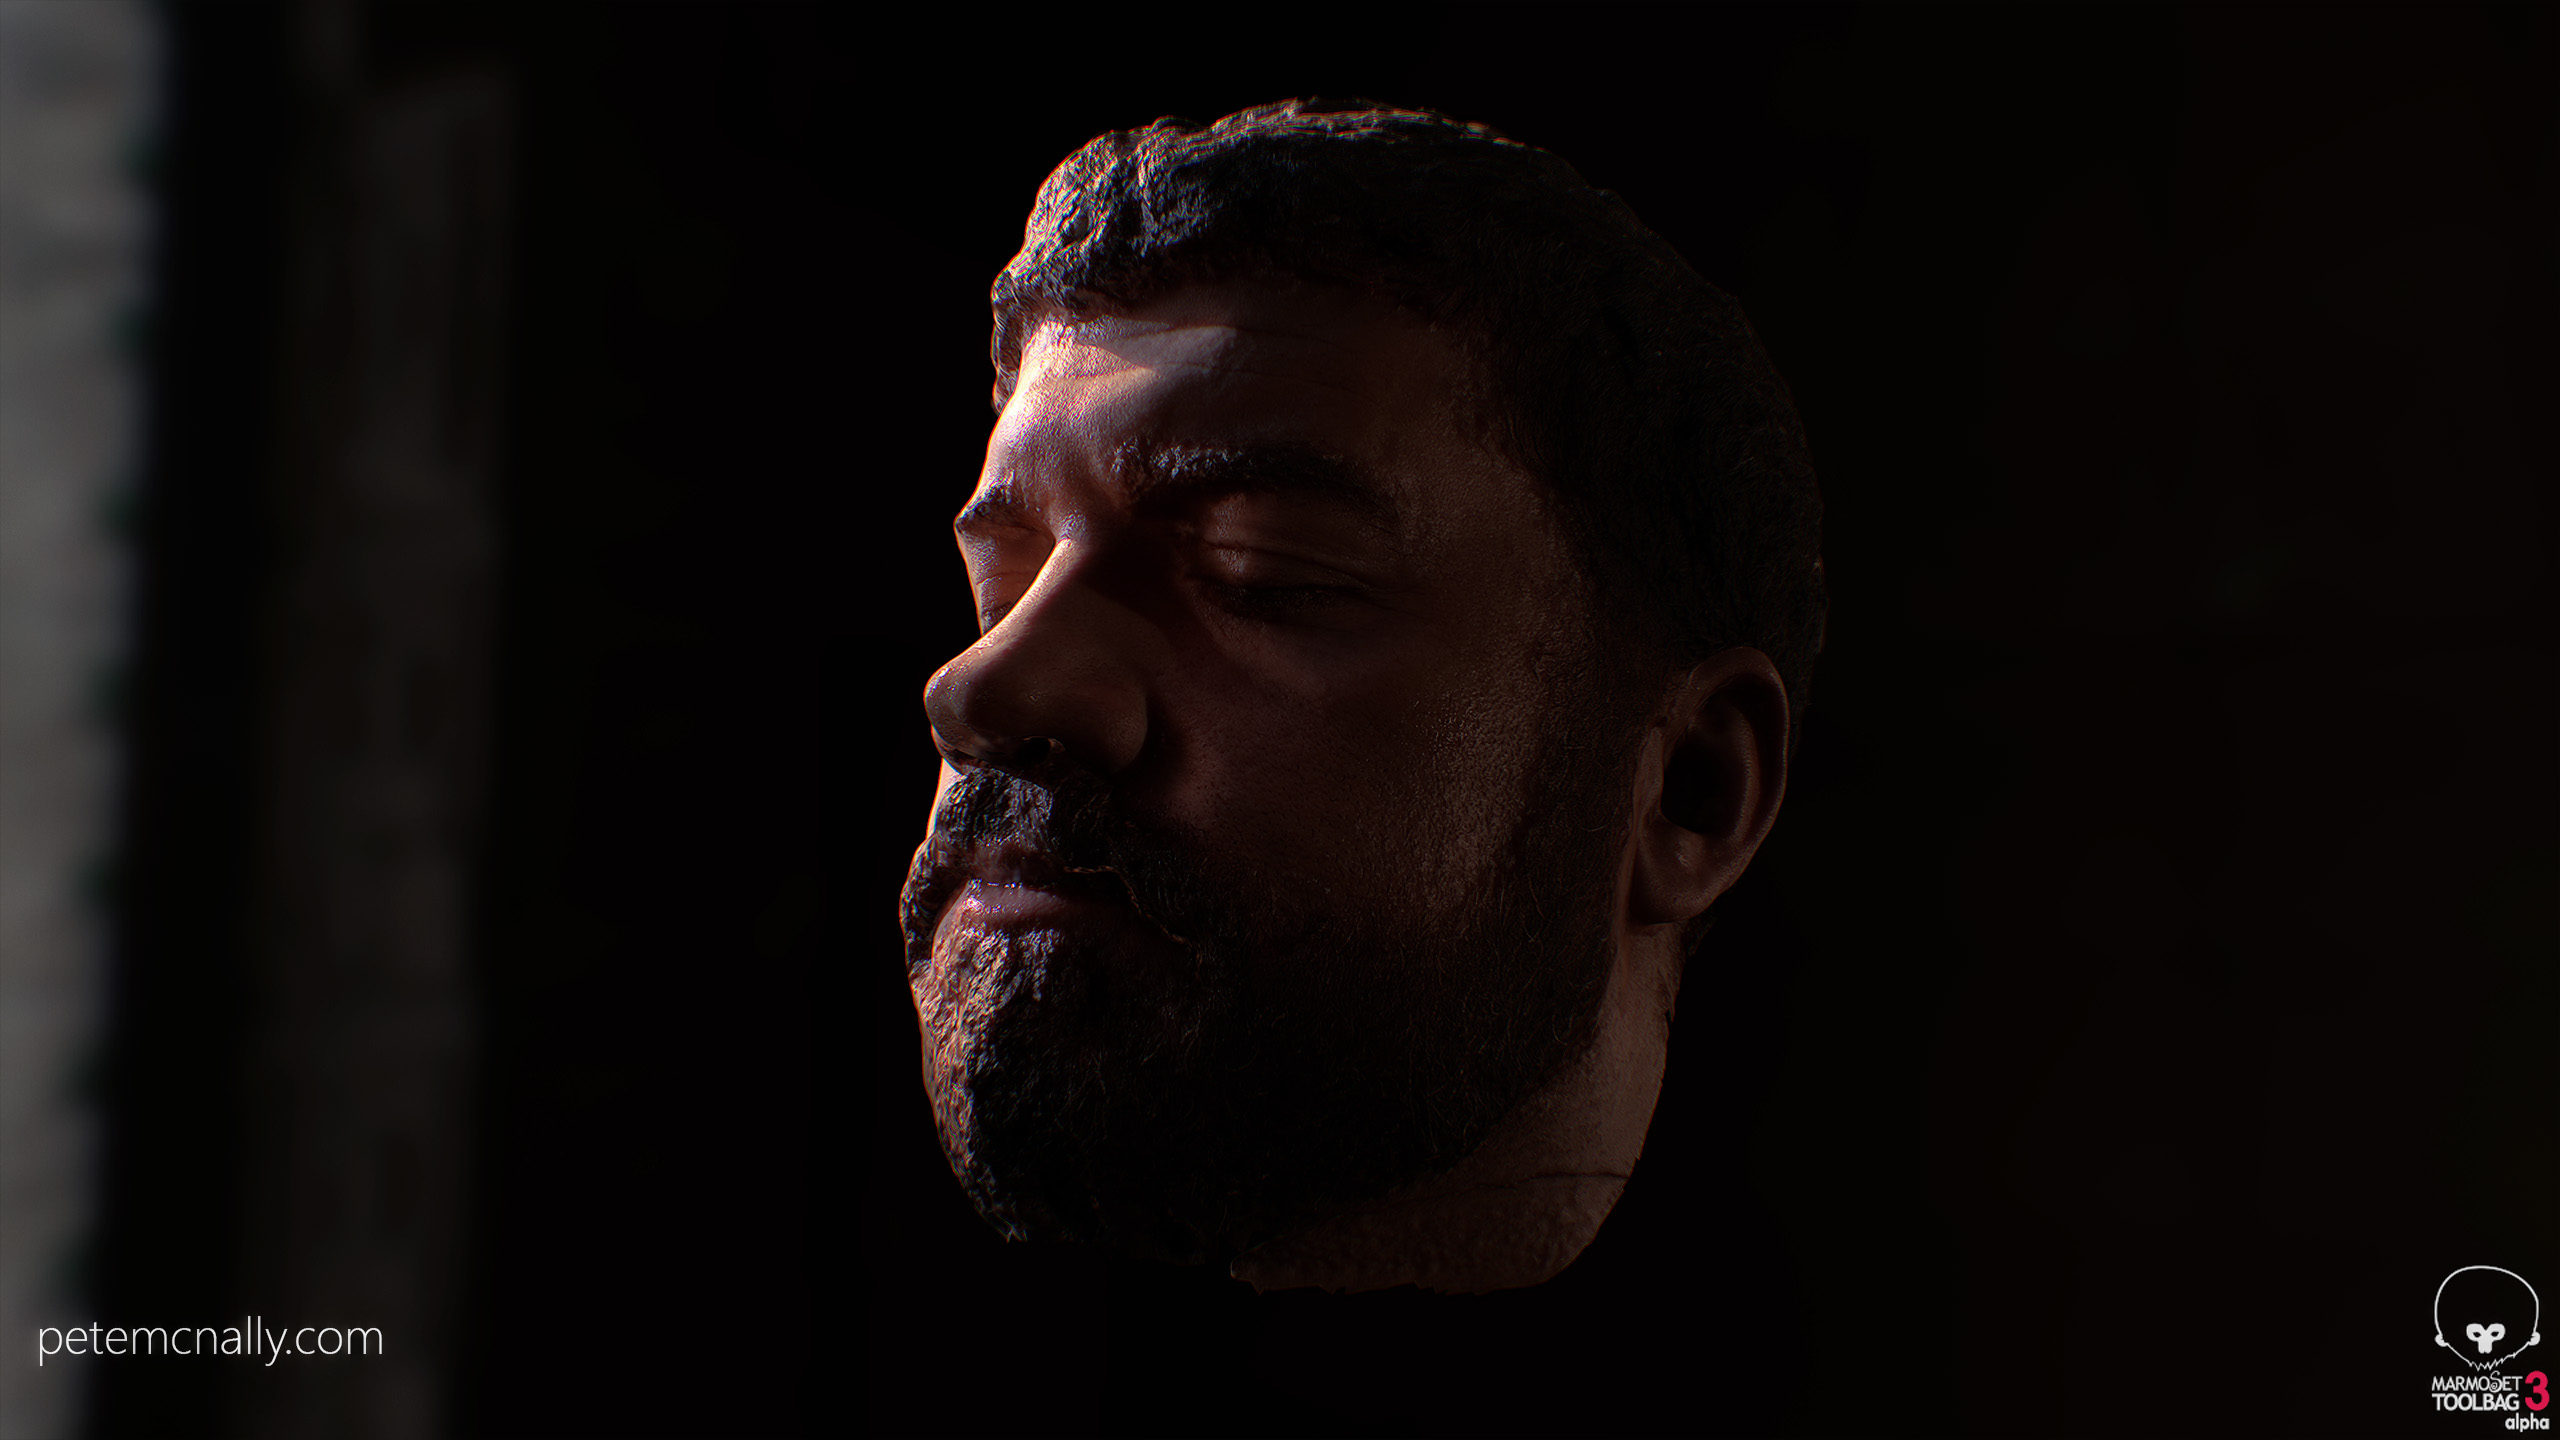
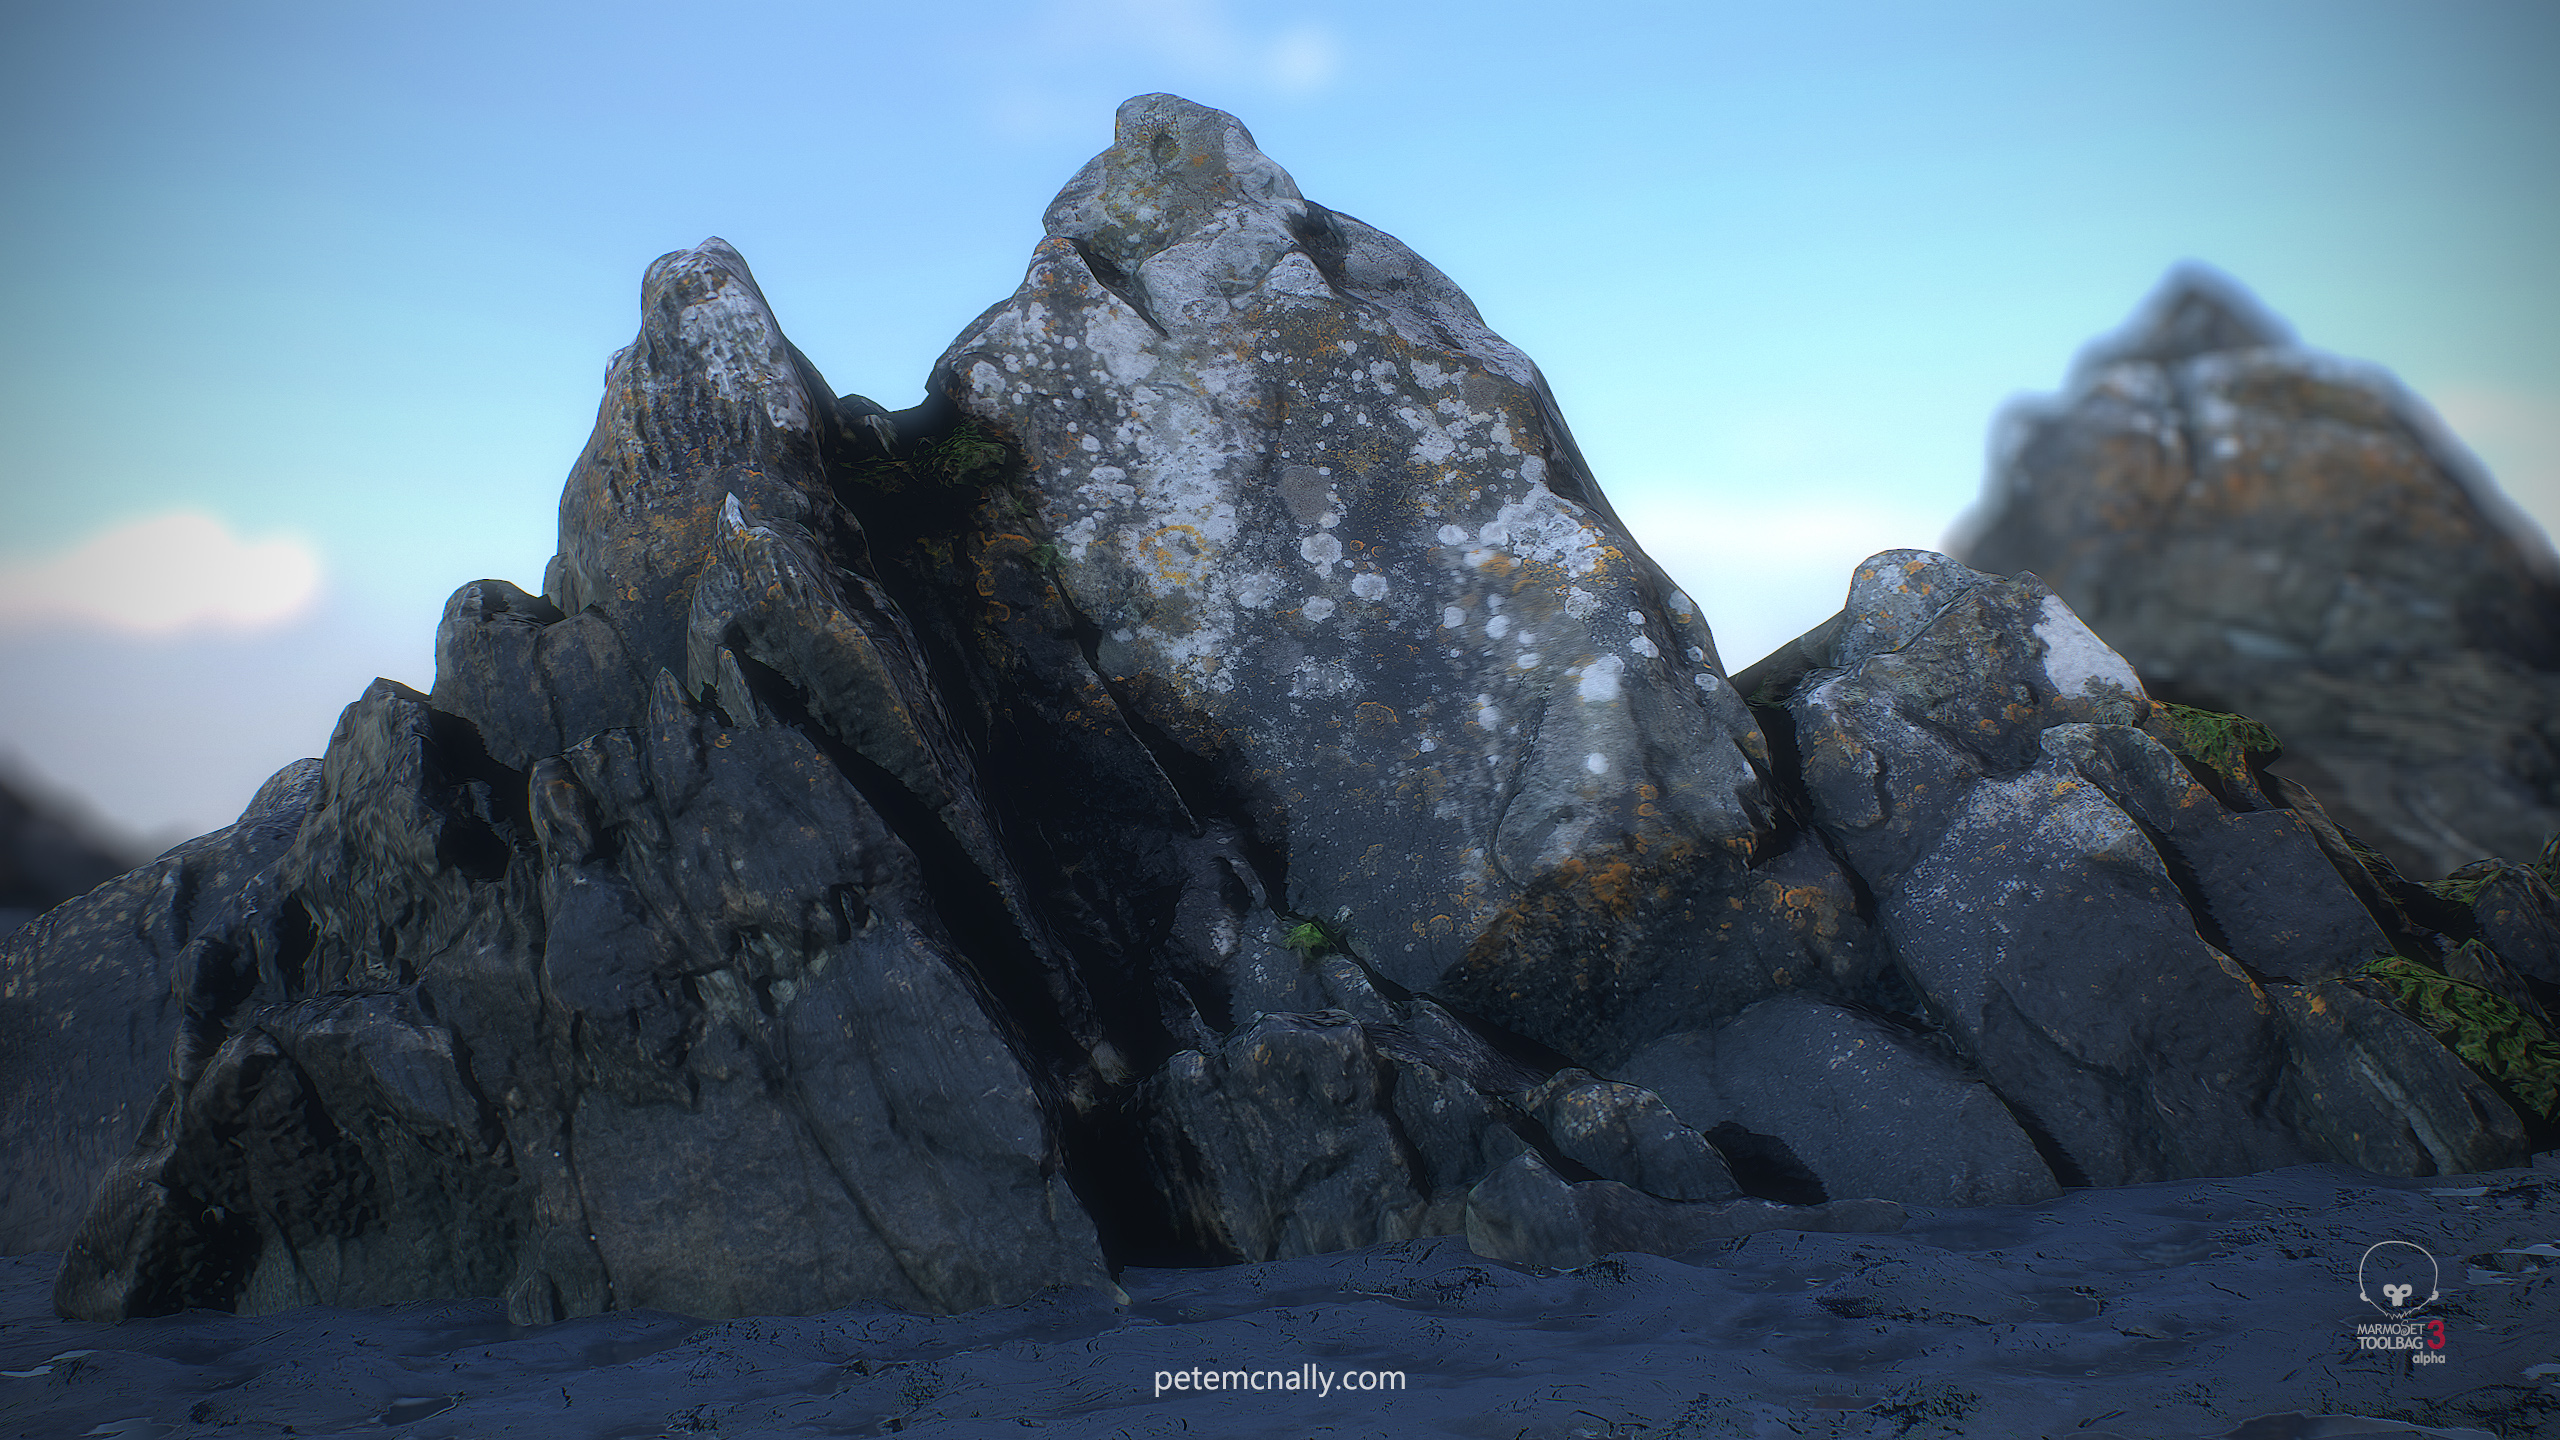
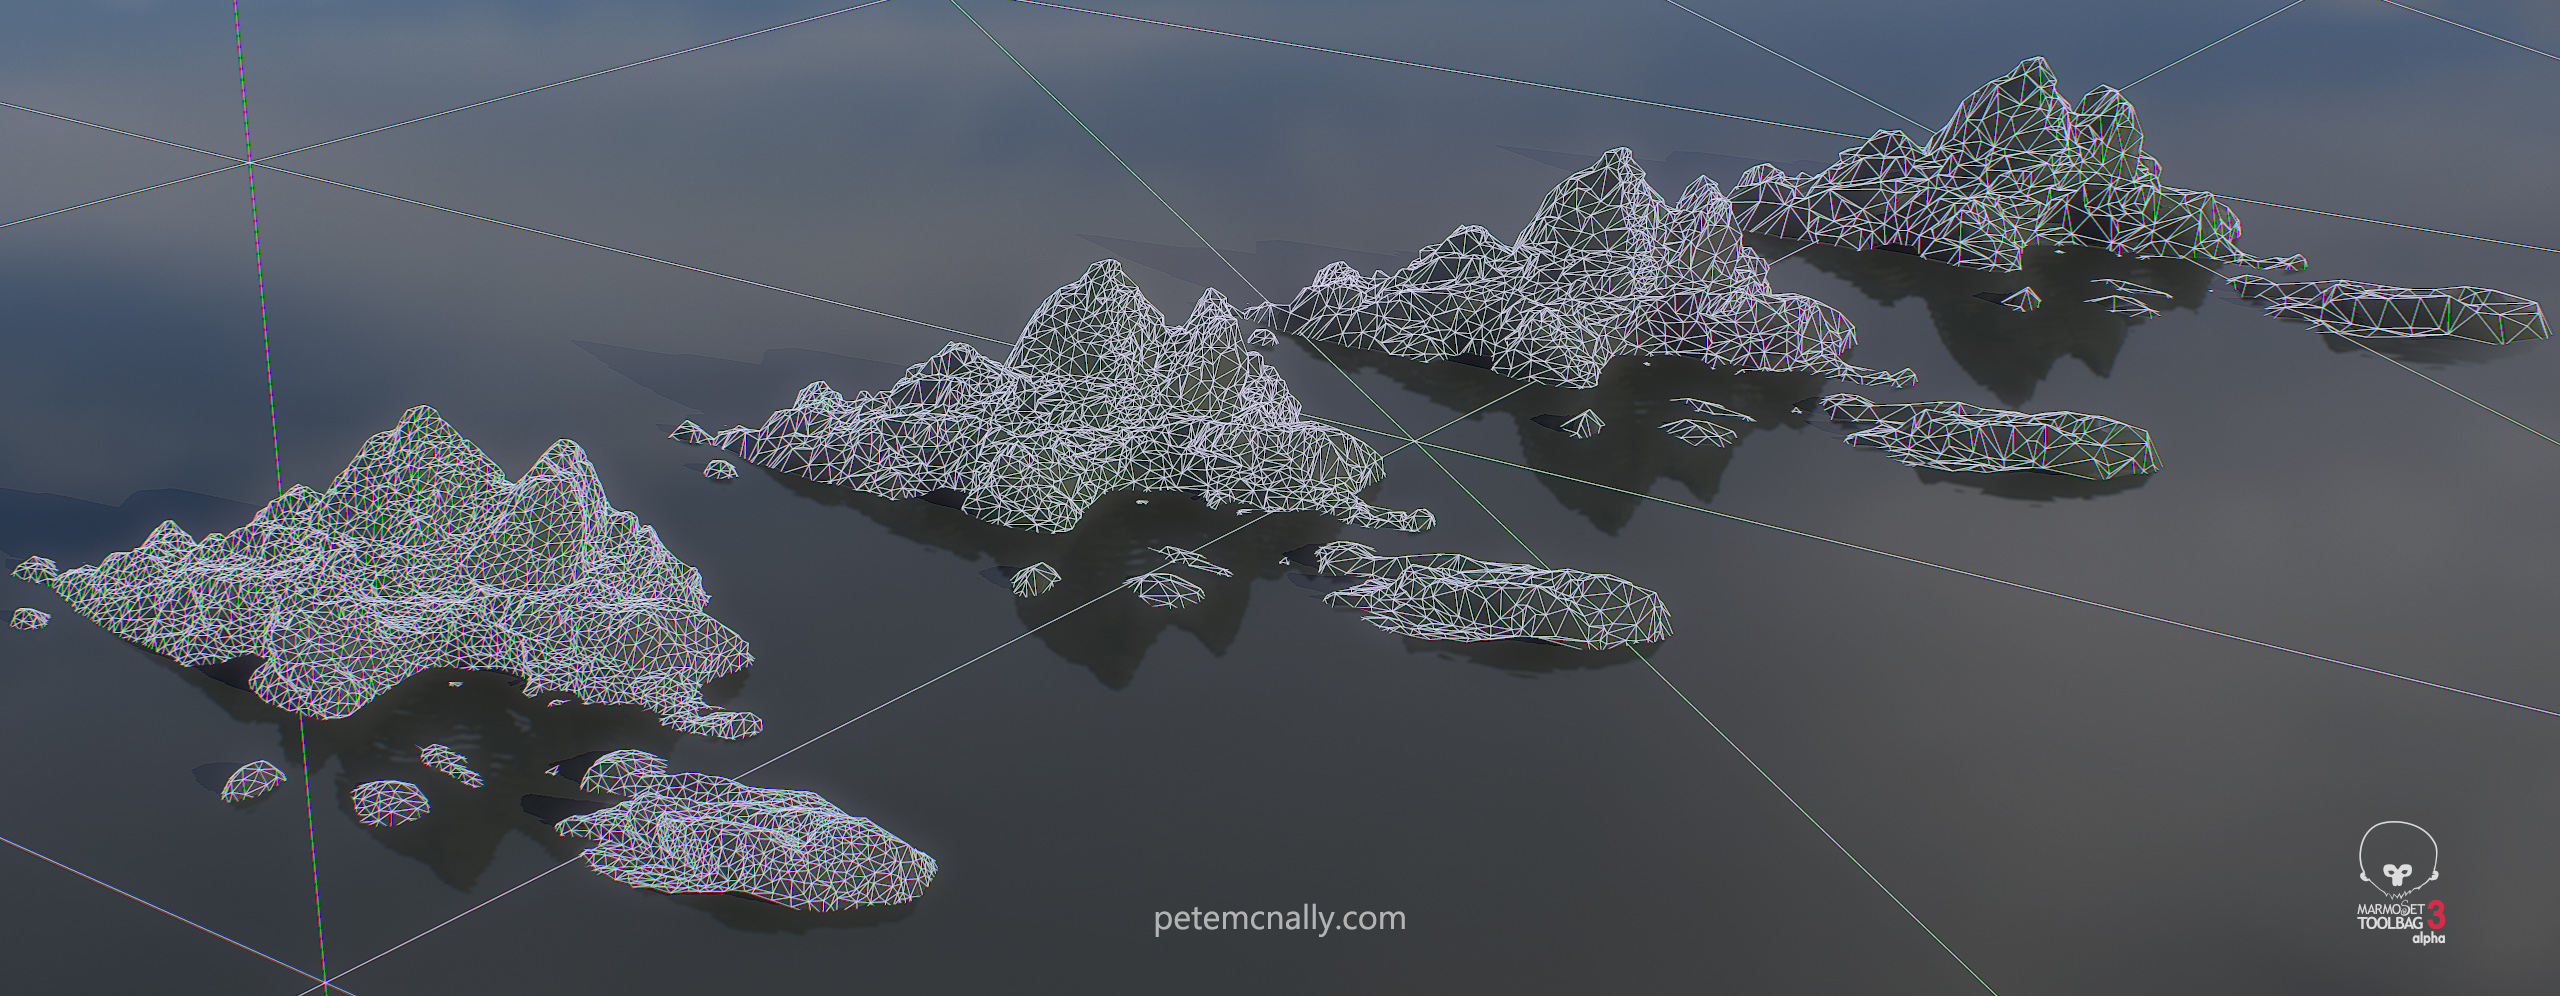
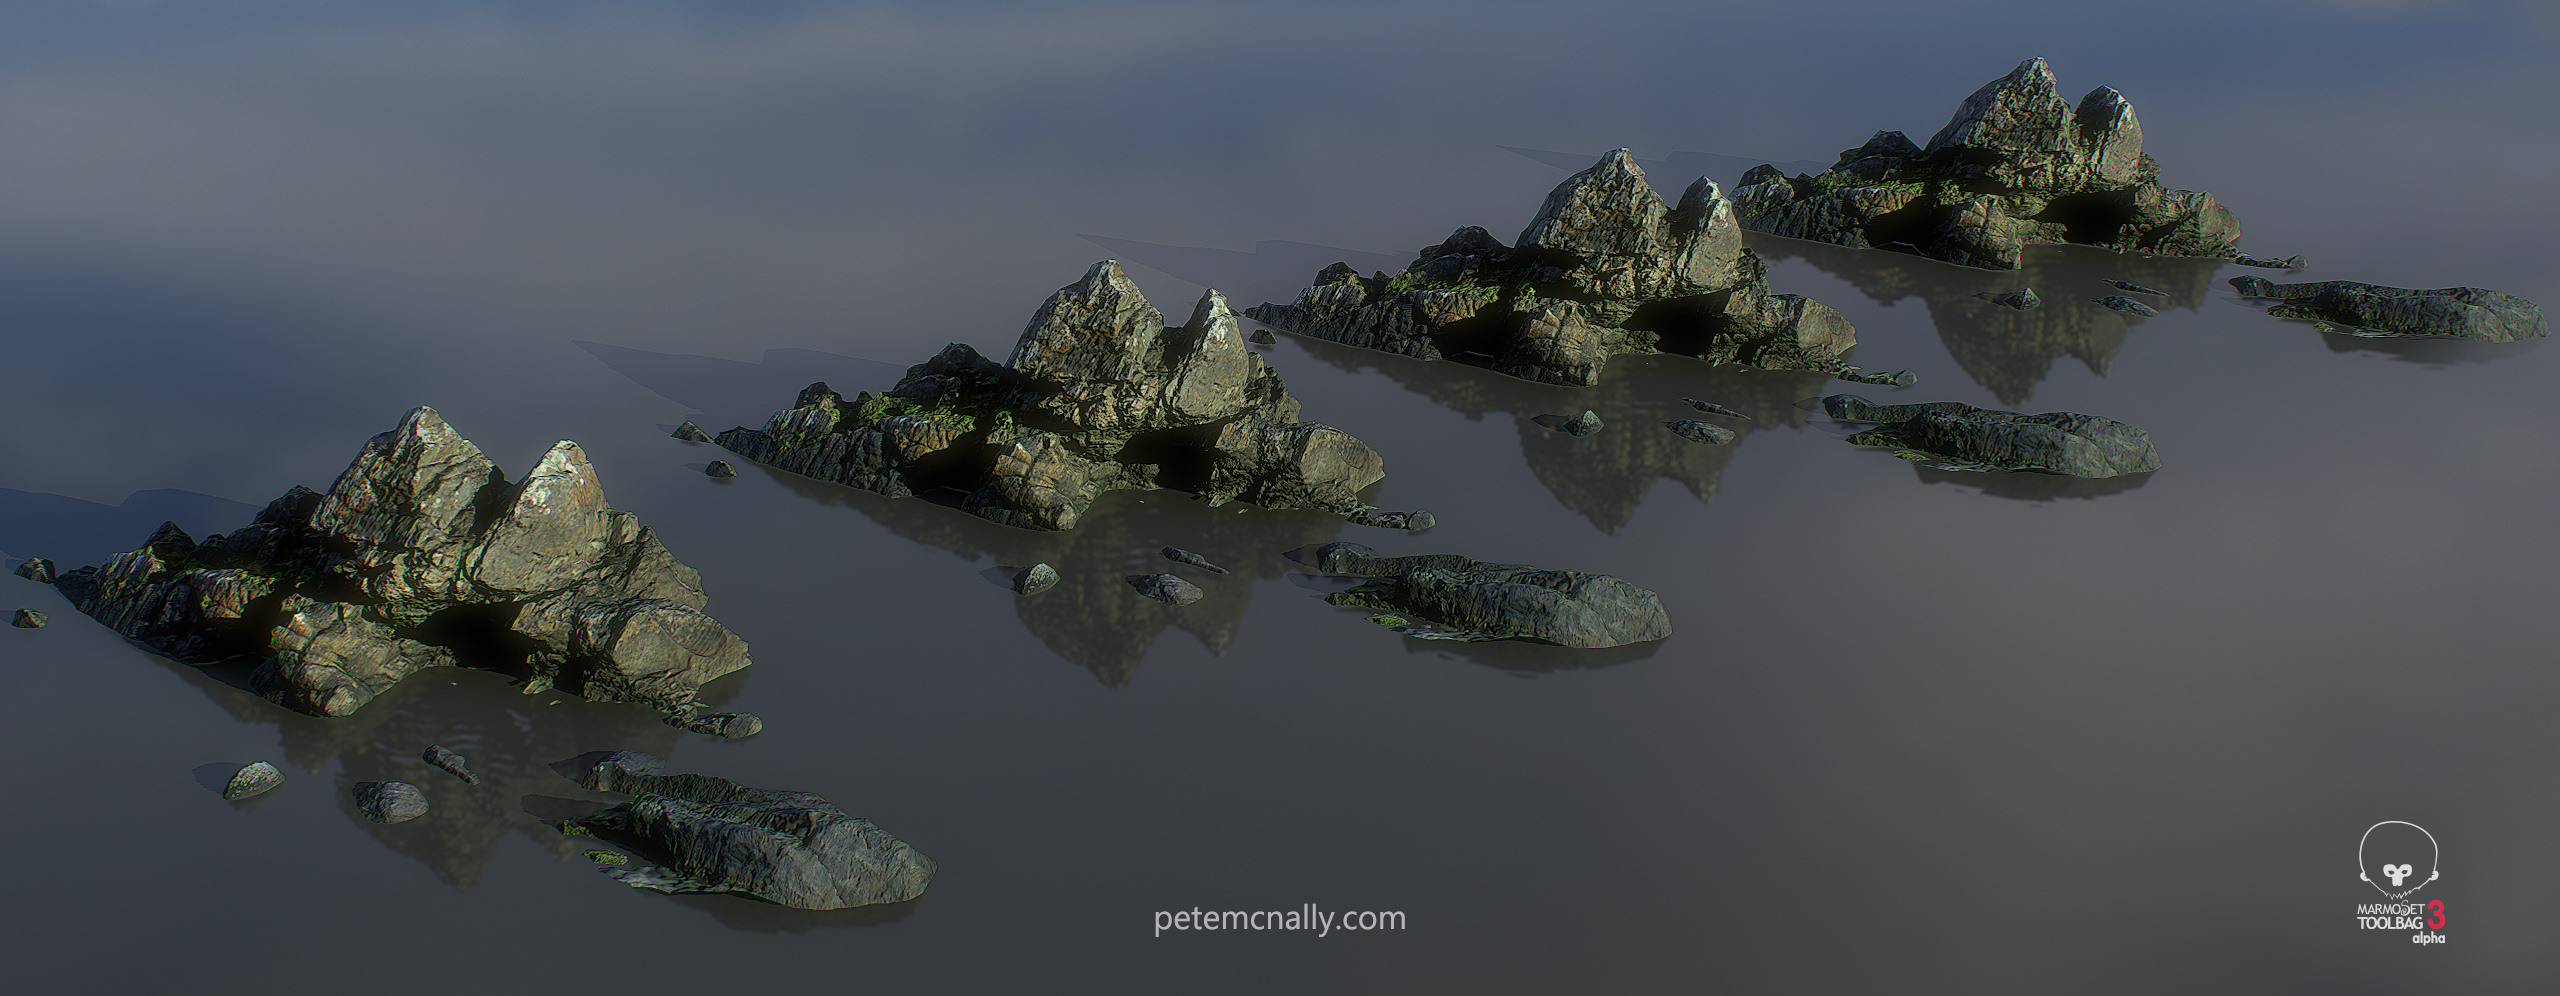
And lastly for now, a cover for my forthcoming* album made from a decimated low poly copy:

today8bit

In the next post, I’ll cover some of the cleanup work. Thanks for reading!


*Not forthcoming.


Quigley’s Rock…

•September 1, 2016 • 2 Comments

Recently I spent a week in Inishowen, Donegal where I took a tripod, monopod, laser measuring tape, Macbeth card and a Nikon DSLR with the express purpose of taking a holiday but also doing some proper 3D scans when I could 🙂 Long photogrammetry sessions were impossible on some coastal trips up there, but I did manage to get quite a few partial scans, three or four decent ones and I learnt a truckload during the exercise. Right now I’m in the process of trying to mesh the scans and break them up into usable modular assets as part of a full “Irish Coast” biome, including LODs at 16k, 8k, 4k and 2k tris.

I’ve refined my pipeline a bit too, incorporating Substance Painter 2 into the mix (it has useful simultaneous multiple texture painting features that have been a huge time saver in the mesh cleanup process) and I’ve had a look at Megascans too, which promises to be an essential part of working with PBR. Here is one of the scans that required the least amount of cleanup, click for large versions.

Petemcnally_rocks_cframe02

Petemcnally_rocks_cframe01

Petemcnally_rocks_cframe03

Petemcnally_rocks_closeup


Here is a comparison of the LODs, from 16k tris (nearest) down to 2k at the back

Petemcnally_rocks_LOD_wire

Petemcnally_rocks_LOD


Finally, here is a link to a Marmoset Viewer version that you can navigate in realtime on my Artstation page. (You can move the light by holding shift and mousing around)


Lookdev experiments II…

•August 9, 2016 • 1 Comment

As you’ll have noticed I’ve been running a lot of art through Prisma lately, don’t worry, it’ll stop soon. But not before I post some of my experiments in non-photorealistic rendering!

While looking through Google Photos the other day I searched for “rocks”, I was sure I had taken a bunch of landscape pictures ages ago for scanning that I hadn’t used and the search turned up a few. These were taken about 3 years ago, on a smartphone, while pushing a buggy on a broken path, so the quality wasn’t particularly good. I figured if they wouldn’t cut the mustard for a realistic prop, I’d try something non-photoreal with them, maybe something that might feel at home in Okami or Child of Light. Although Agisoft Photoscan processed them into a 3D model quite well, there were some large holes which required fixing in Mudbox, and also missing texture information which I’m currently patching up. I made a low poly version and unwrapped it, baking out normals, ambient occlusion and albedo from the high res scan. I took the albedo texture generated and painted over it in Photoshop using some custom brushes and standard filters to see how if I could get a hand painted feel (the Prisma servers were down, this happens a lot!). I then applied similar techniques to the normal map, removing high frequency detail and generally softening most areas. I also added some geometry for a cel-shaded outline effect. Here are the results of this in real-time:

https://skfb.ly/RvxH

Prisma came back up last night and I ran the albedo through some of the filters that wouldn’t change the hues too much. Here is where I started:

petemcnally_NPRrocks01

Here are some of the filtered textures, rendered in Marmoset Toolbag 2:

petemcnally_NPRrocks03

Lastly:

petemcnally_NPRrocks02